Hi friends, and welcome back to my Blog for another fun DIY project! Today I am going to show you how to personalize your projects using the Cricut Joy which is now available at Target Stores and Target.com!
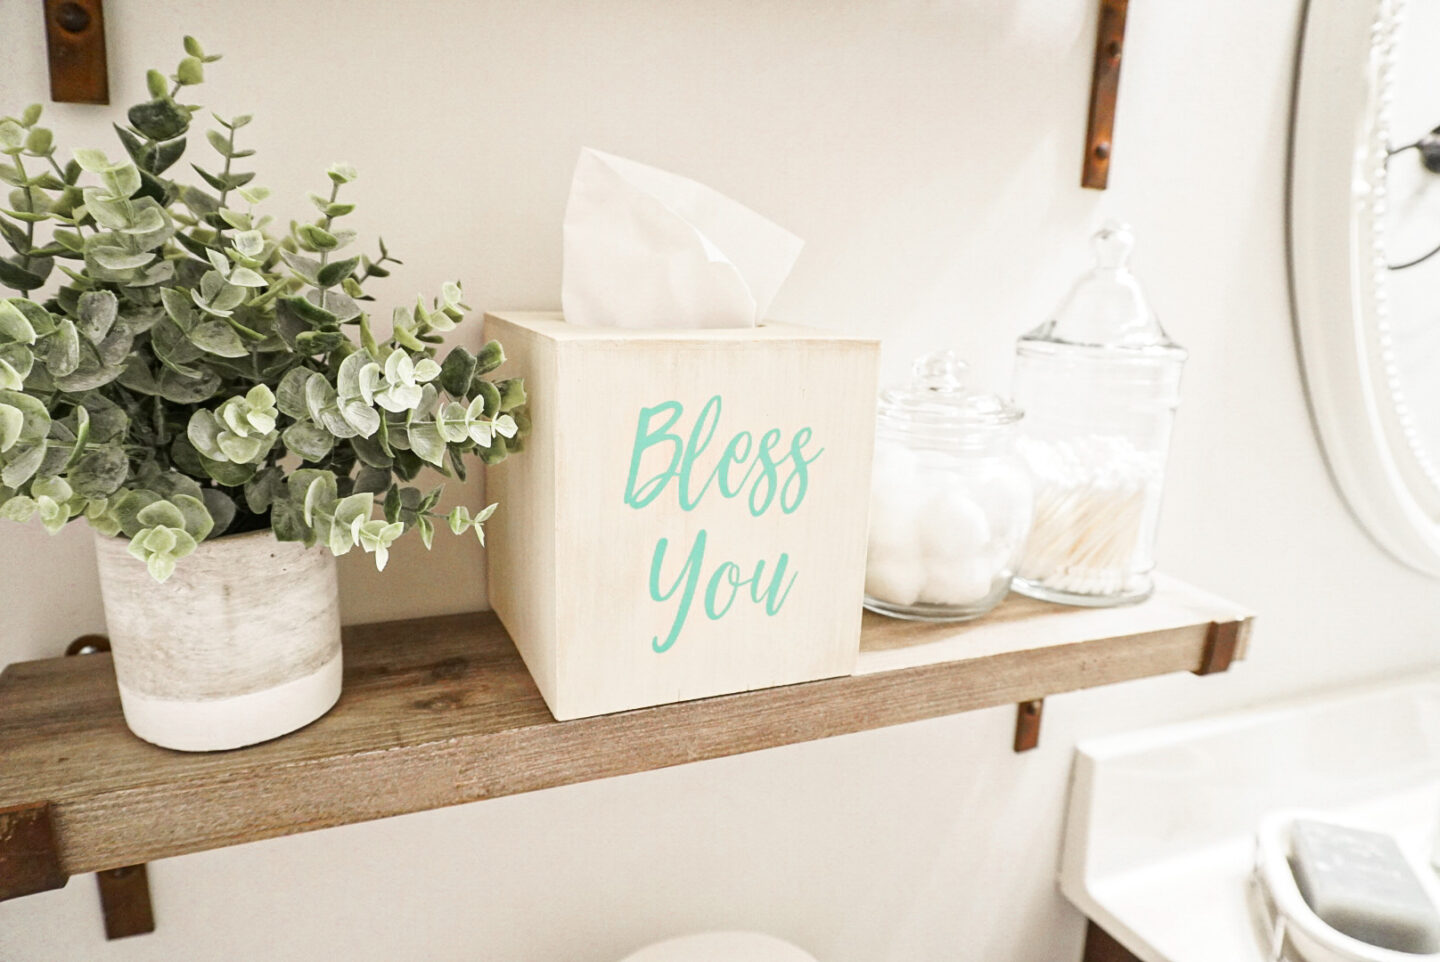
With allergy season upon us, what better project to work on than creating a personalized tissue box using my Cricut machine? That way, every time I reach for a tissue (which is about every 5 minutes right now thanks to all this pollen lol) it will bring a smile to my face!
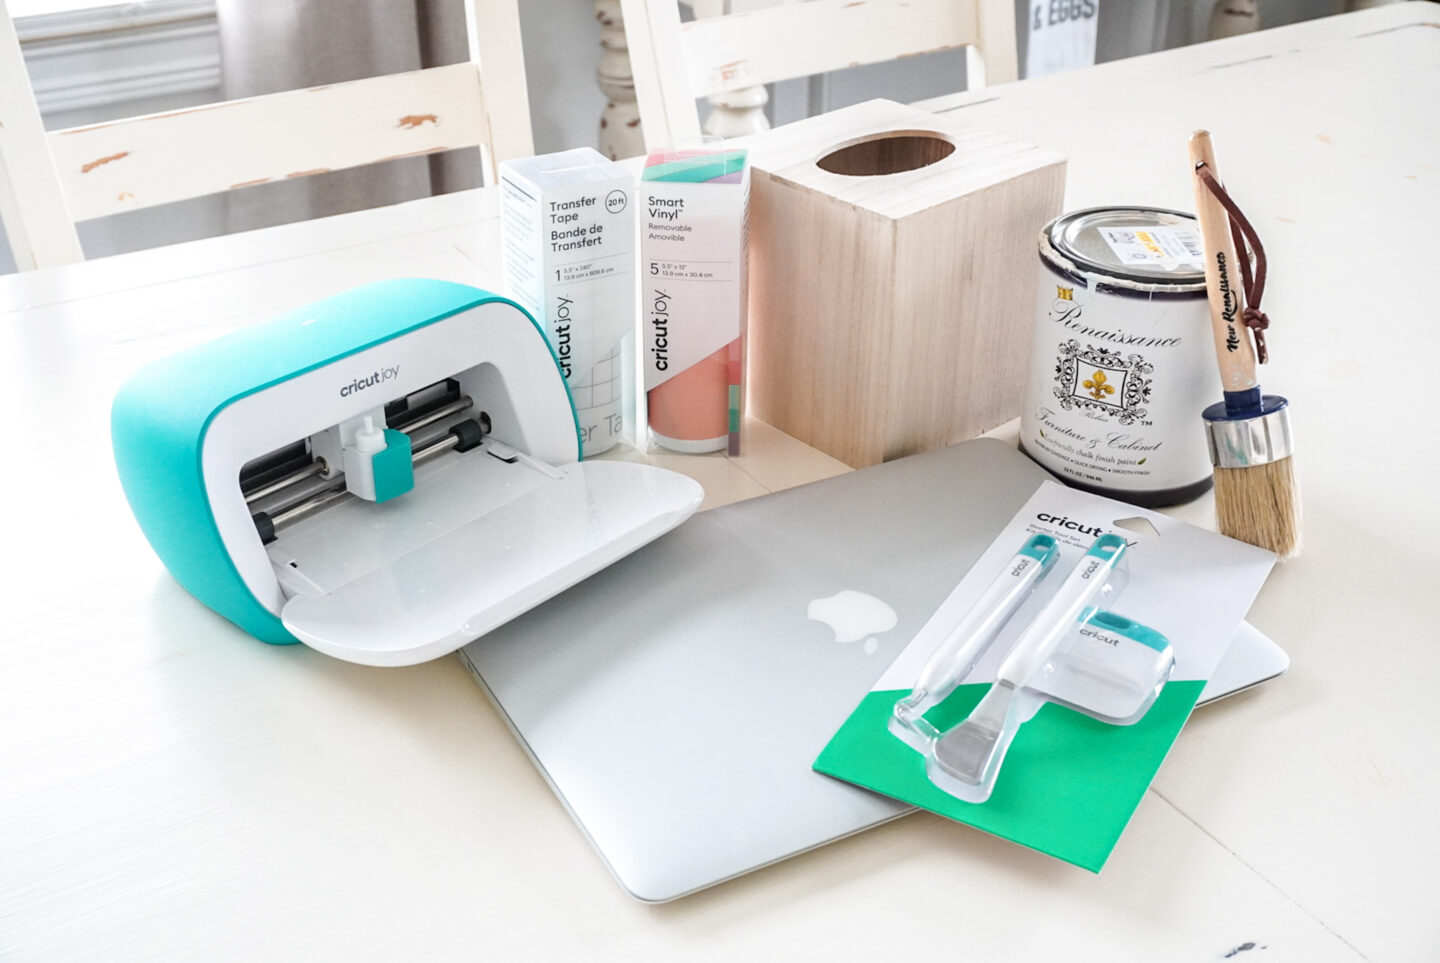
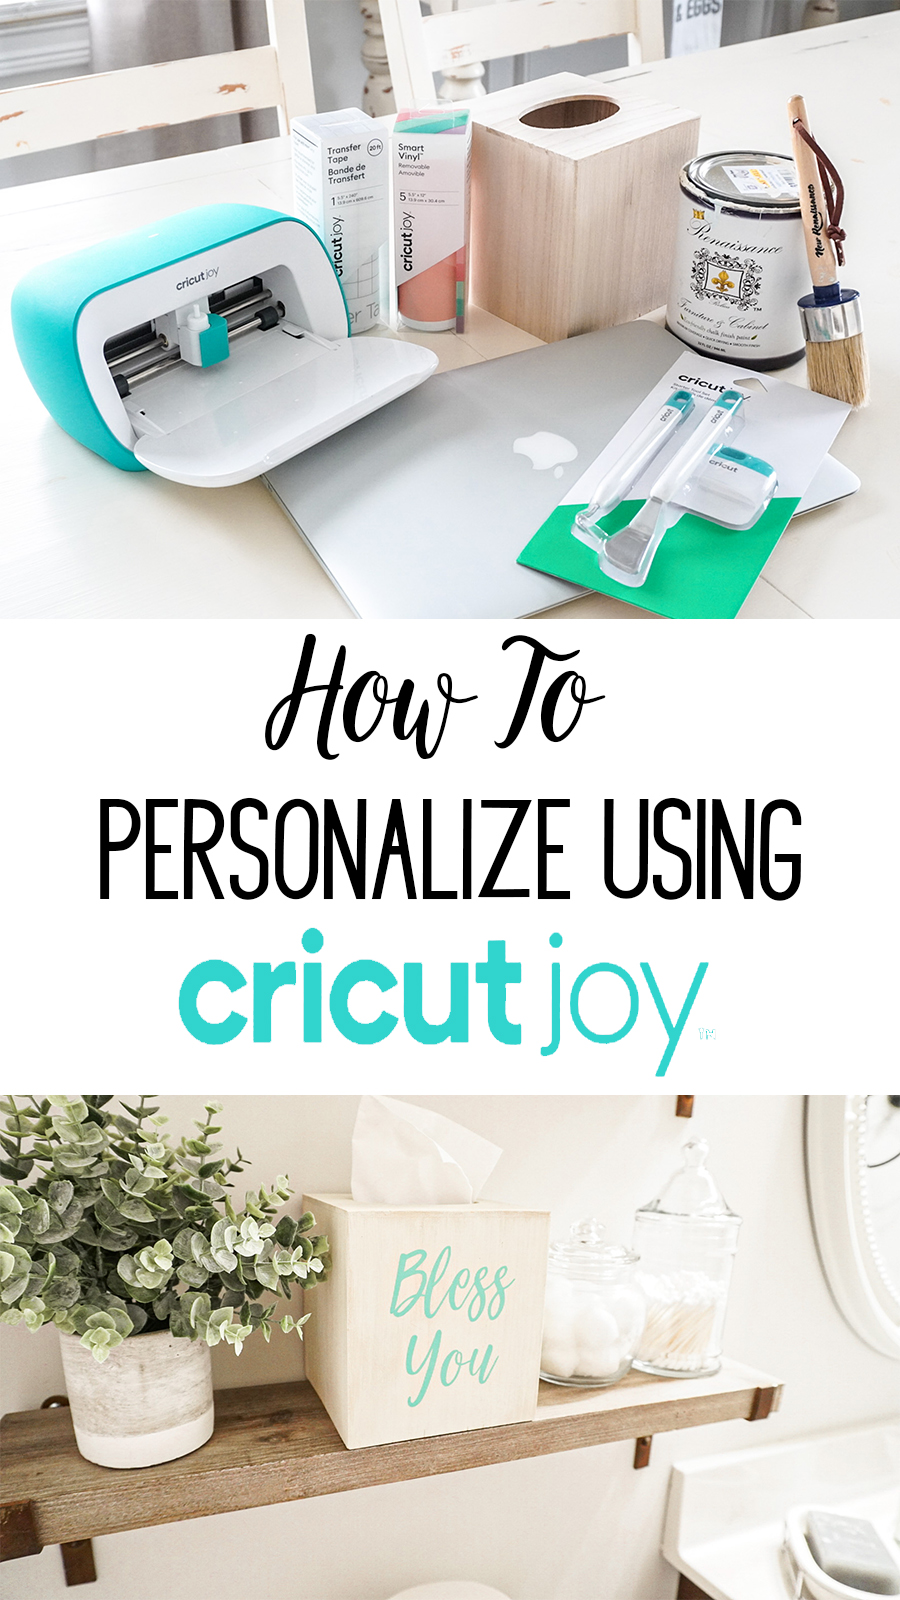
Here’s what you’re going to need for this project:
- Cricut Joy machine (now purchasable at Target.com!)
- A Computer or Phone to use with Cricut Design Space
- Unfinished wooden tissue box (or whatever you would like to personalize!)
- Chalk Paint in your choice of color
- Polyacrylic Spray
- Paintbrush
- Cricut Joy Starter Tool Set
- A roll of Cricut Transfer Tape
- Cricut Smart Vinyl in your choice of finish and color
Prep your project piece!
My first step in this project is to prep my project for the lettering, which, in this case, means basically finishing my project piece lol!
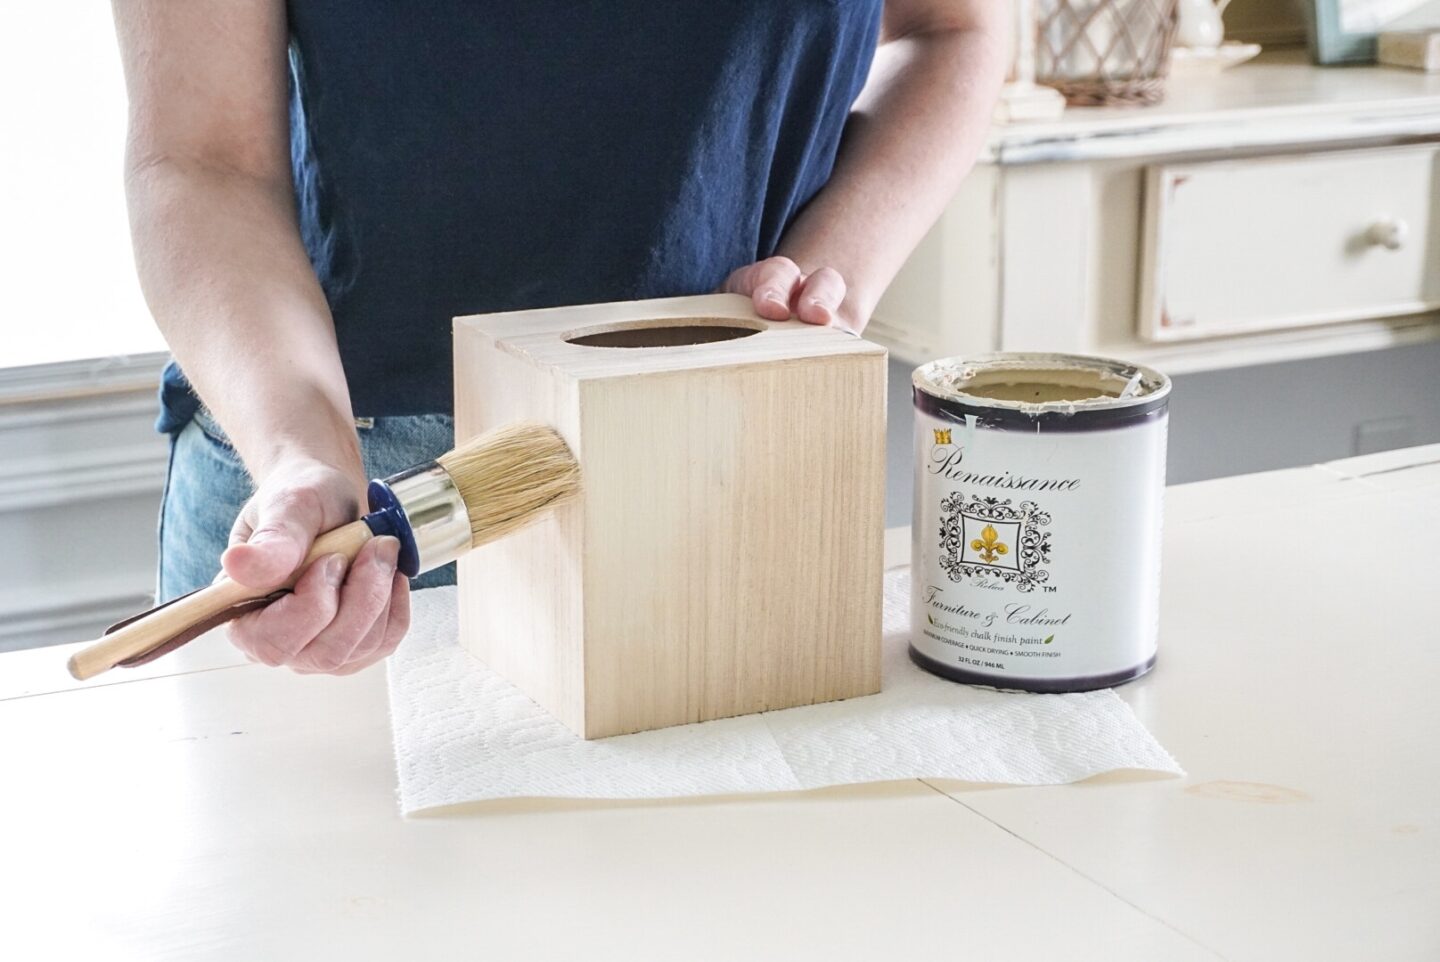
The steps
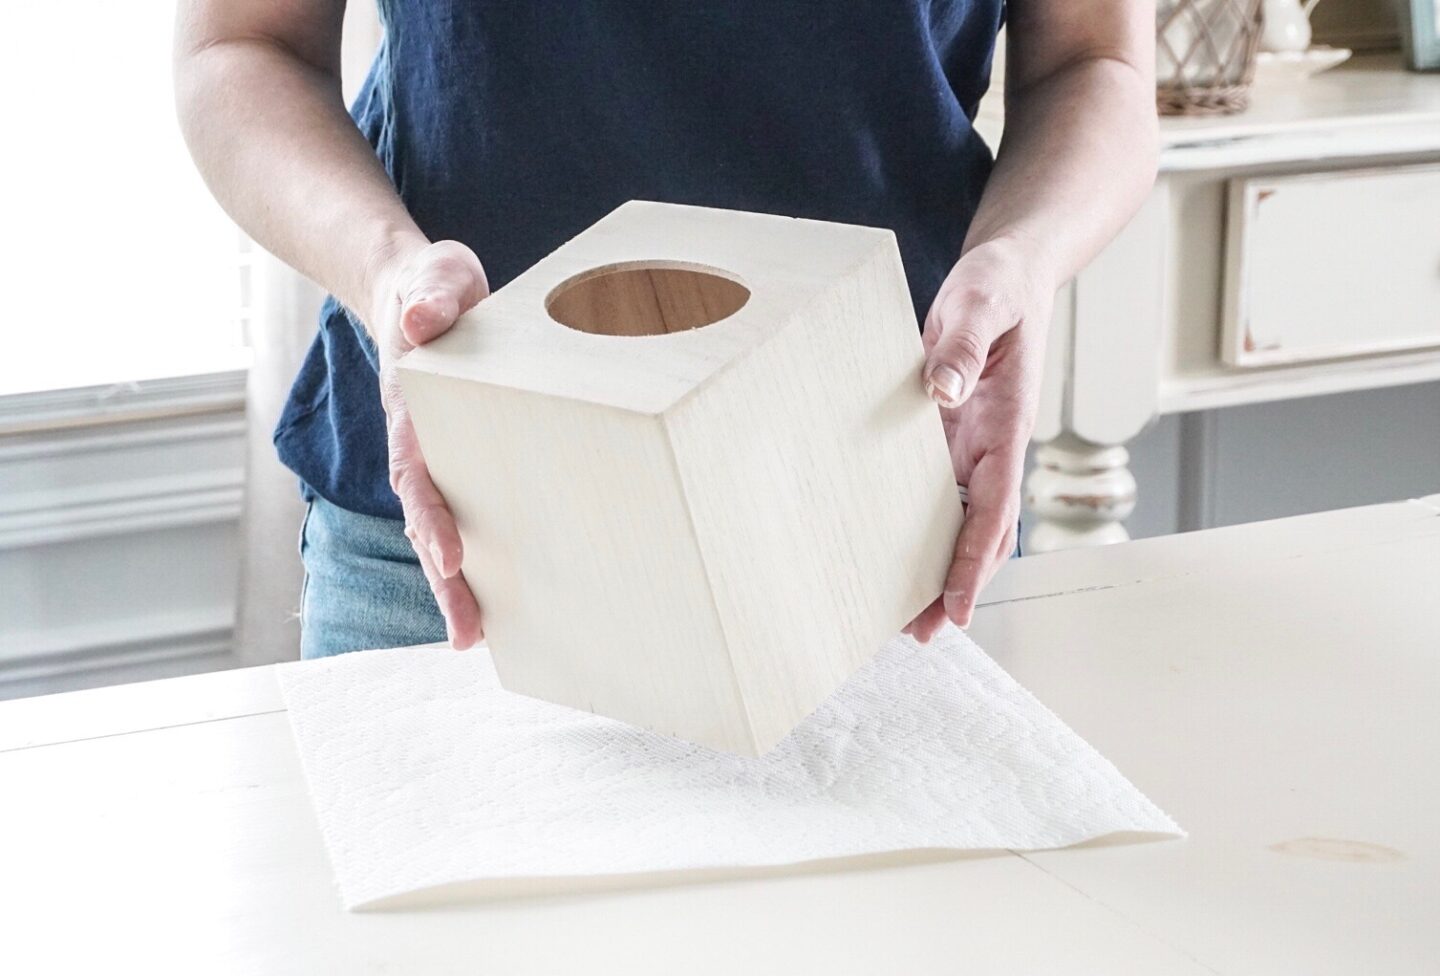
First, take the tissue box and your chalk paint and dry-brush your chalk paint onto the surface of the tissue box. Once it has dried, you can grab your sponge sander and gently smooth out the finish and distress as desired. Once the surface is smooth and free of dust, spray with Polyacrylic to seal. Since this piece is going into my guest bathroom, it will need to be water-resistant! After this is fully dry, we can start on the fun part: the lettering!
My next step in this project is to get my Vinyl Lettering all set. Using the Cricut Joy is super easy! This is literally my very first time ever using a Cricut machine and I am already obsessed.
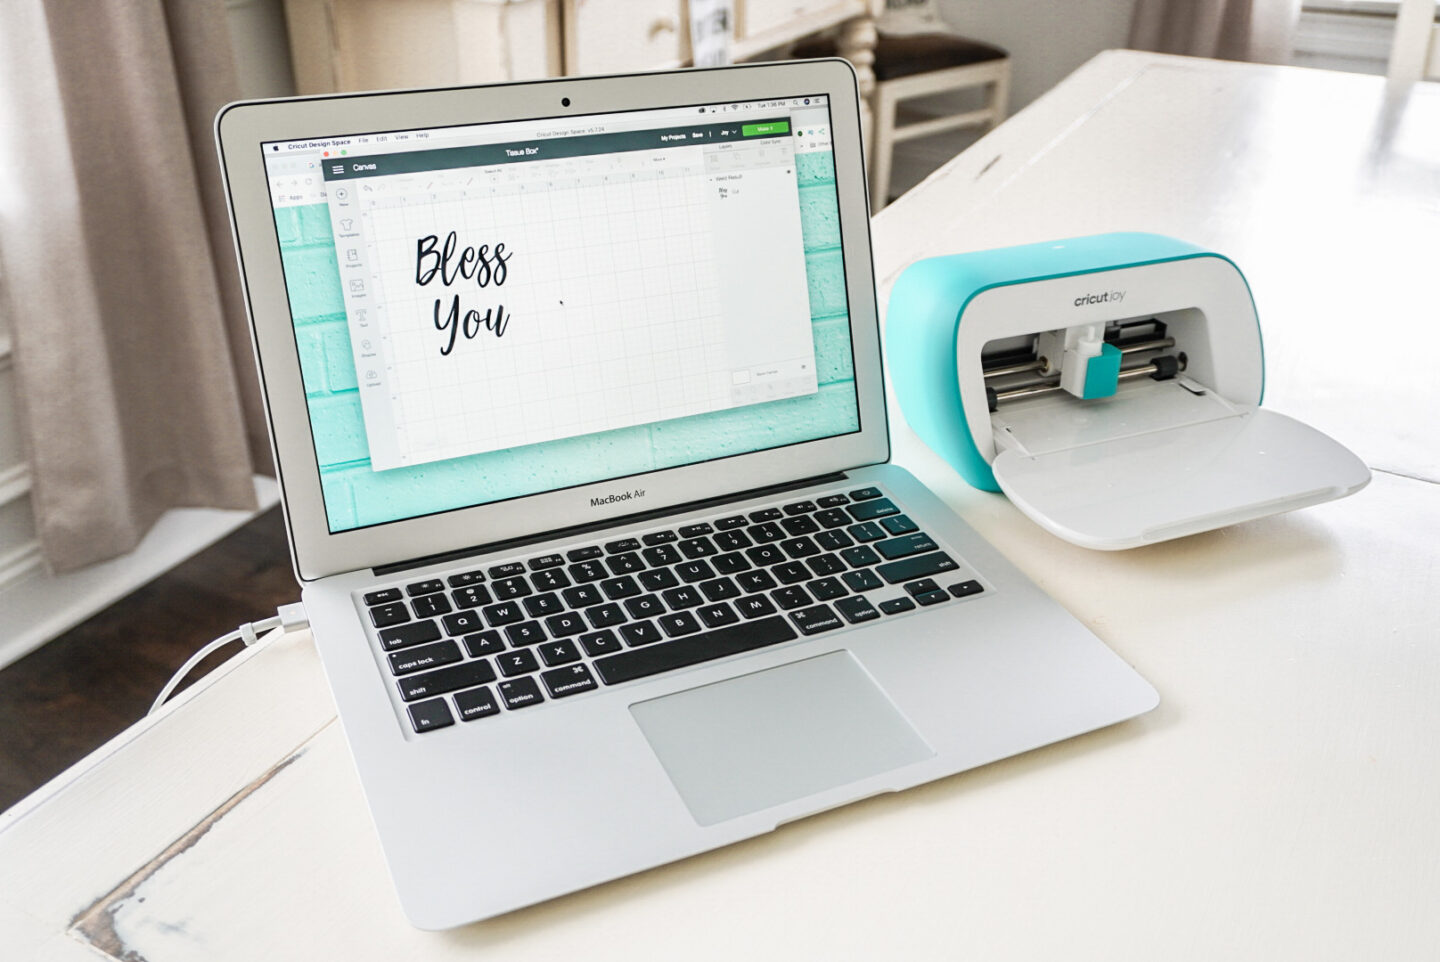
All you need to get started using your Cricut Joy is to plug in the machine, download Cricut Design Space onto your computer or onto your phone and decide on a font to use. Cricut Design Space has a LOT of great fonts you can choose from, but I used a font called Willow Bloom from Creative Market! I use this font on most of my projects around the house, so this pulls everything together.
Script fonts are a little tricky if you are planning to use them together as words, so here are a few quick tips!
- Select your script font
- Type out the words you want in Cricut Design Space
- Select the entire word, then click “Ungroup”
- Take each letter and gradually move them closer together until they form the script word as you want to see it cut
- Select all of the letters again and click “Group”, then select “Attach”
- Final step: click the “Weld” button to blend all of the cut lines together to make a solid word! Easy peasy once you get the hang of it.
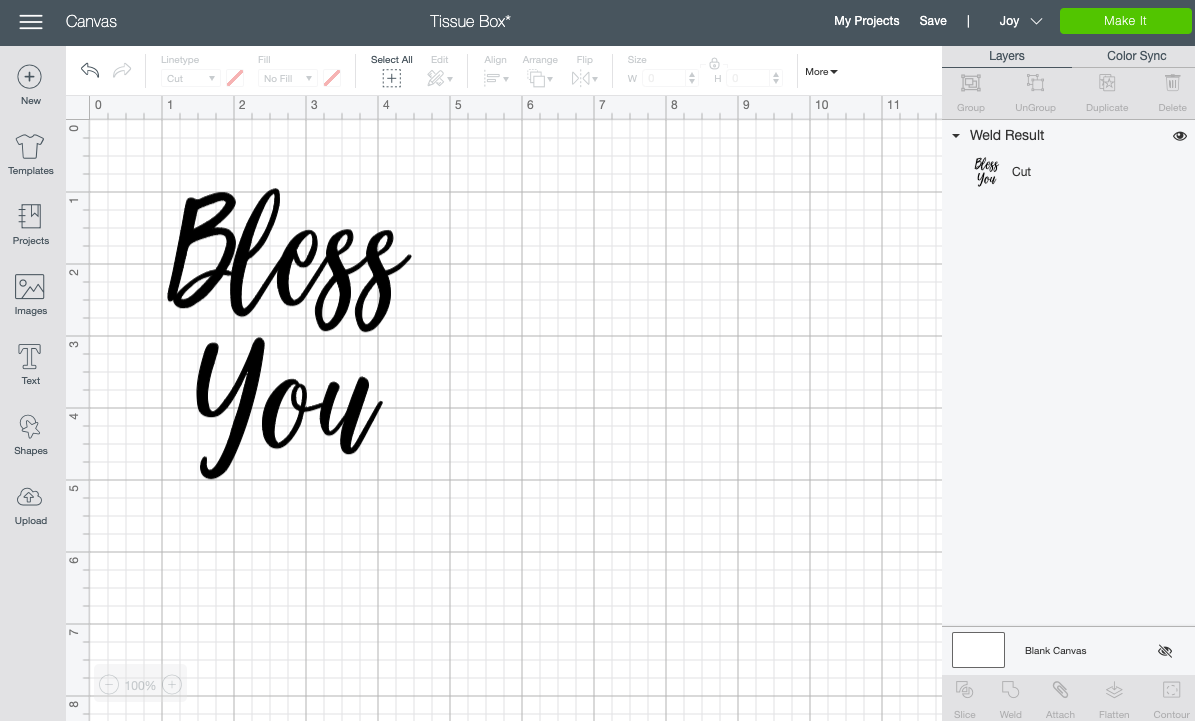
Once you have your design ready to go, all that’s left to do with the Cricut Joy is to cut! This is the exciting part: watching your creation become real!
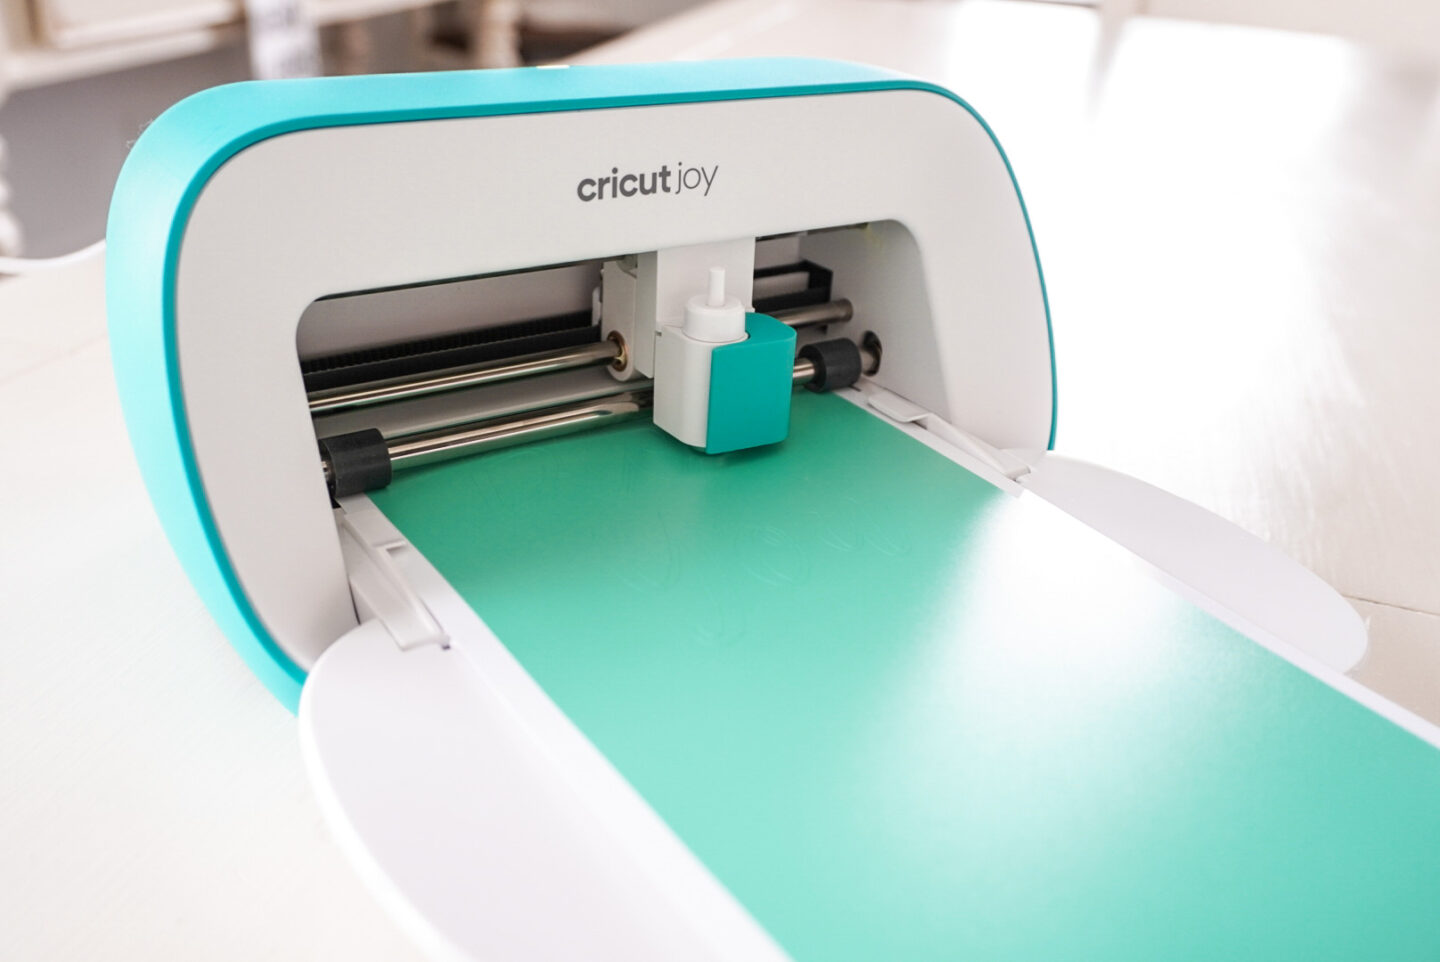
I am using the matte Mint colored Removable Vinyl, but you can use any kind of color or vinyl finish Cricut offers. There are lots of great options to choose from! Now it’s time to cut. All of your controls for the Cricut Joy will be accessed through Cricut Design Studio (as the Joy has no buttons on it).
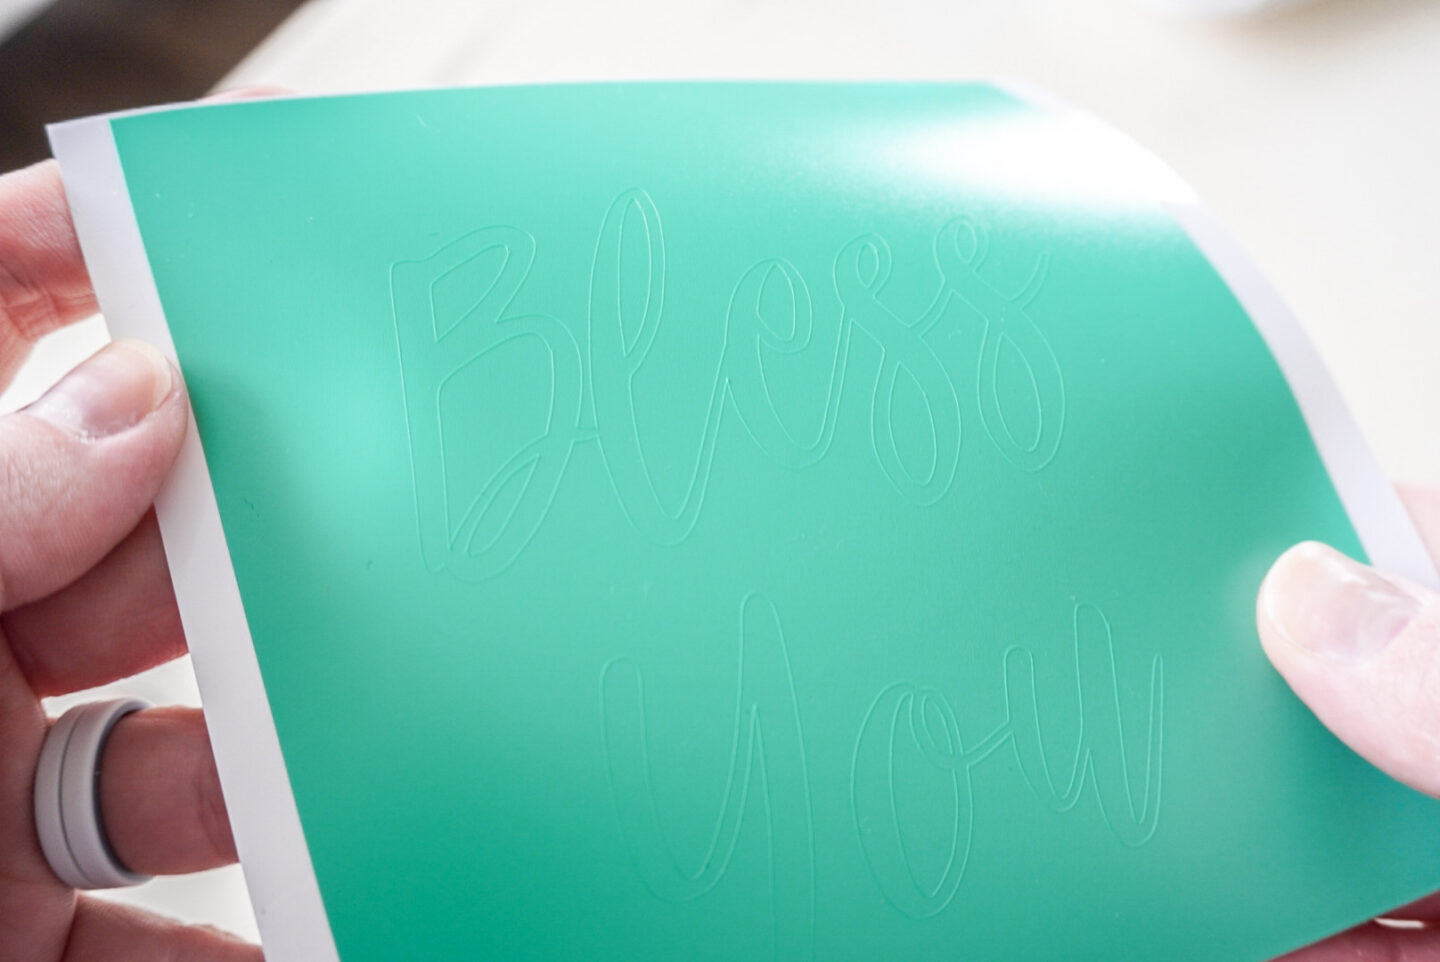
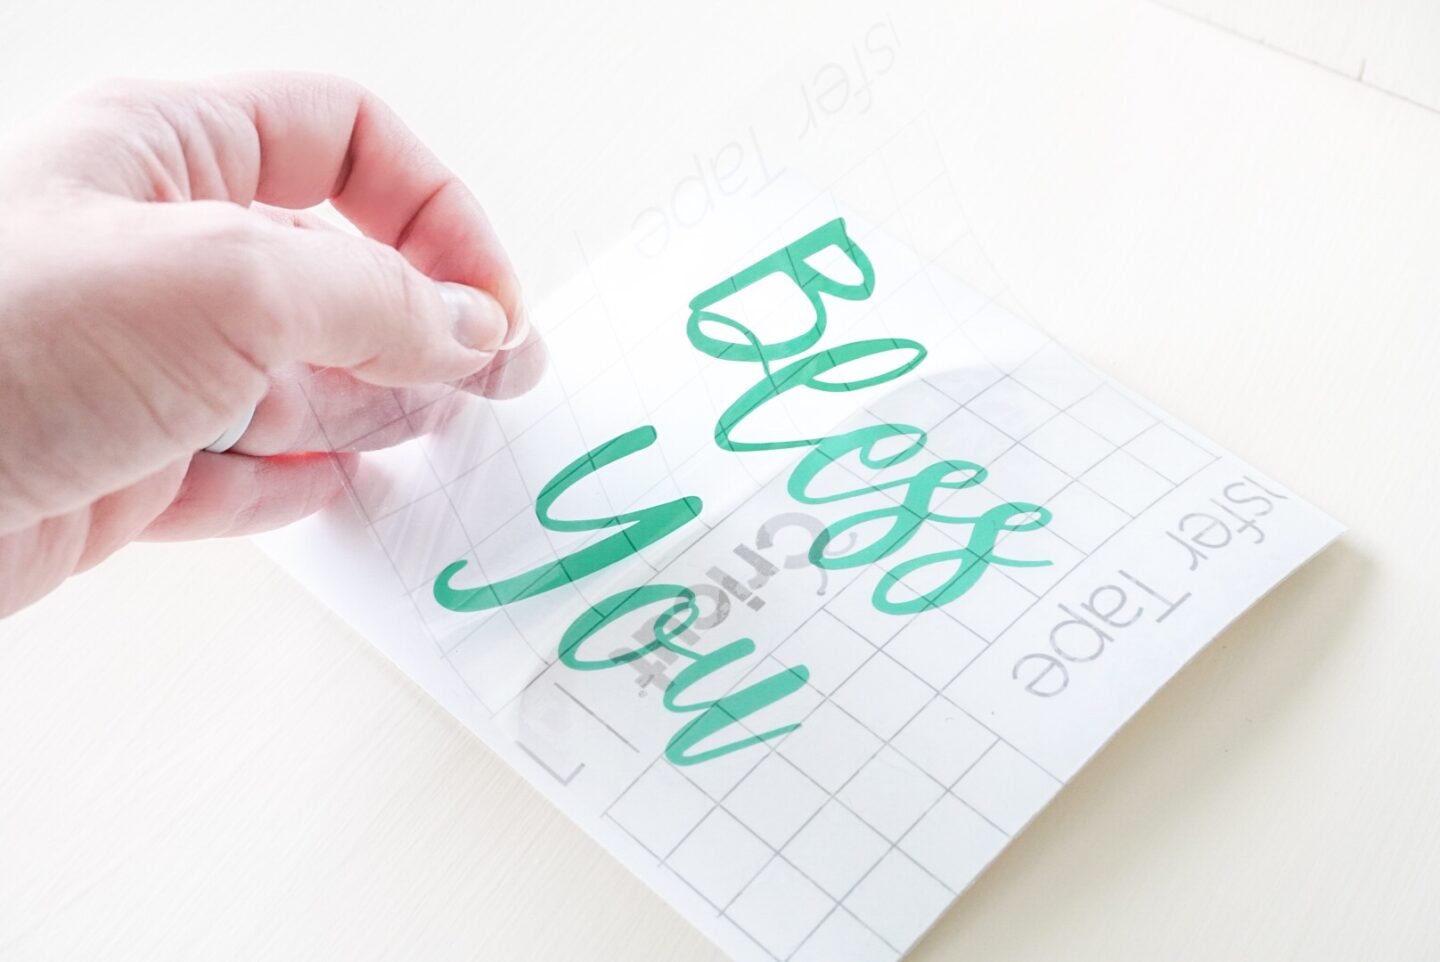
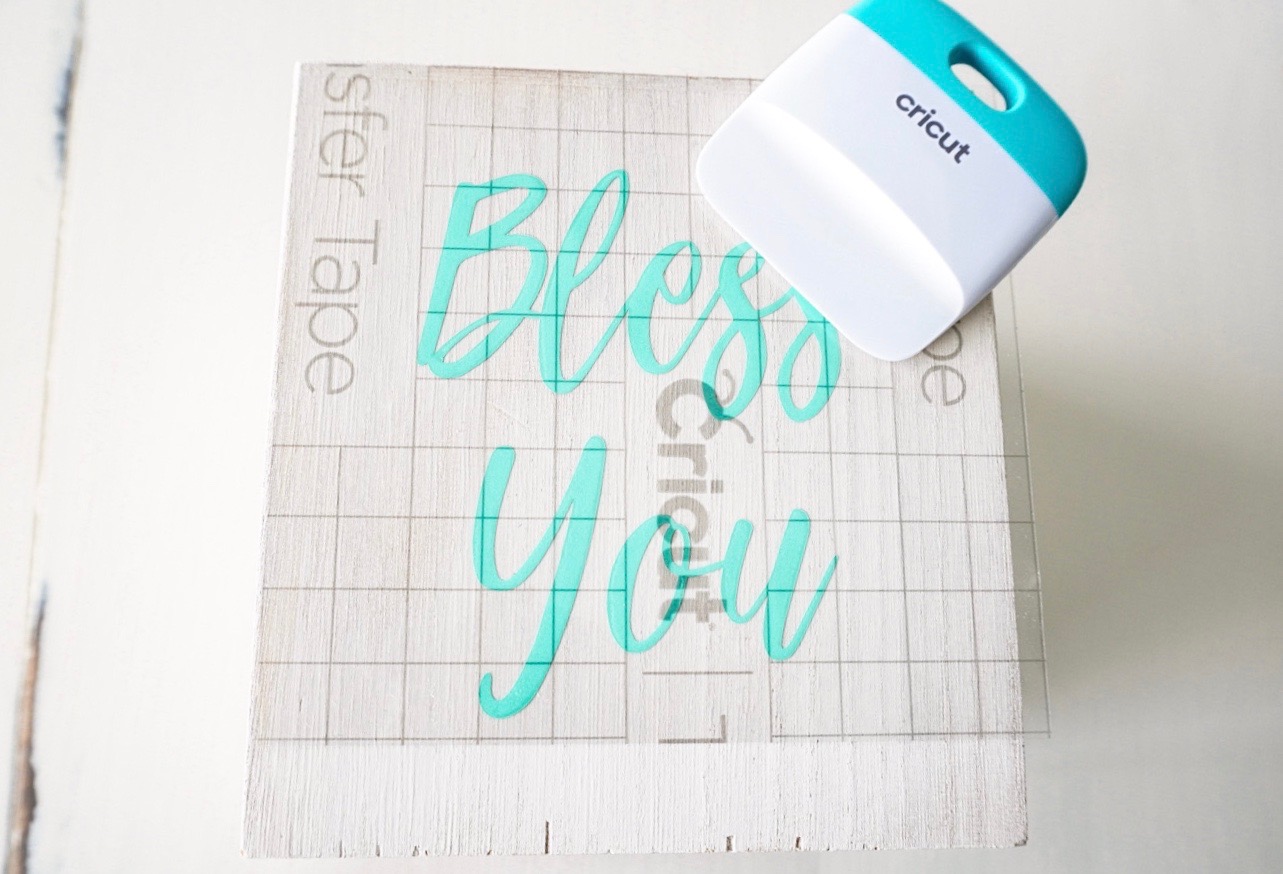
Now that my letters are all cut, it’s time to apply them to my project piece! Take your Transfer Tape and cut it to the size you need for the lettering, place it on top of the lettering and scrape using the scraping tool in the Starter Tool Set. See below for how I did mine!

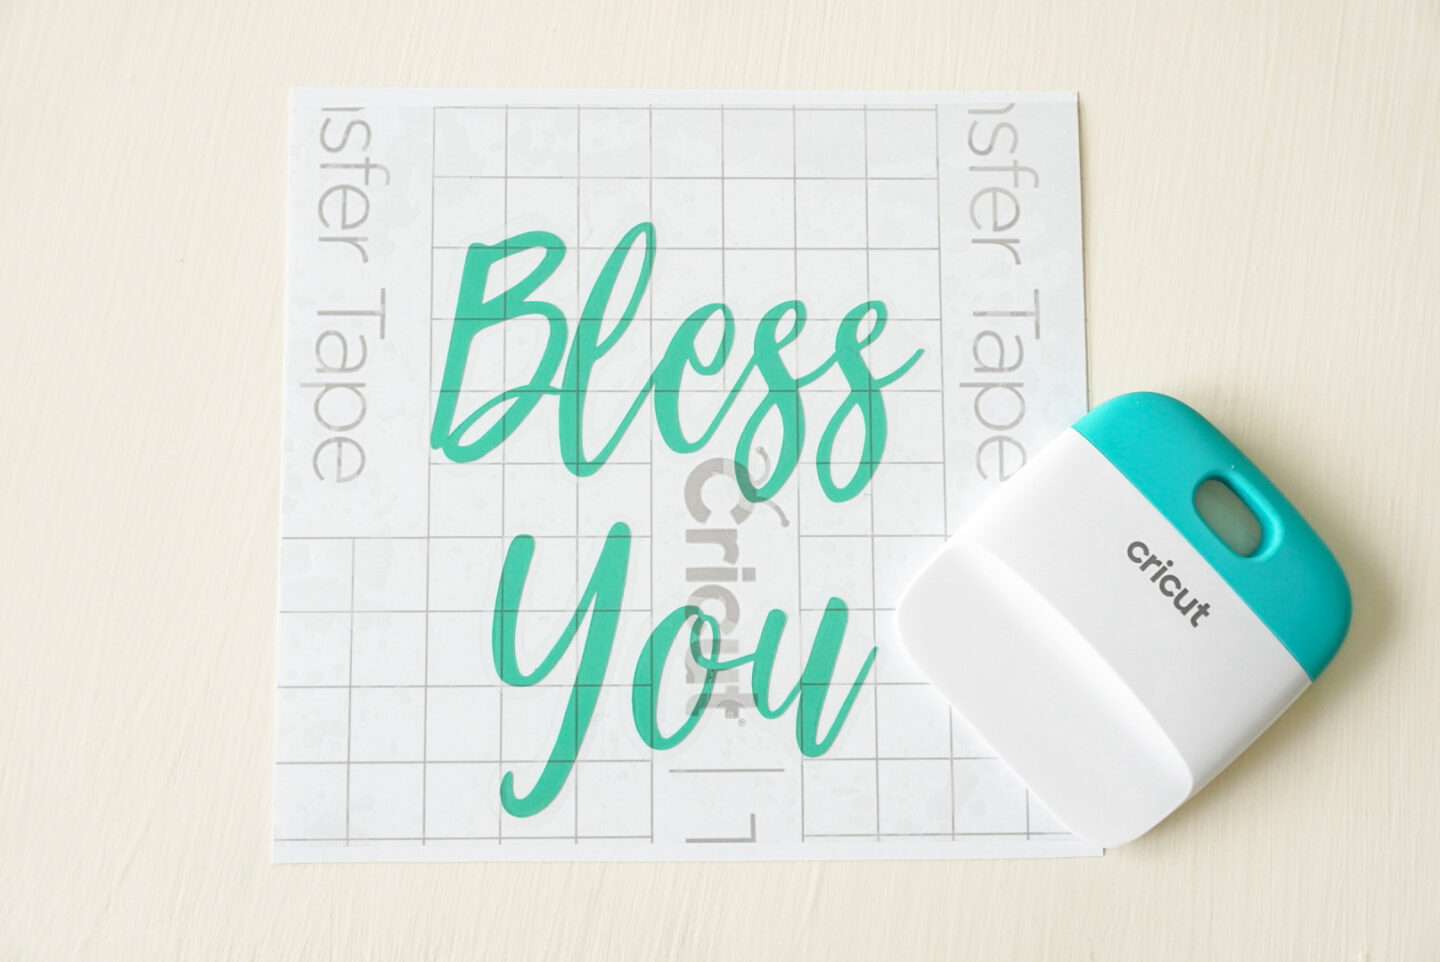
Next, pull the tape gently and make sure all of your lettering comes up with it. Once it does, place the tape and lettering directly onto your project piece and use the scraping tool once again to make sure the lettering transfers properly.
Once your letters are applied, you’re all done! Now you can sit back and enjoy your newest finished project!

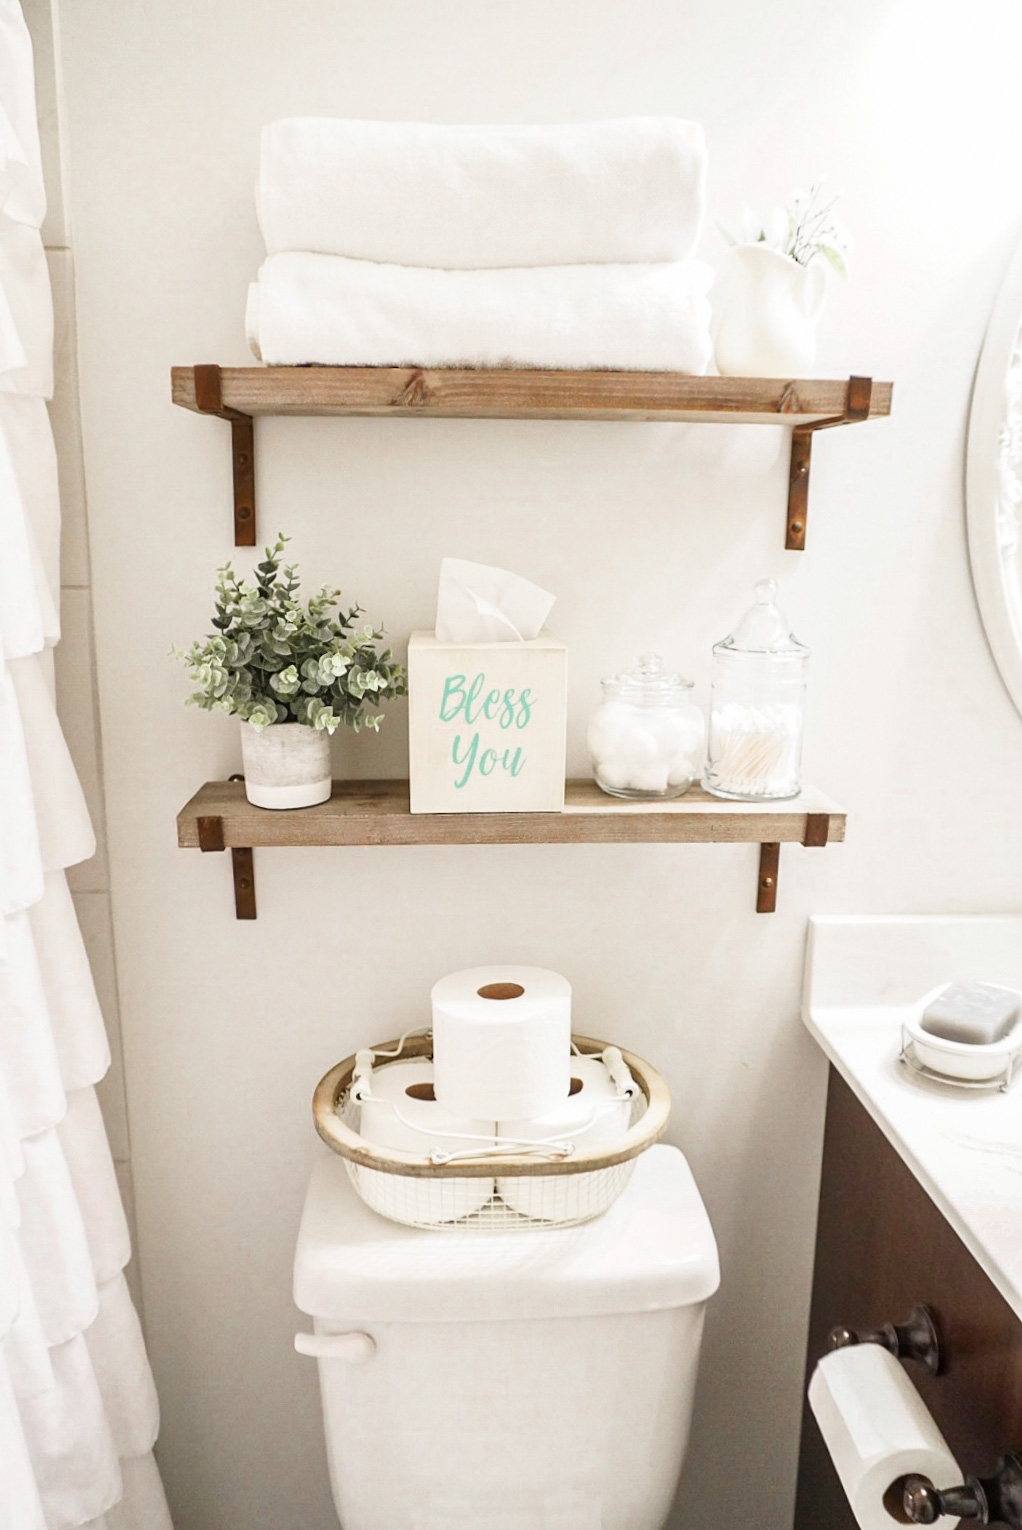
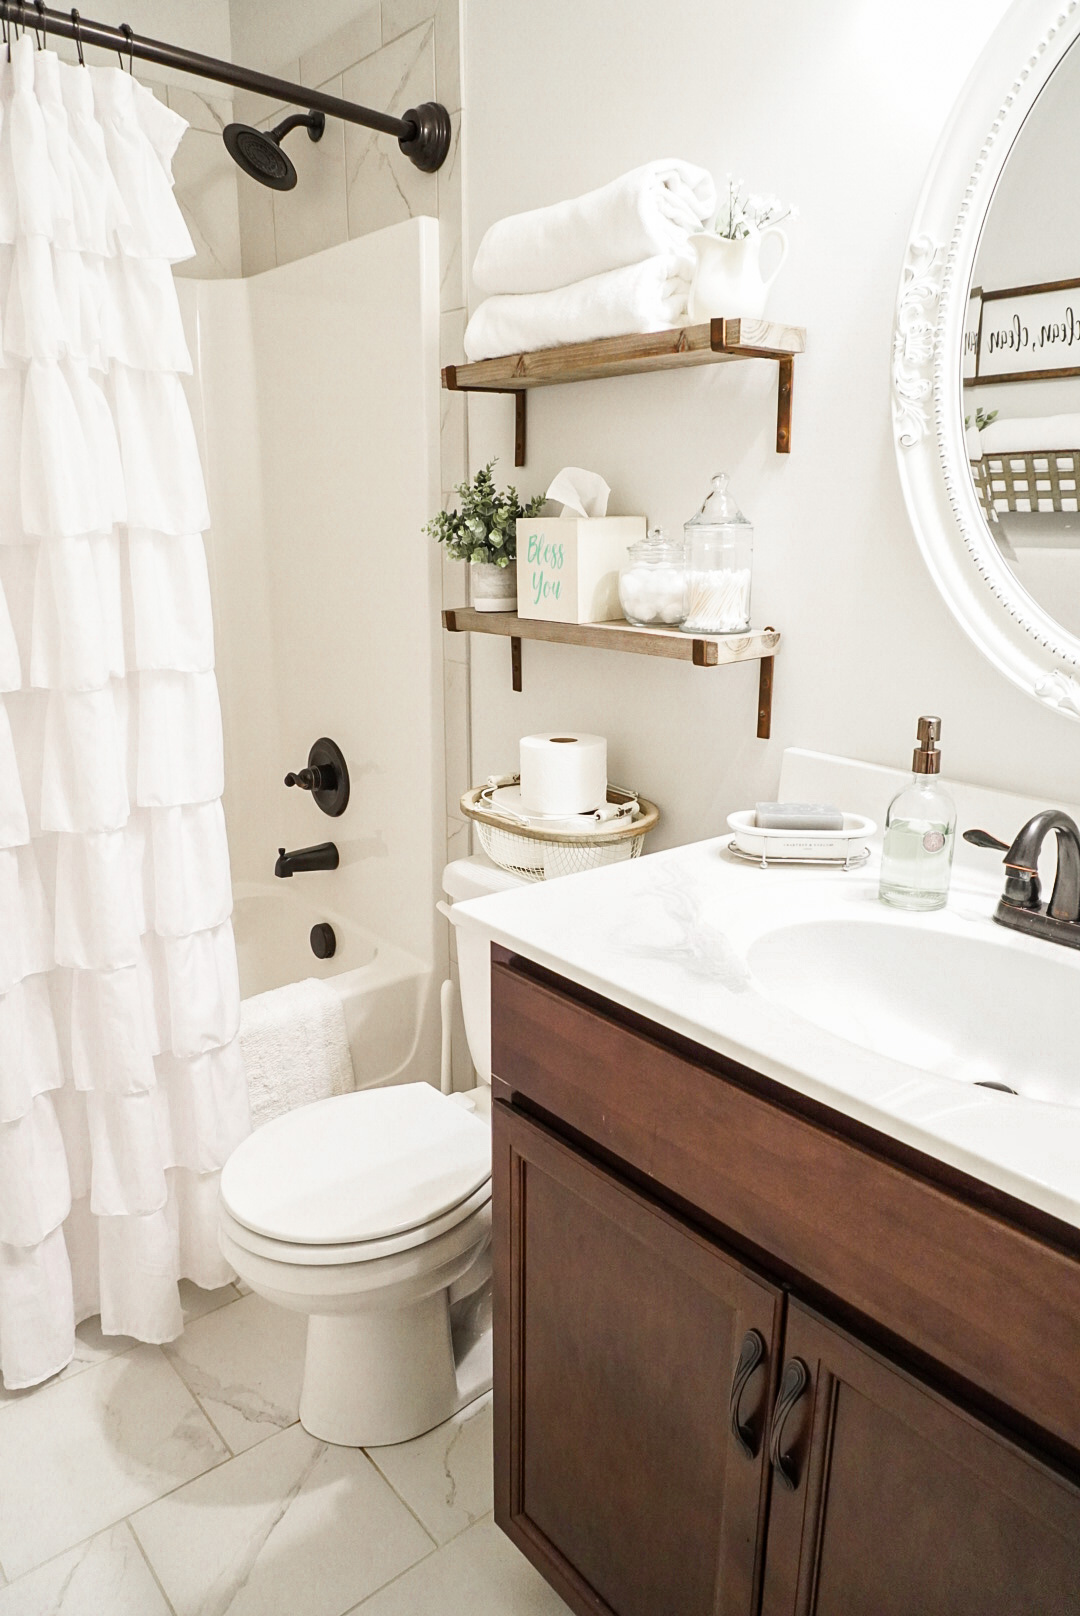
I hope you enjoyed and found blog post helpful! This is a simple but fun project using the Cricut Joy! This machine is so easy to use, I keep looking around my house at all of the other things I want to personalize now!
Find this Project on Cricut Design Space
I’ll be sharing my design over on Cricut Design Space, so if you would like to make the same project, you will be able to easily recreate it! Let me know in the comments what kind of projects you would make with the Cricut Joy; Can’t wait to hear all of your ideas!
Love this project? Don’t forget to Pin my images to your Pinterest!
