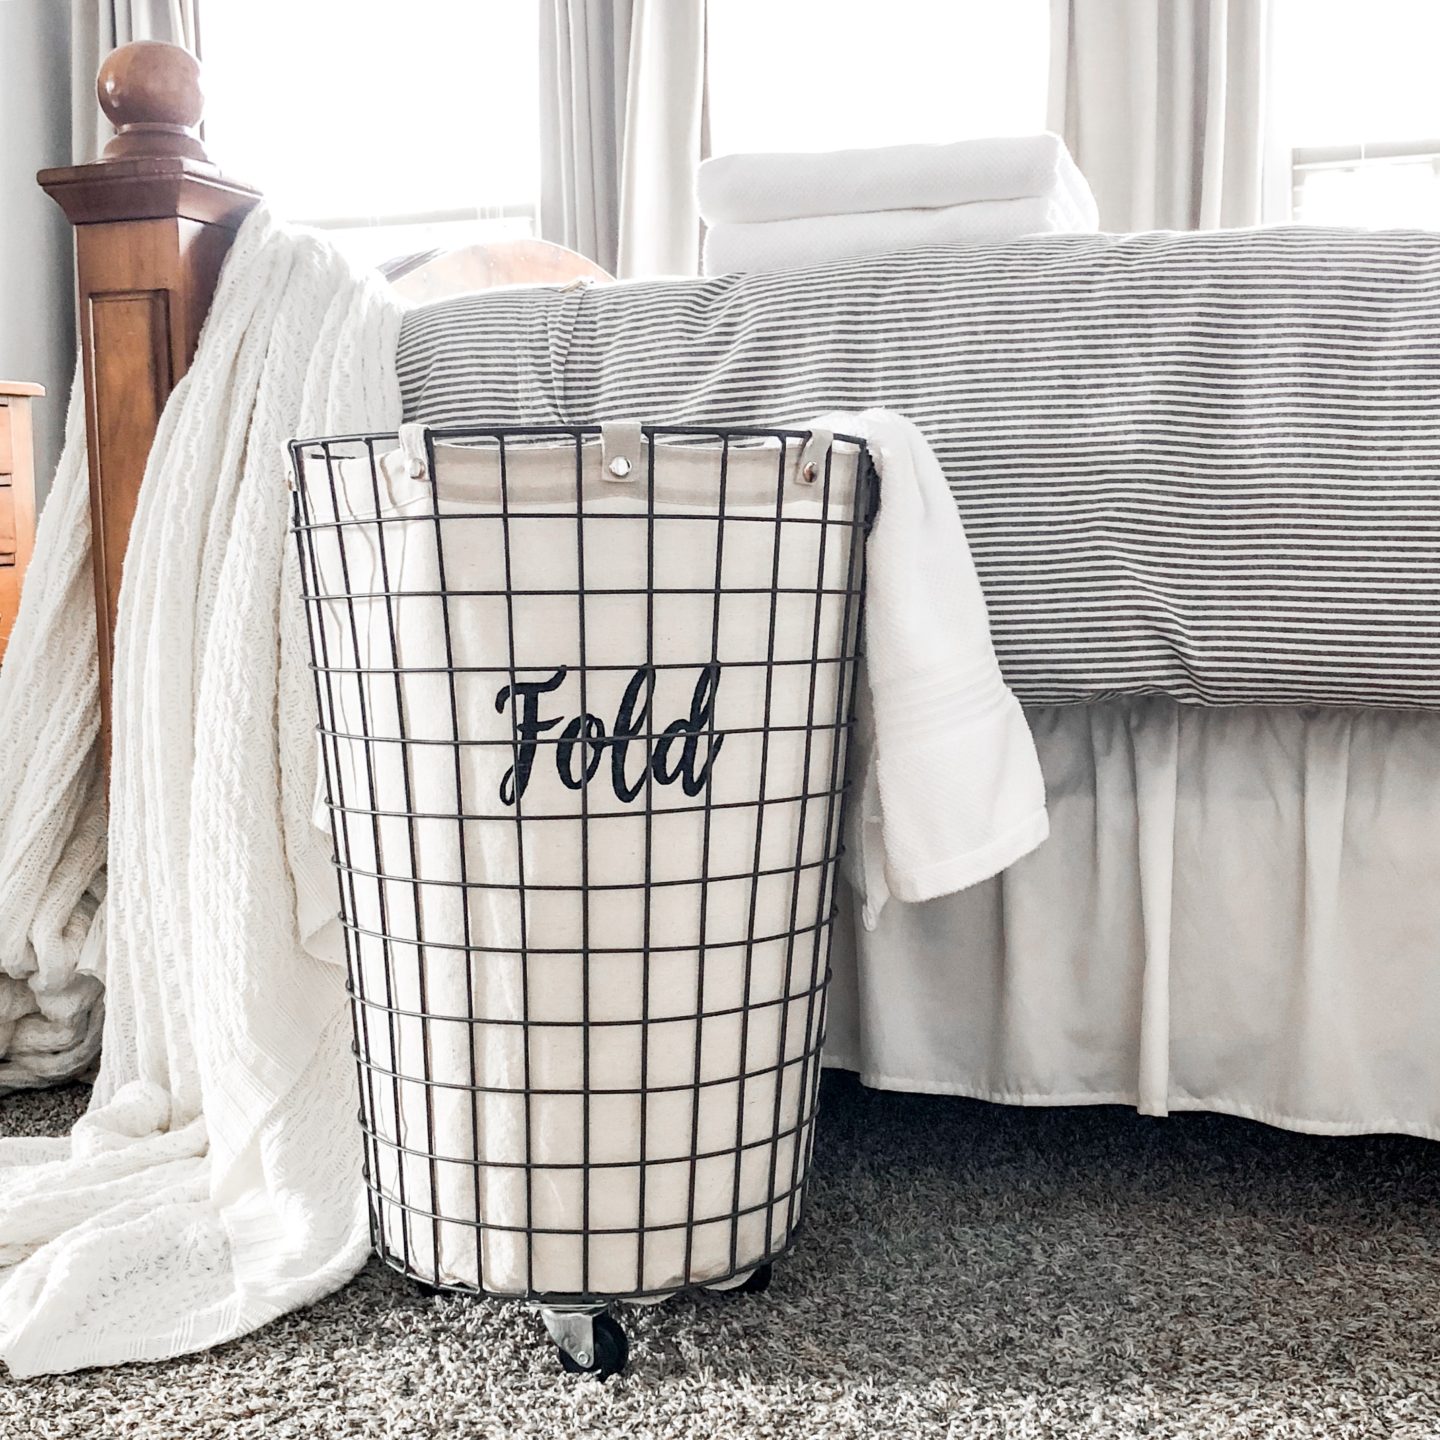
Everyone loves custom-made pieces right? That’s because we like the idea of having something that is one of a kind, and no one else has that item. What if I told you that not only can you create a lot of these items yourself, but that they can also look professionally done? Well, today, I am going to show you how to DIY your own screen printing on fabric. No artistic ability needed.
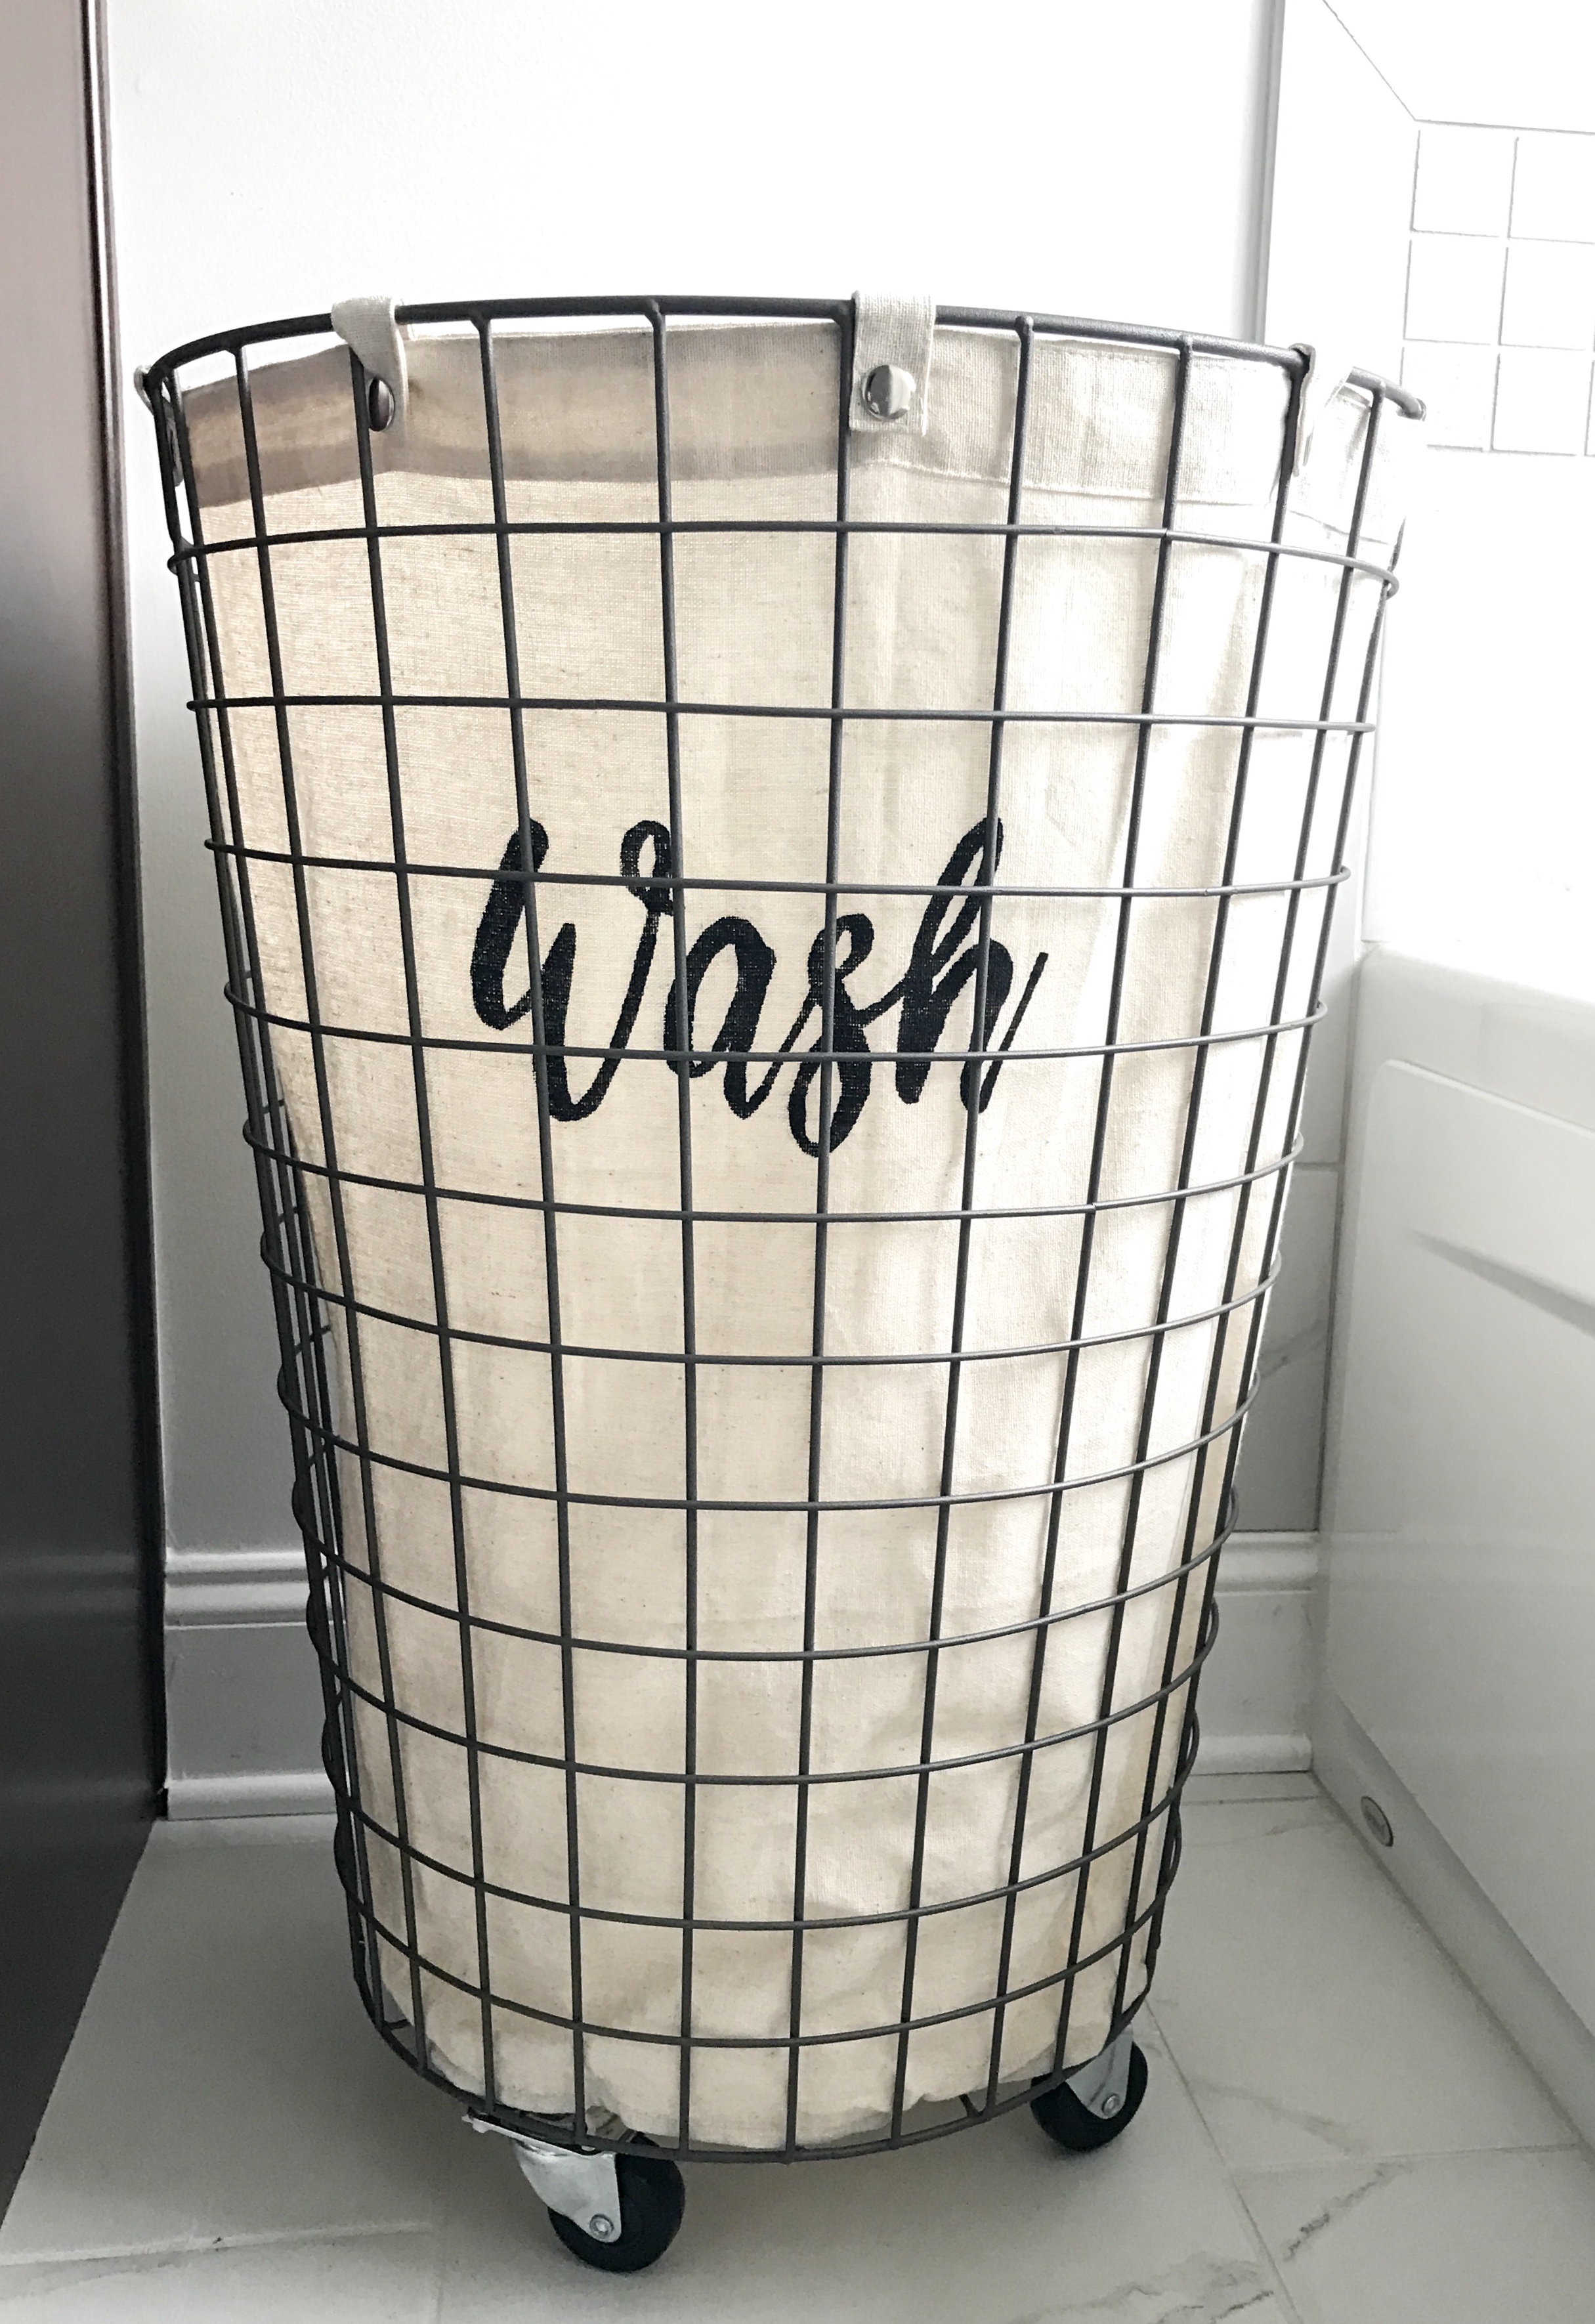
I wasn’t able to find exactly what I was looking for when I was shopping for Laundry Baskets, so I decided to take on the task of creating my own. Once I knew exactly what I wanted to do, it was pretty simple to execute my idea!
Today, I am going to go over how I created this look and what you are going to need to accomplish it! My Laundry baskets were kind of boring before: just a wire basket with a liner. Not even the wheels, which I added on myself! If you want to learn how I did that, you can visit Heathered Nest. She has a great tutorial on how to add wheels to baskets.
First, you will need to find which item you want to screenprint onto. I will be showing you how I made my laundry baskets. I originally purchased my baskets from Lowe’s, unfortunately, they do not sell this particular basket anymore. You can, however, find similar baskets at World Market and Amazon; You will need one with a removable liner.
Here is what you will need for this project:
- Wire Laundry Basket(s) with removable liner
- Printer
- Adobe Photoshop(or another kind of text editing software)
- A Great Font
- Adhesive Paper
- Xacto Knife
- Sponge Brush
- Permanent Acrylic Paint
Your first step for this project is really just finding a font you absolutely love! The one I used for my baskets is called Willow Bloom, from Creative Market. Creative Market has a wonderful assortment of Fonts to choose from as well as many other creative products you can use in your projects. Some are free, some you have to pay for, but they are worth it!
After you have chosen and installed your font, you will have to access your text editing software. Here you will need to decide on how large or small you will want the font to appear on your project piece.
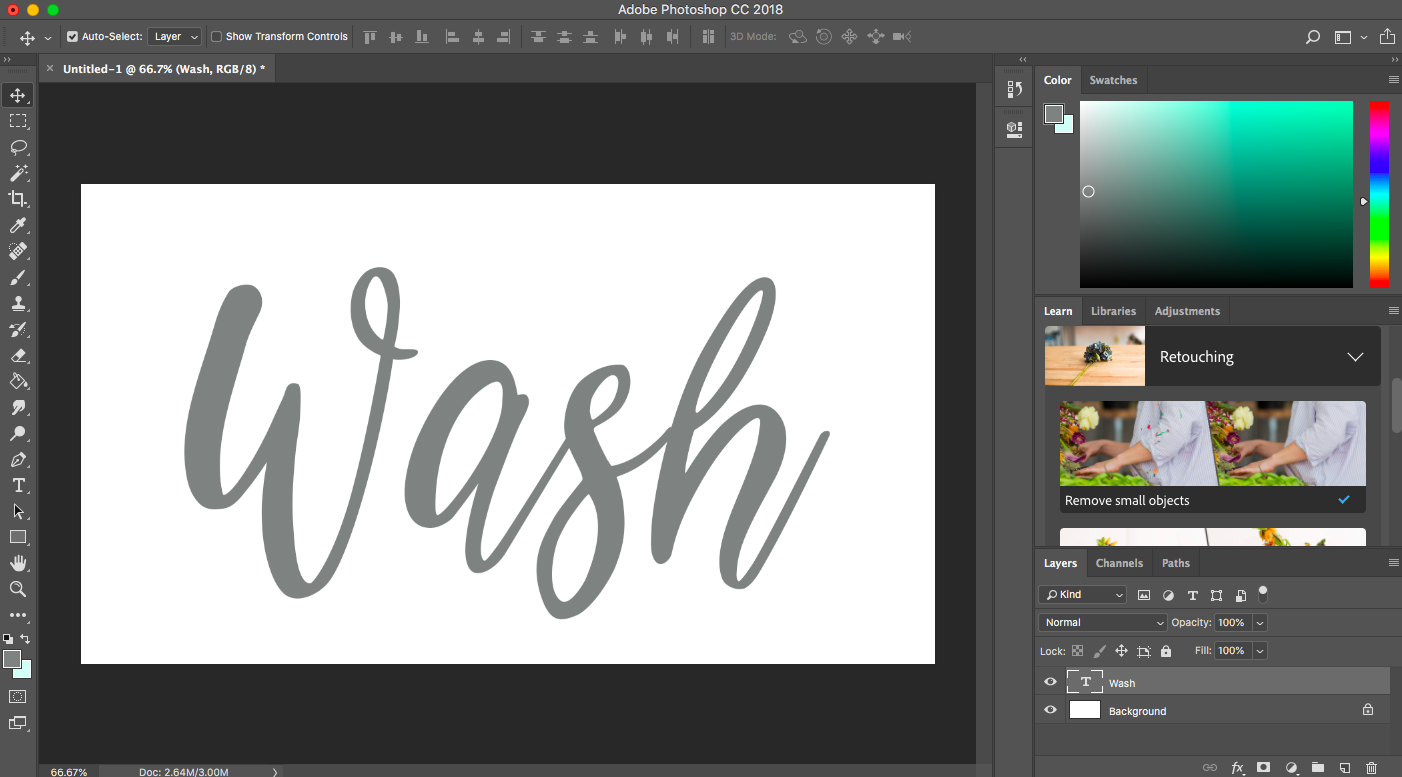
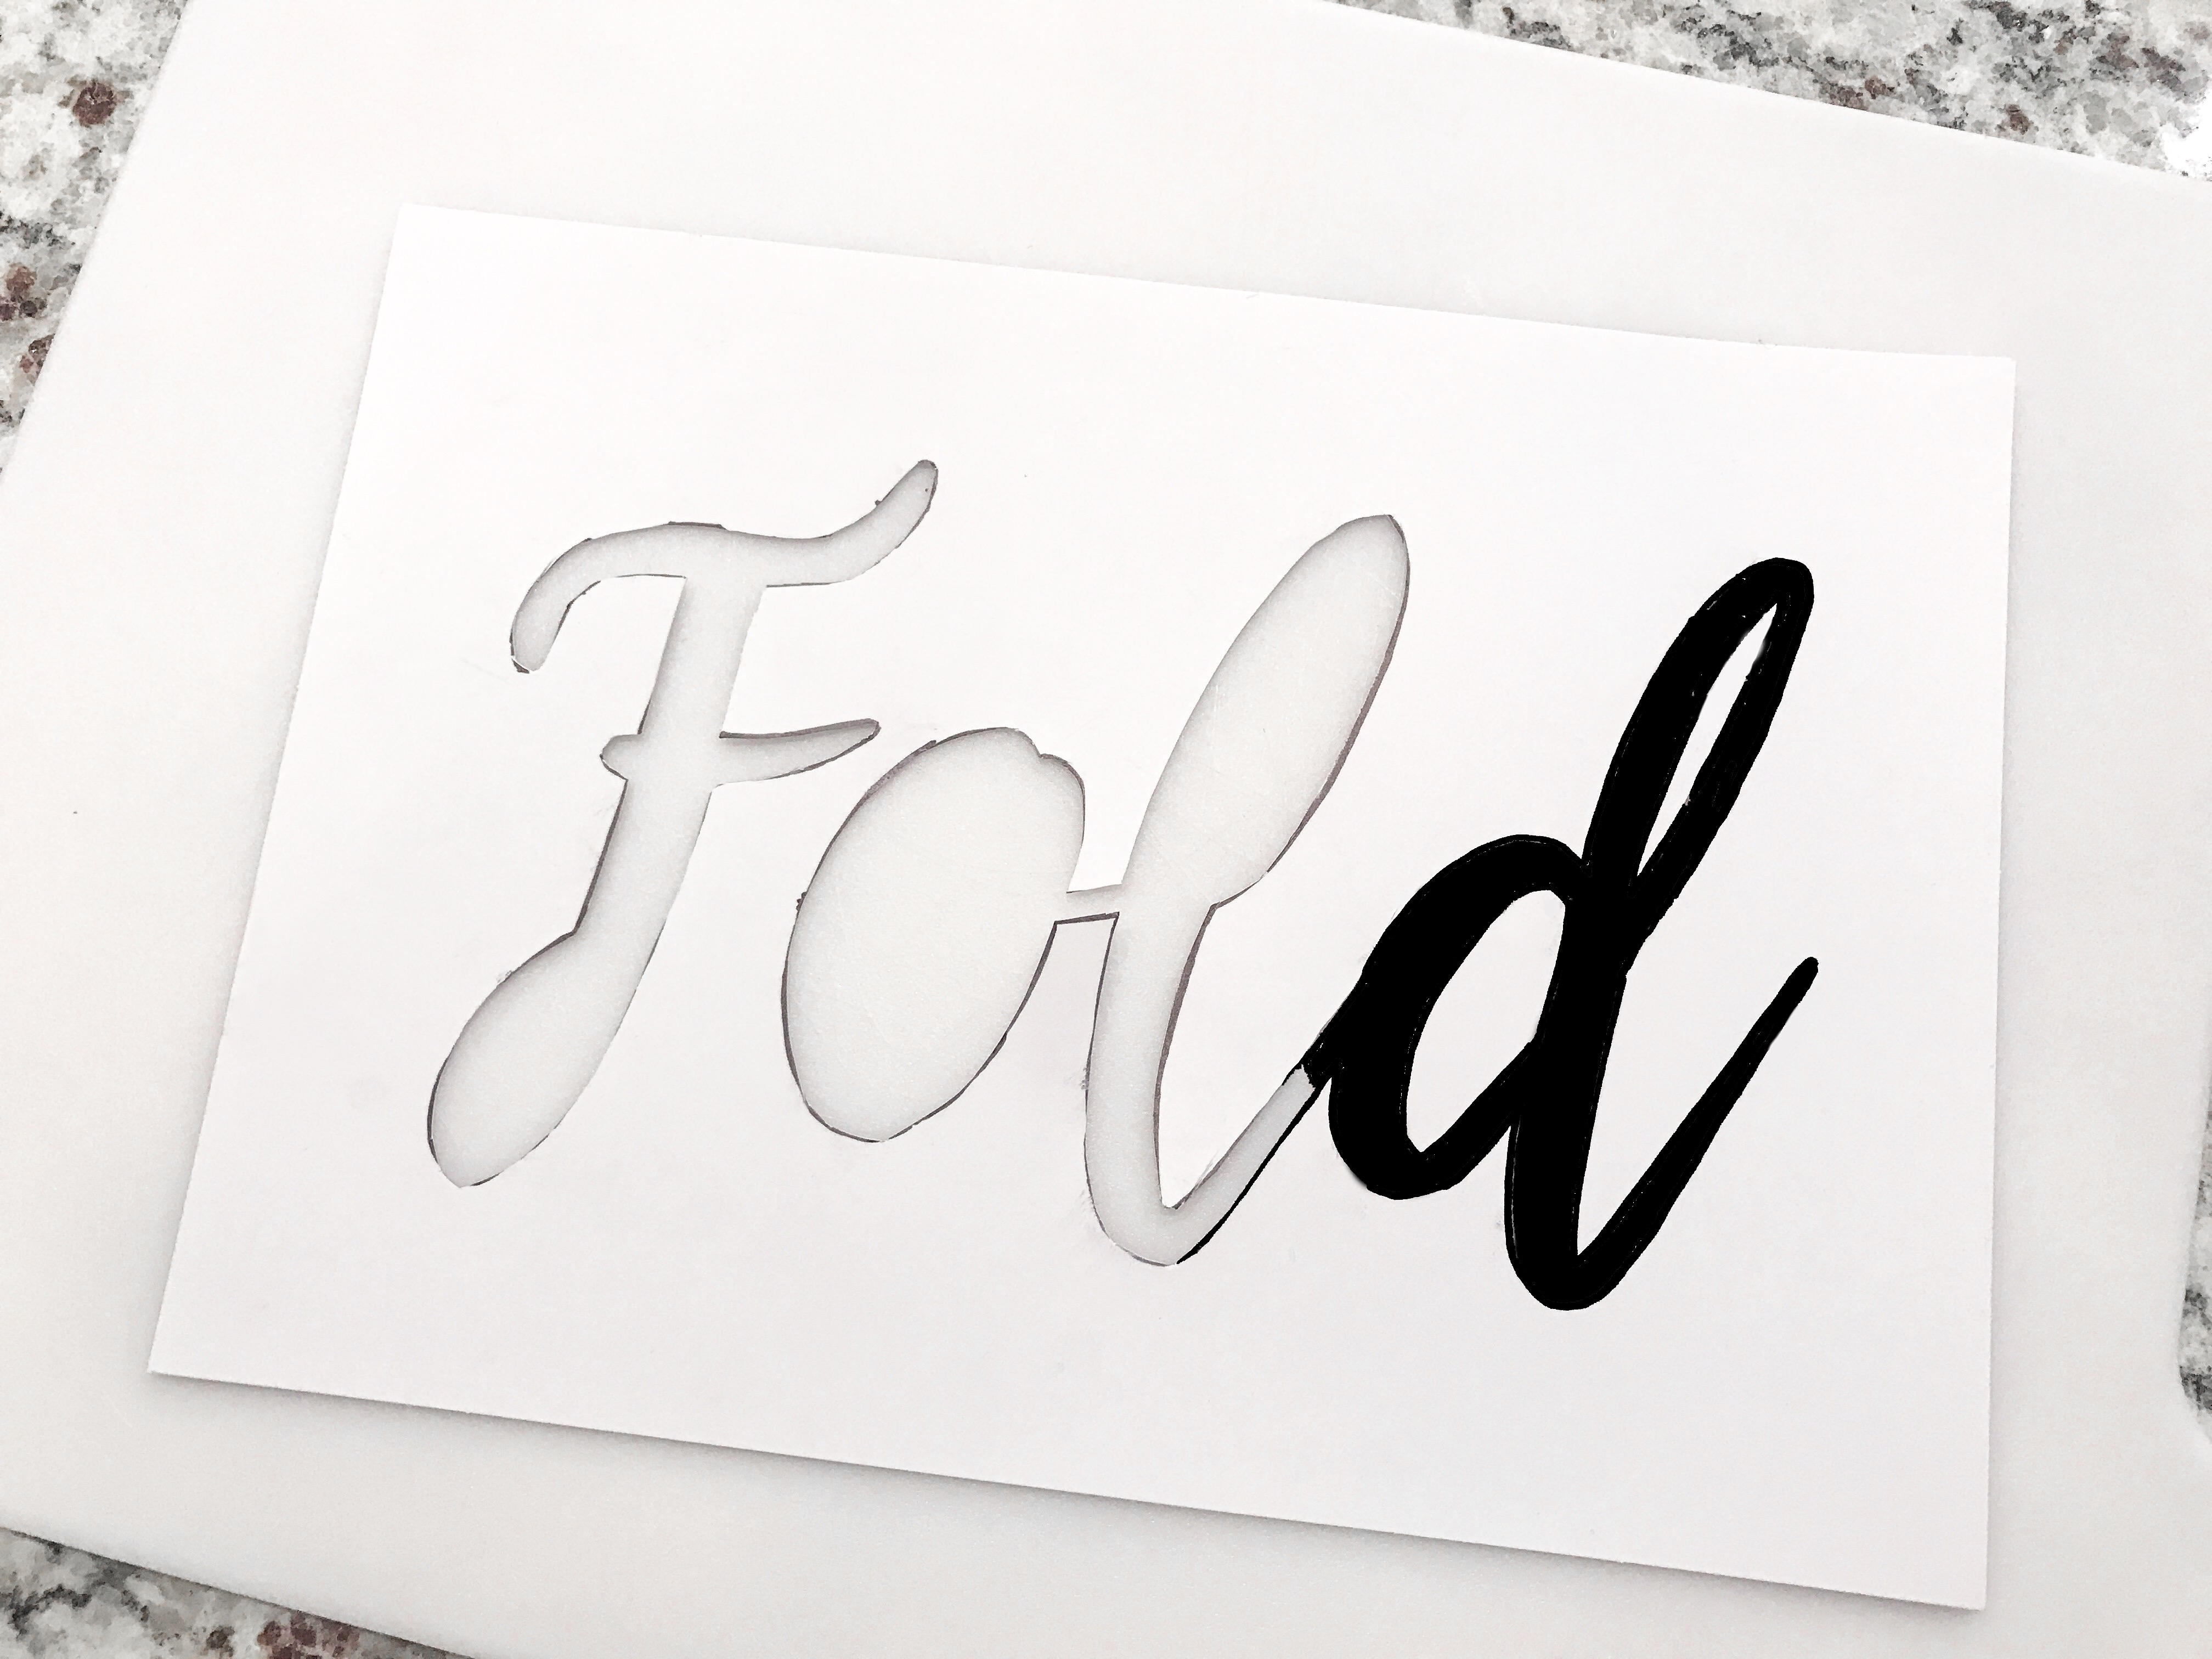
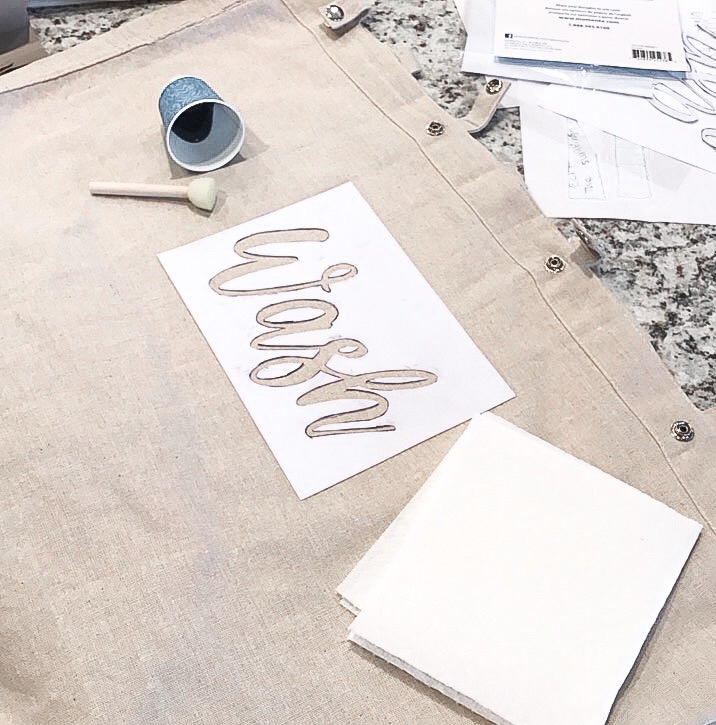
Once you have done that, you will need to print your font onto the Adhesive Paper. Next, grab your cutting board (I use my cooking one lol!) and start cutting along the lines of the font using your Xacto Knife. You will want to cut completely through the paper, including the backing.
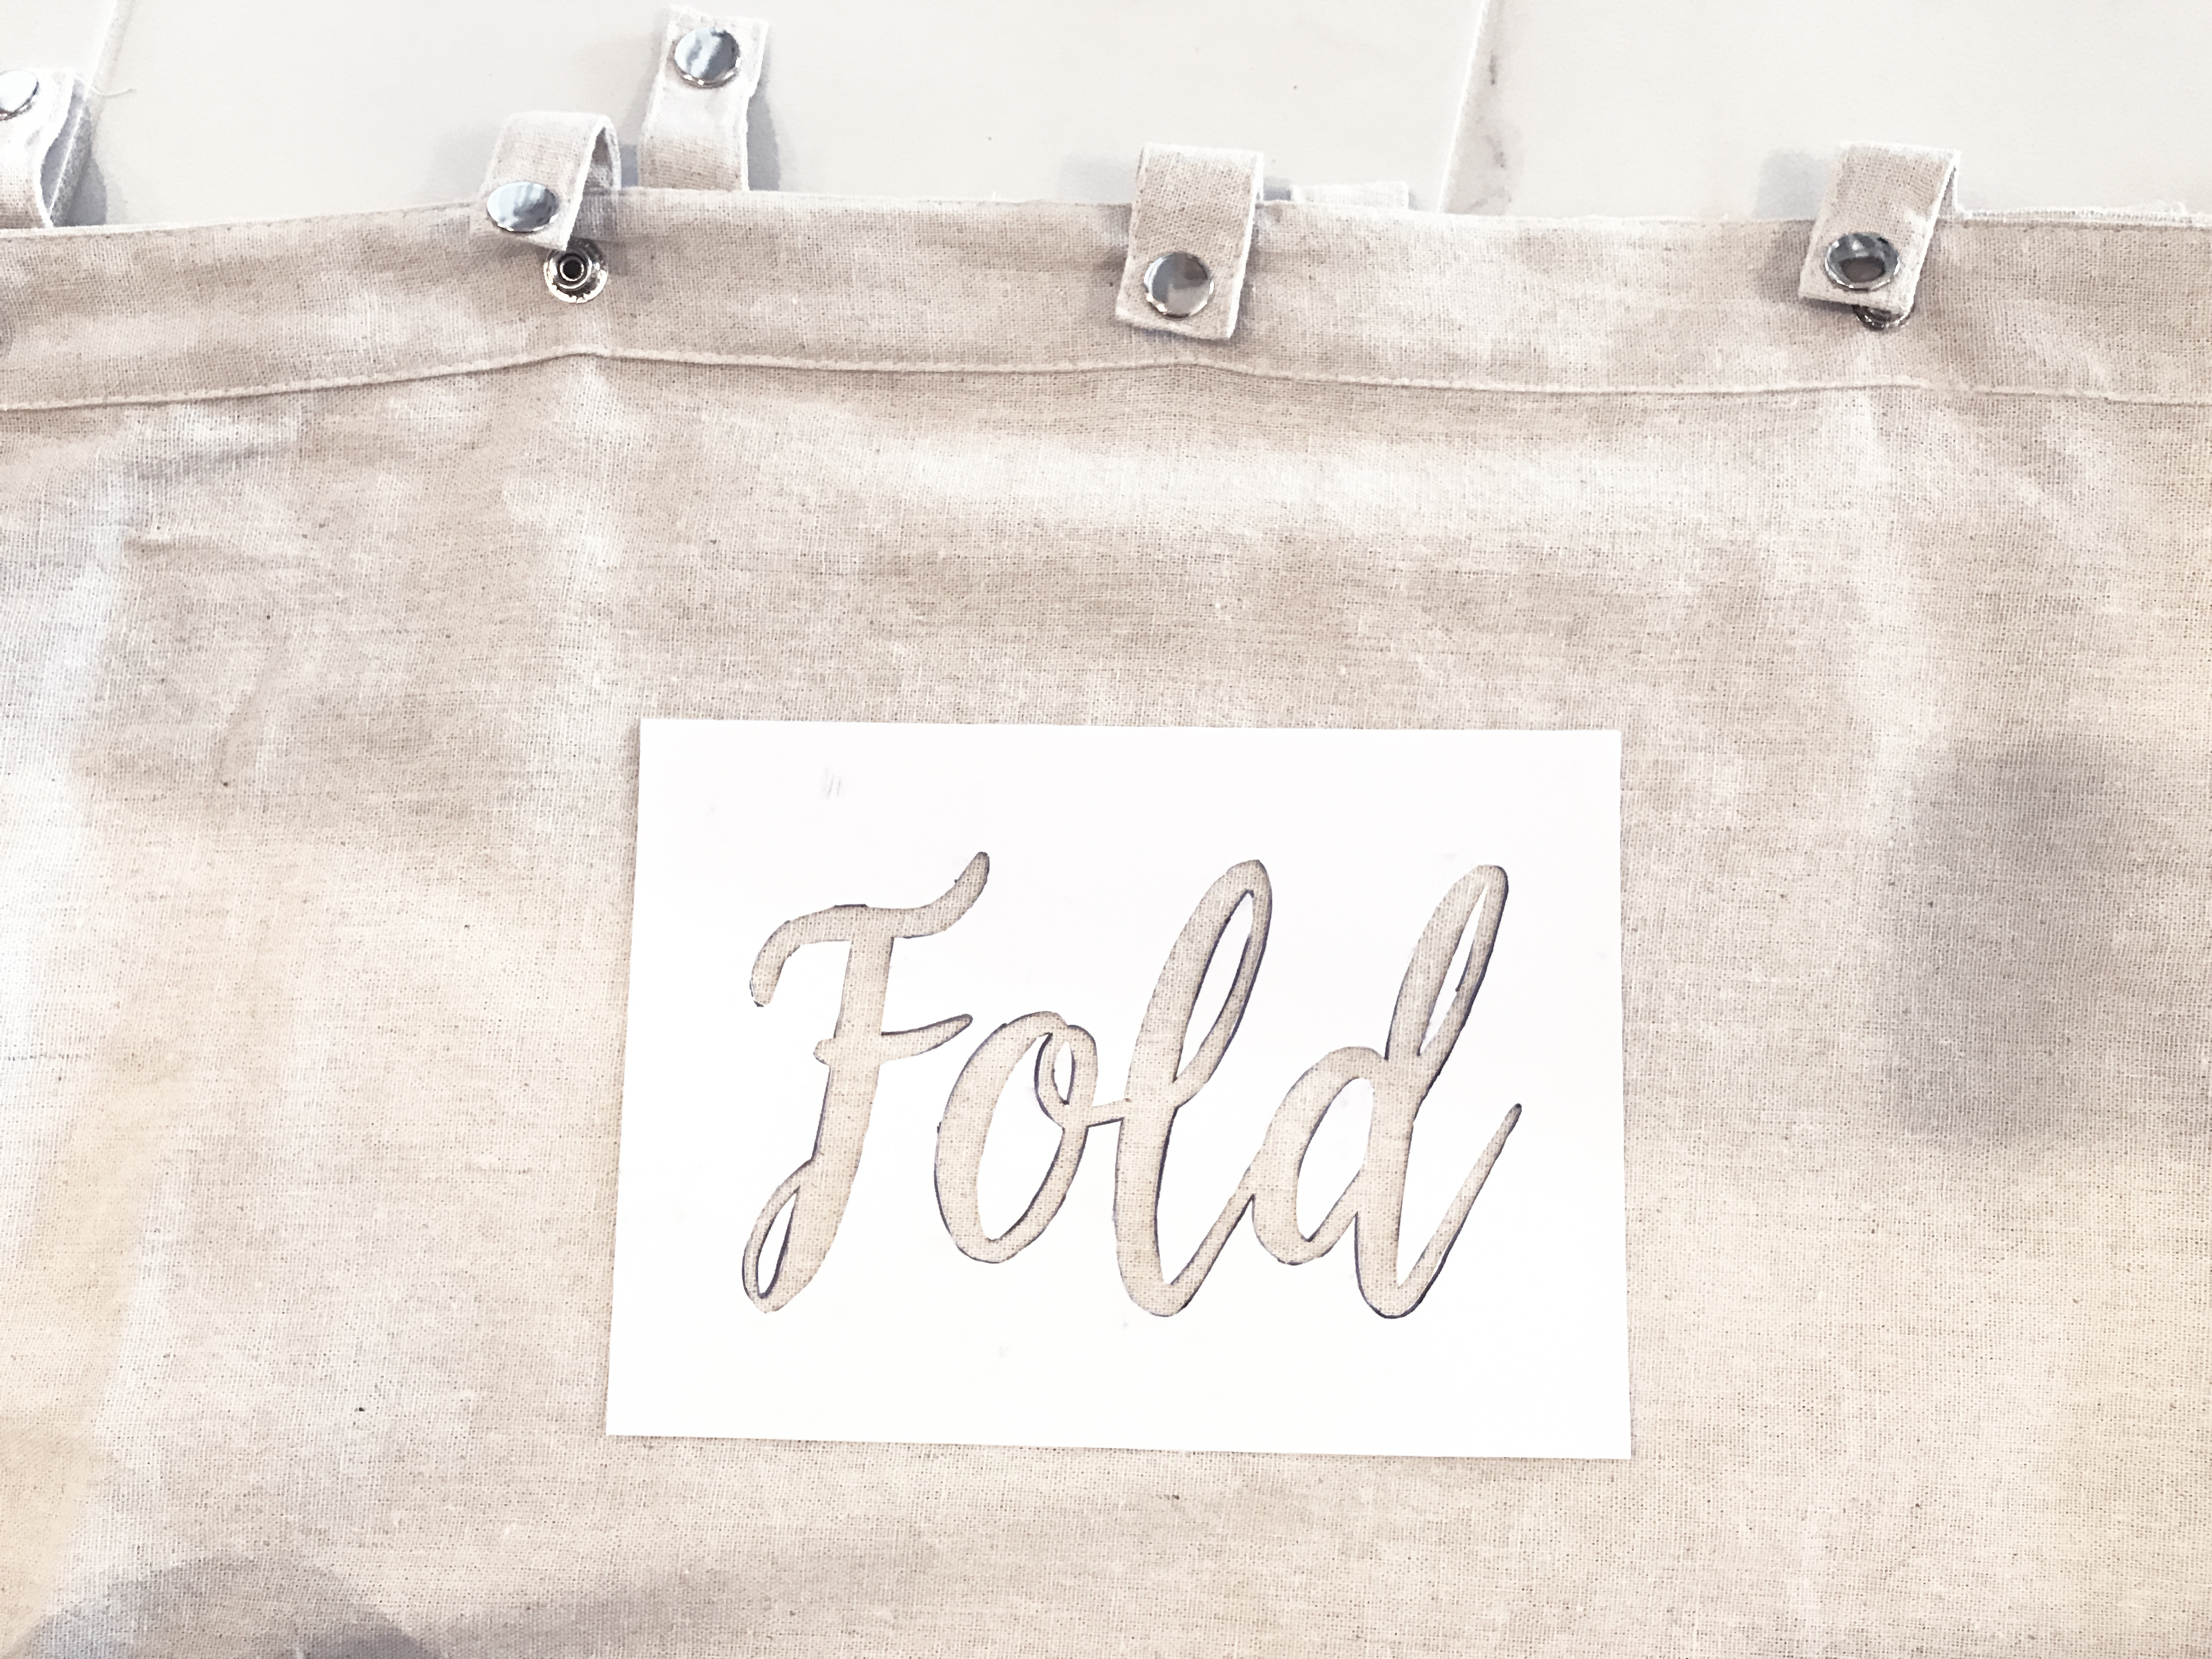
Once you have done that, bring out your basket liner and lay it flat on your project work surface. Remove the protective backing to your adhesive paper, then line your font up to where you want it to adhere. Press your adhesive paper down onto the fabric. Make sure it closely adheres to the fabric. If you have extra pieces from letters that came out separately, make sure you adhere those too! They are necessary to complete the look you’re after.
Next, you will need your Permanent Acrylic Paint and the Sponge brush. Before you get started painting, you will need to put a folded paper towel underneath where you will be painting. This will protect the rest of the fabric from getting paint on it by absorbing the excess that leaks through. This project actually uses very little paint, so you can transfer a small amount into a Dixie cup (or something similar), and dip your brush into it.
Next, you will need to gently, and carefully, sponge on your paint using your Sponge Brush. Your goal when applying is to not use too much paint, but enough to cover all of the fabric you would like to have painted. Make sure your application is even. **Remember: This is a ONE TIME application. You do not want to mess up! If the thought of this scares you, you may want to practice on an old T-Shirt first.
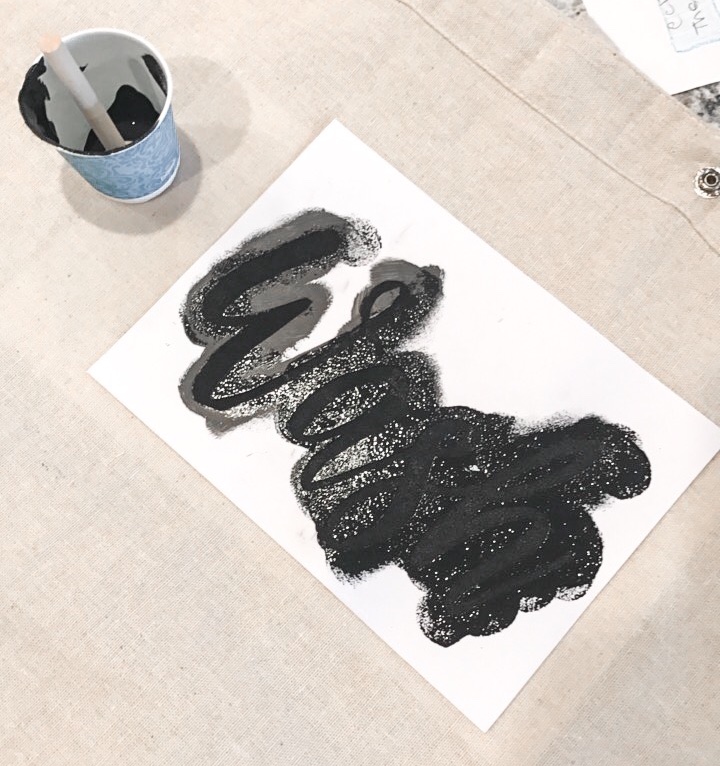
After your paint appears to be mostly dry/dry you can gently remove the adhesive paper. I suggest letting it dry for 24 hours prior to use.
After your paint has fully dried, you can go ahead and reattach your liners to your baskets! That’s it! Now you can take a step back and admire your hard work.
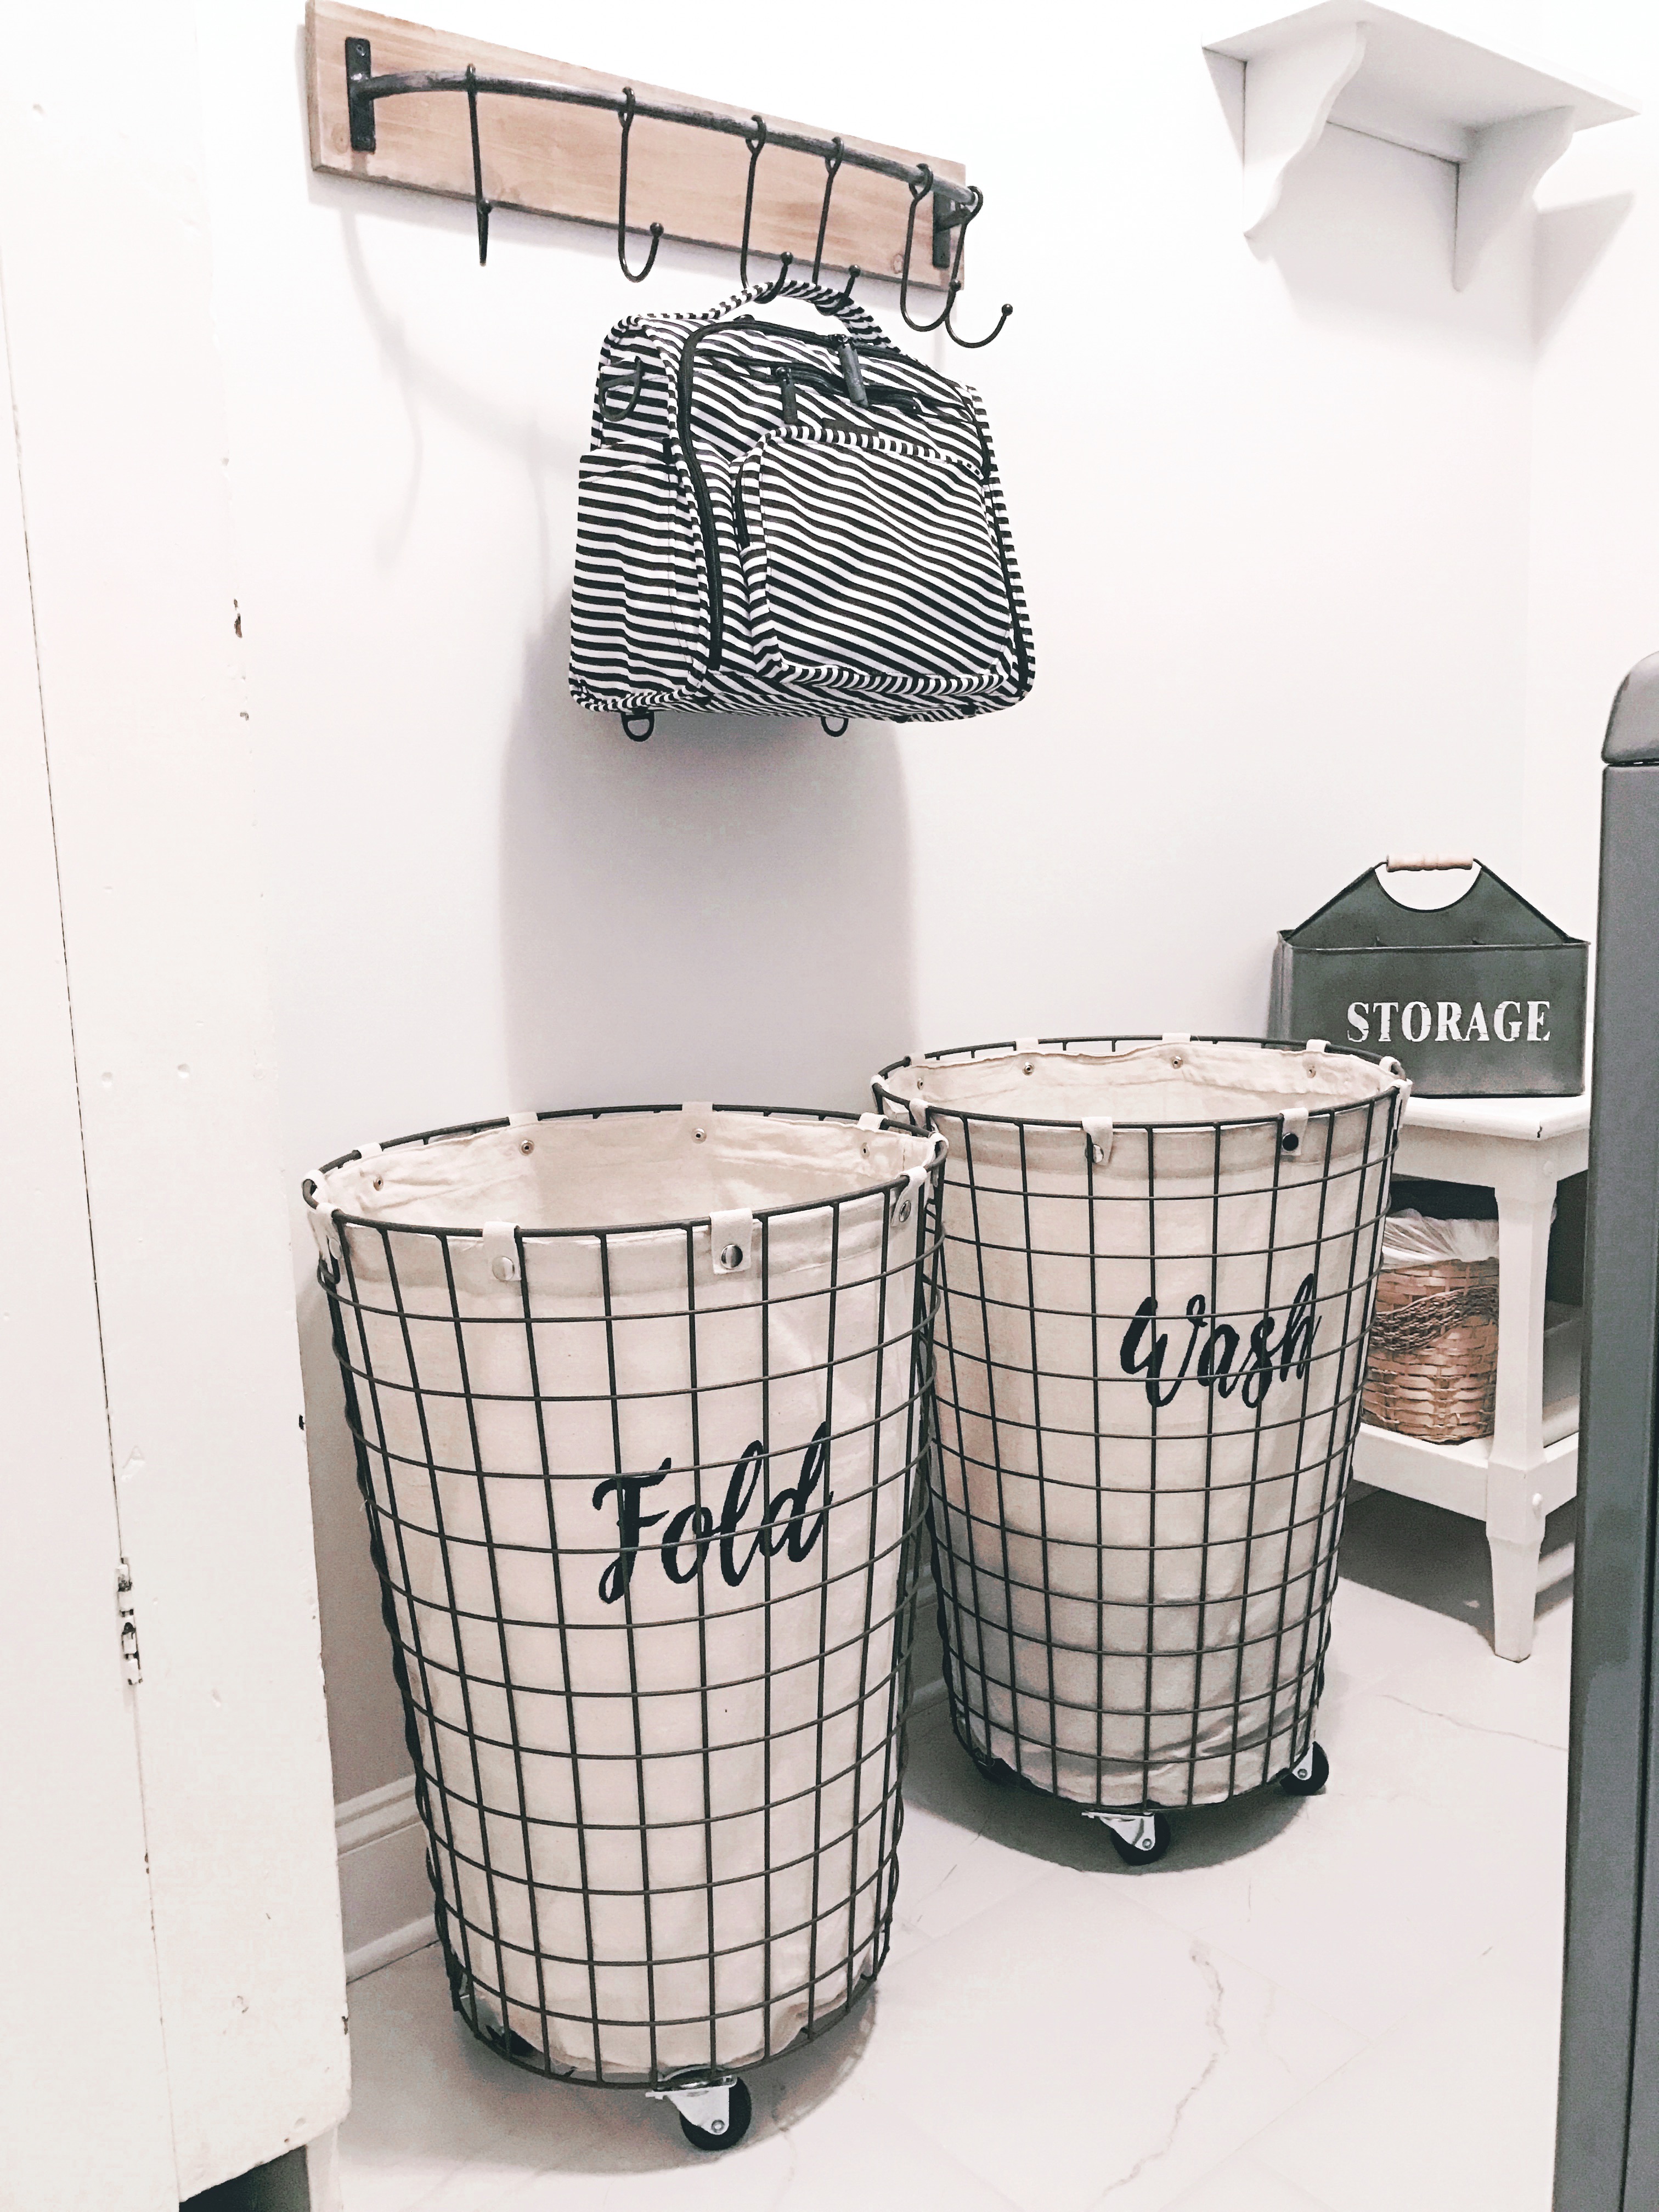
I hope this Blog post has been informative and helpful for you if you have a similar project you are getting ready to work on, or maybe it just sparked a fun idea! I would love to hear your thoughts, so please leave a comment below!
As always, thank you so much for stopping by! My Links for products mentioned in this post are below.

I’m downloading this font RIGHT NOW. lol!! Loooove
Author
Yay!! Isn’t it the cutest! I use it for all my projects and LOVE it ?