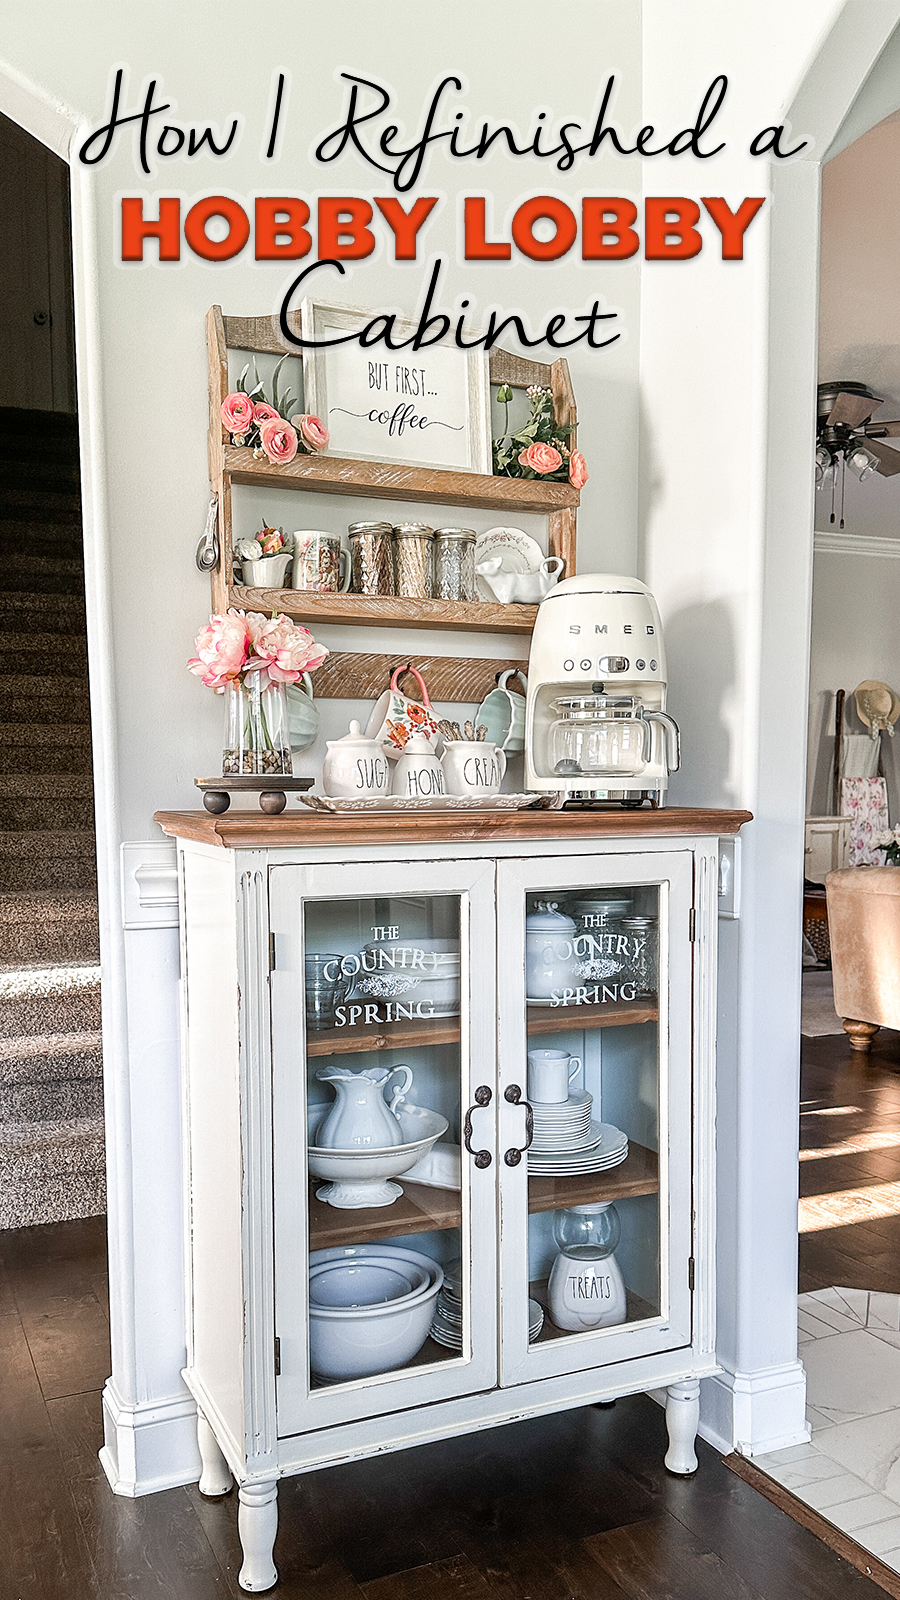
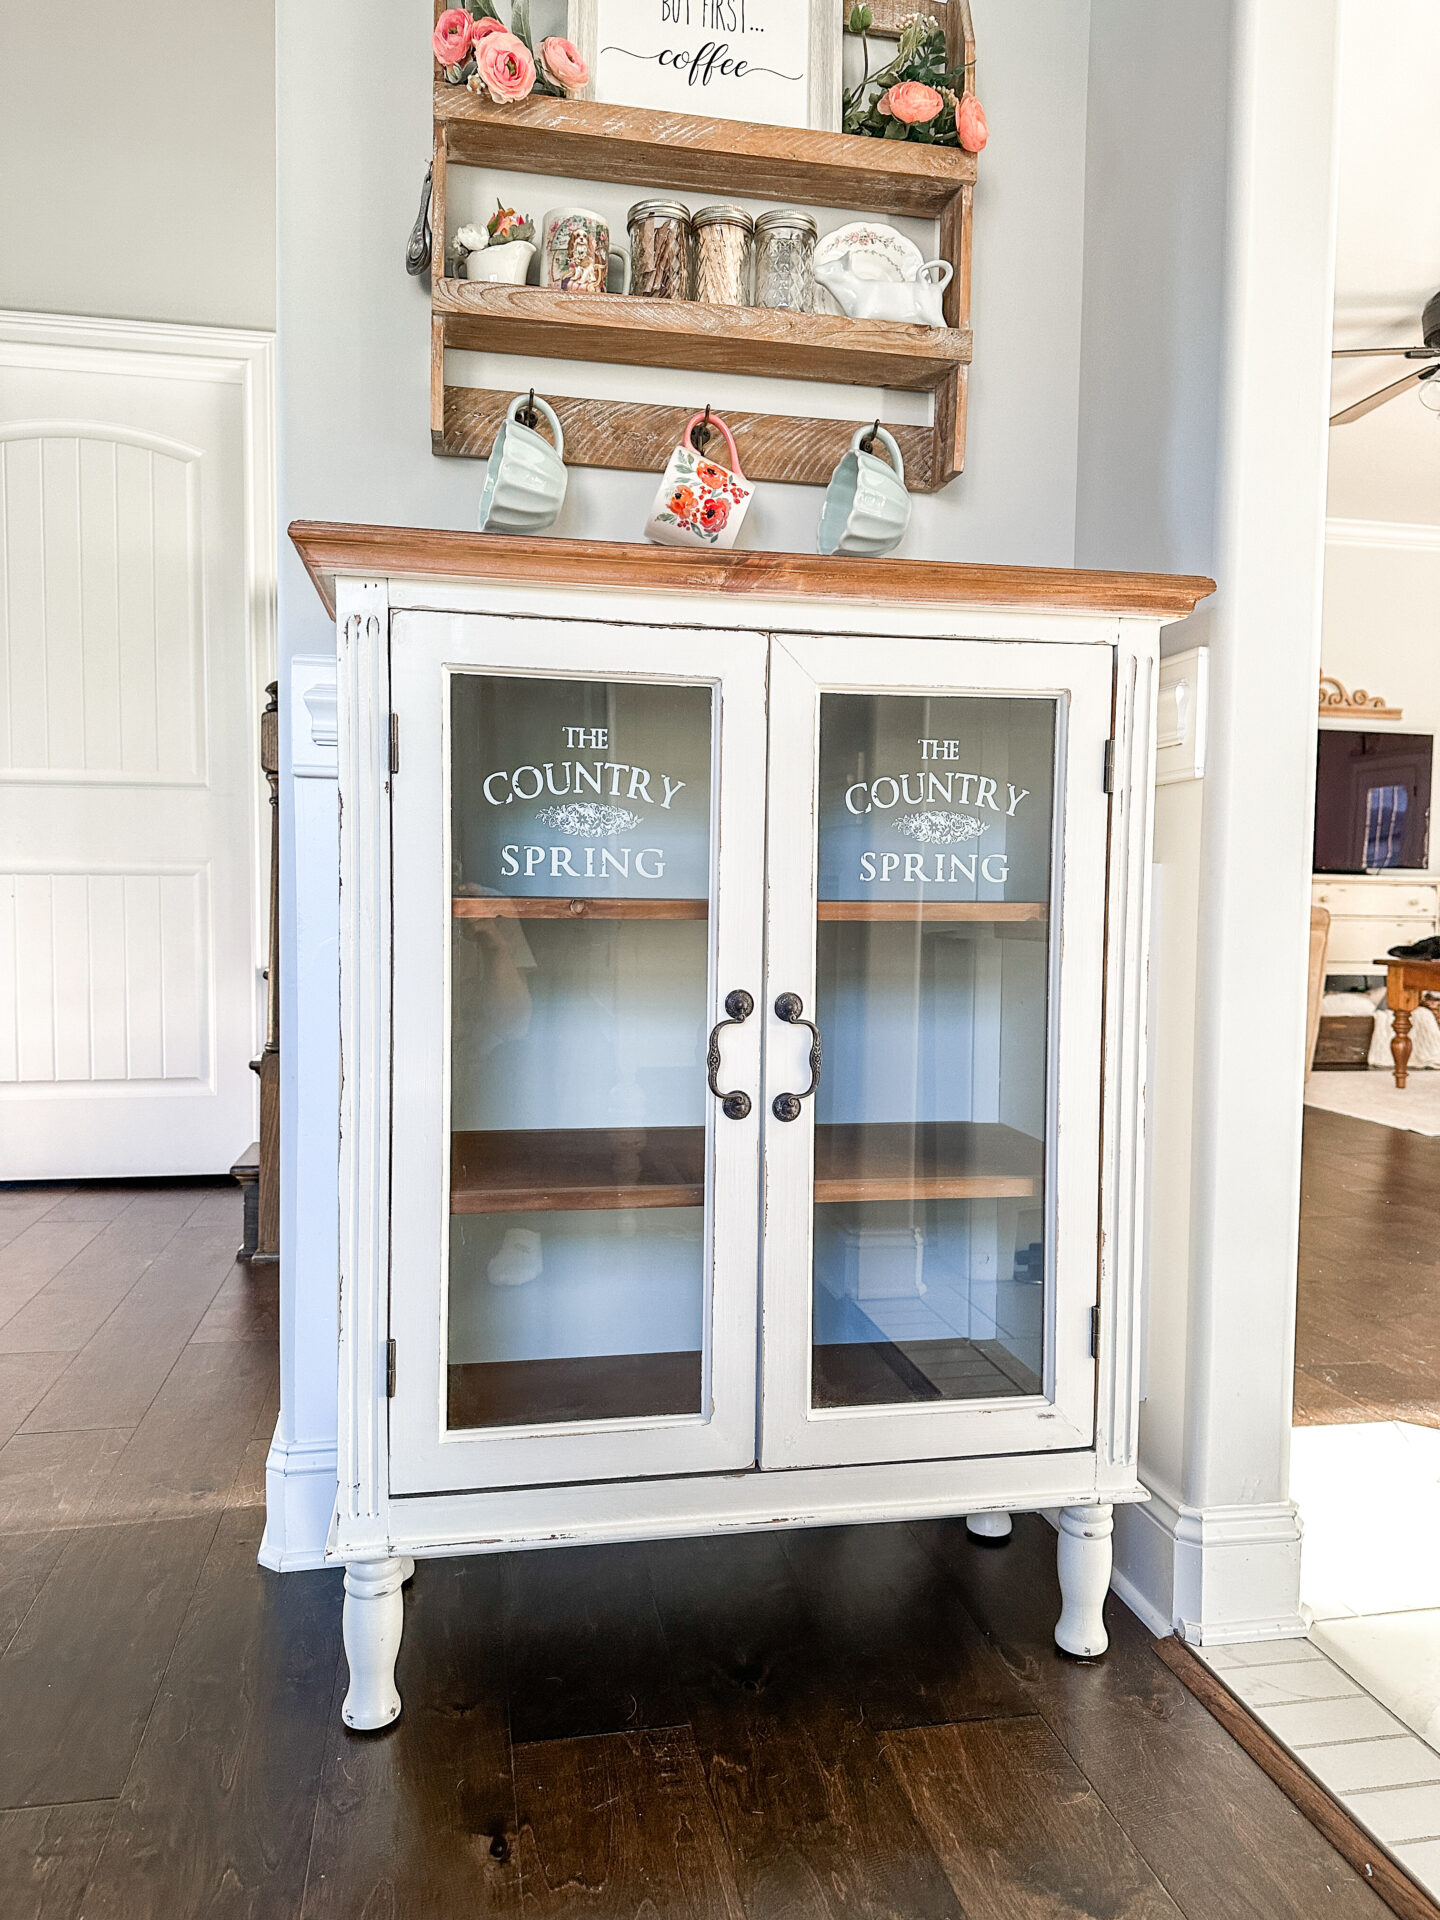
Hi everyone! Today I am going to share with you How I Refinished a Hobby Lobby Cabinet I purchased! I had been eying this particular cabinet for months and, once I was sure this was the piece I wanted/needed, I finally grabbed it! I’m glad I didn’t wait much longer because it was the only one left at our Hobby Lobby. The only thing that held me back from buying it initially was the fact that it was specifically designed to be fit for a bathroom, whereas I wanted to use it as a Coffee Bar!
What needed to change
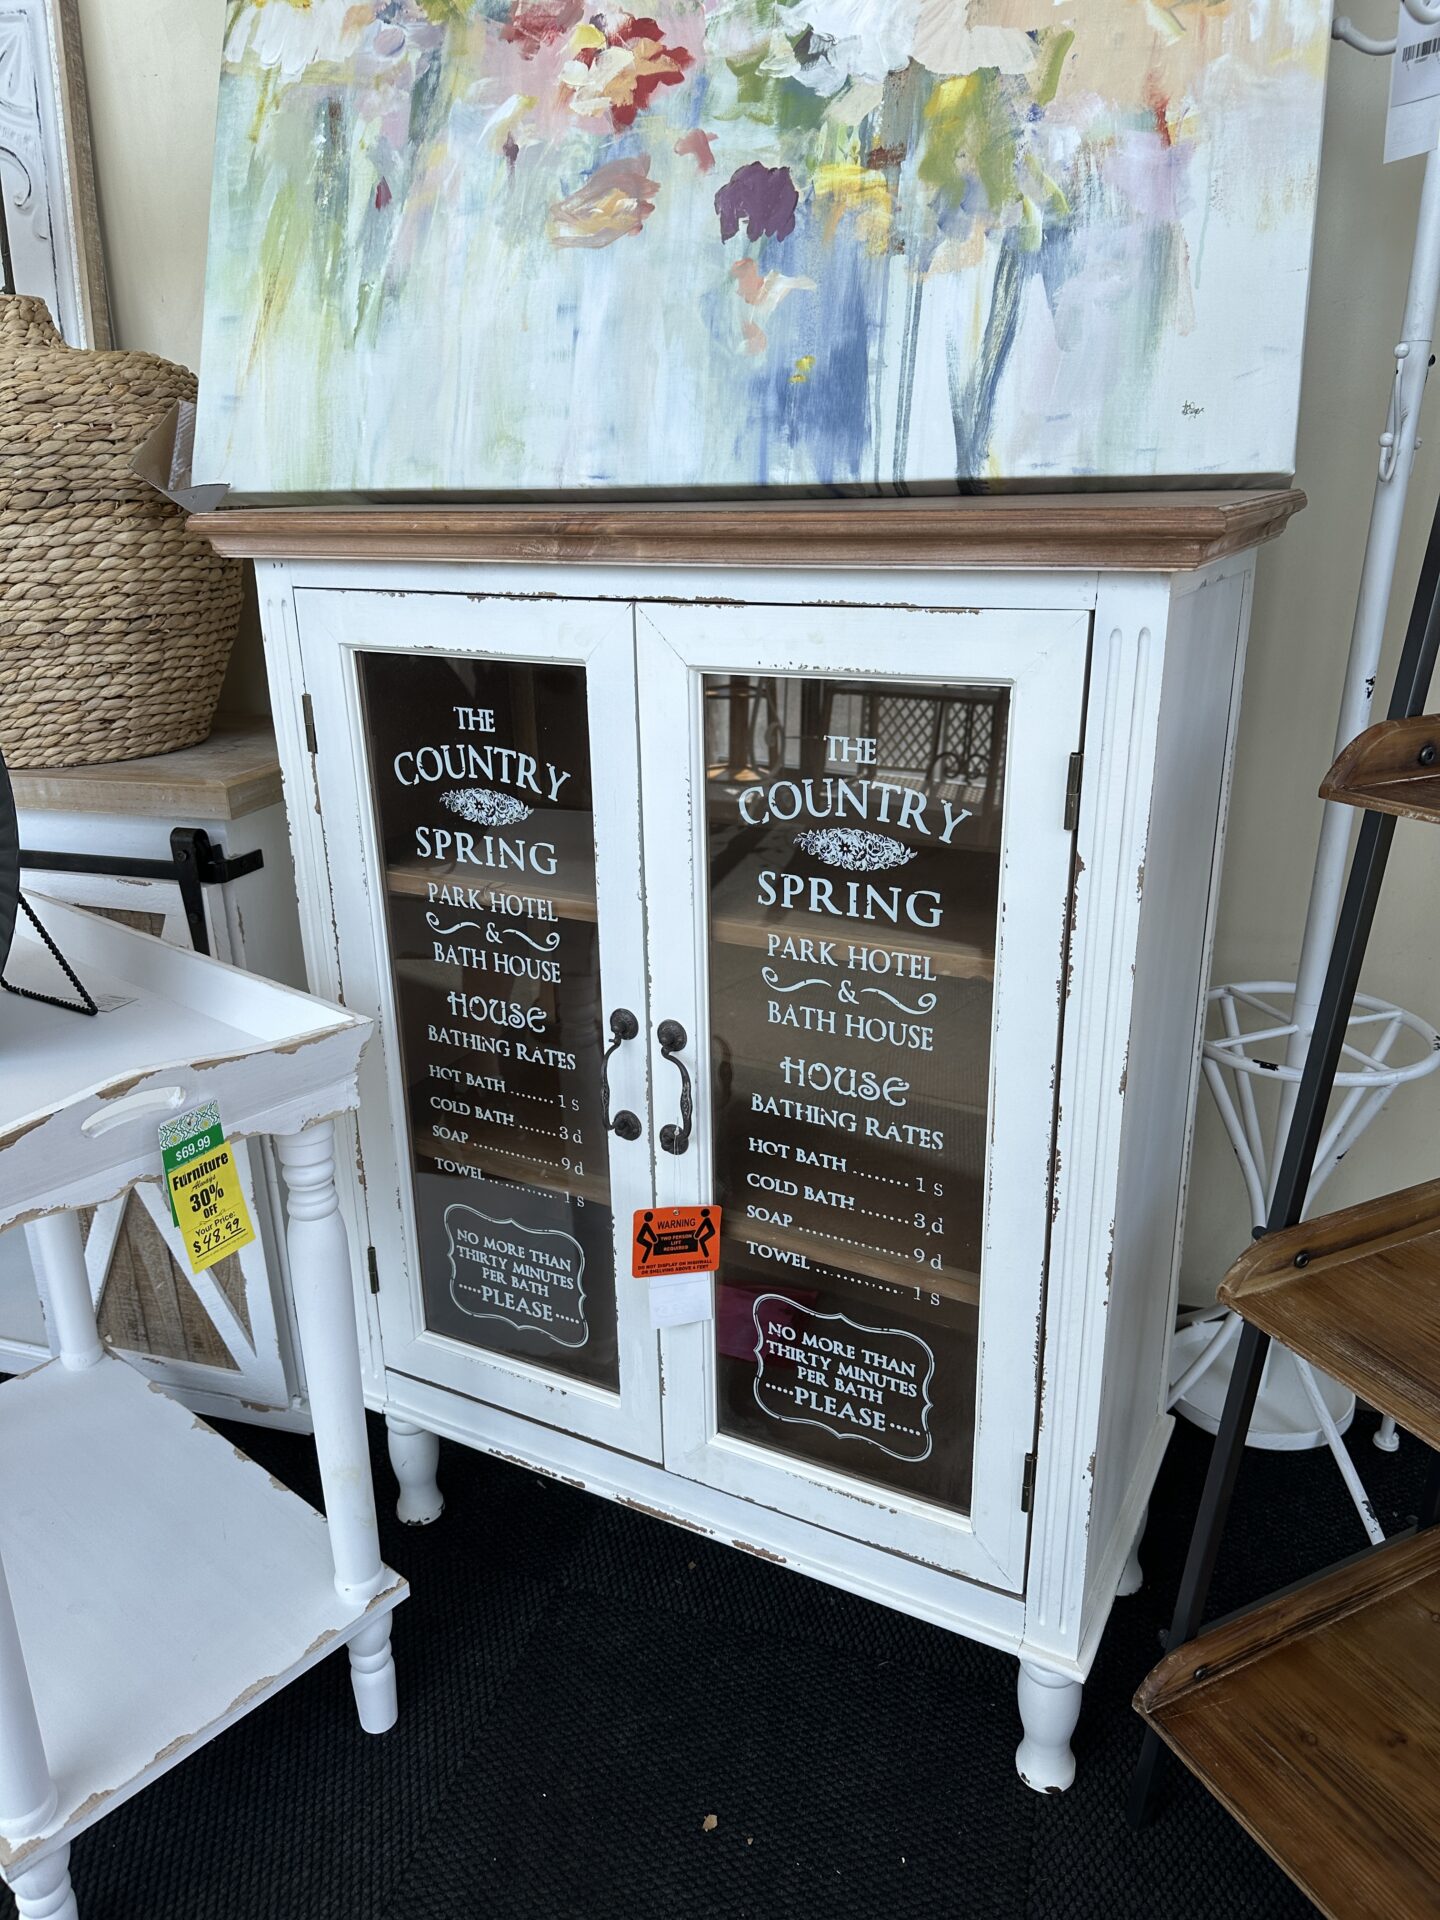
As I mentioned, this cabinet was made for a bathroom, but only in the way that the writing on the glass stated. Otherwise, it was just perfect for my space…or so I thought. Once I got it home, I realized it was much too white for the rest of my furniture in the same space. So, besides needing to have the glass wording removed, it also needed repainting. It was then I also decided the inside would be fun to paint too to lighten it up a bit!
Let’s get started
Here are the products I used for this project:
- Ratcheting Screwdriver
- Frog Tape
- Bher Cottage White Interior Satin Paint
- Sherwin Williams Sea Salt Interior Satin Paint
- Mouse Sander
- Blow Dryer
- Rubbing Alcohol
If you’re looking to buy this VERY cabinet, you will have to run to Hobby Lobby or possibly find it on the Hobby Lobby website. However, I found it online as well! This particular one has no writing on the glass and can be used anywhere in your home. Shop it at Wayfair here! You can also find it at Bed Bath & Beyond here!
The Interior: Steps
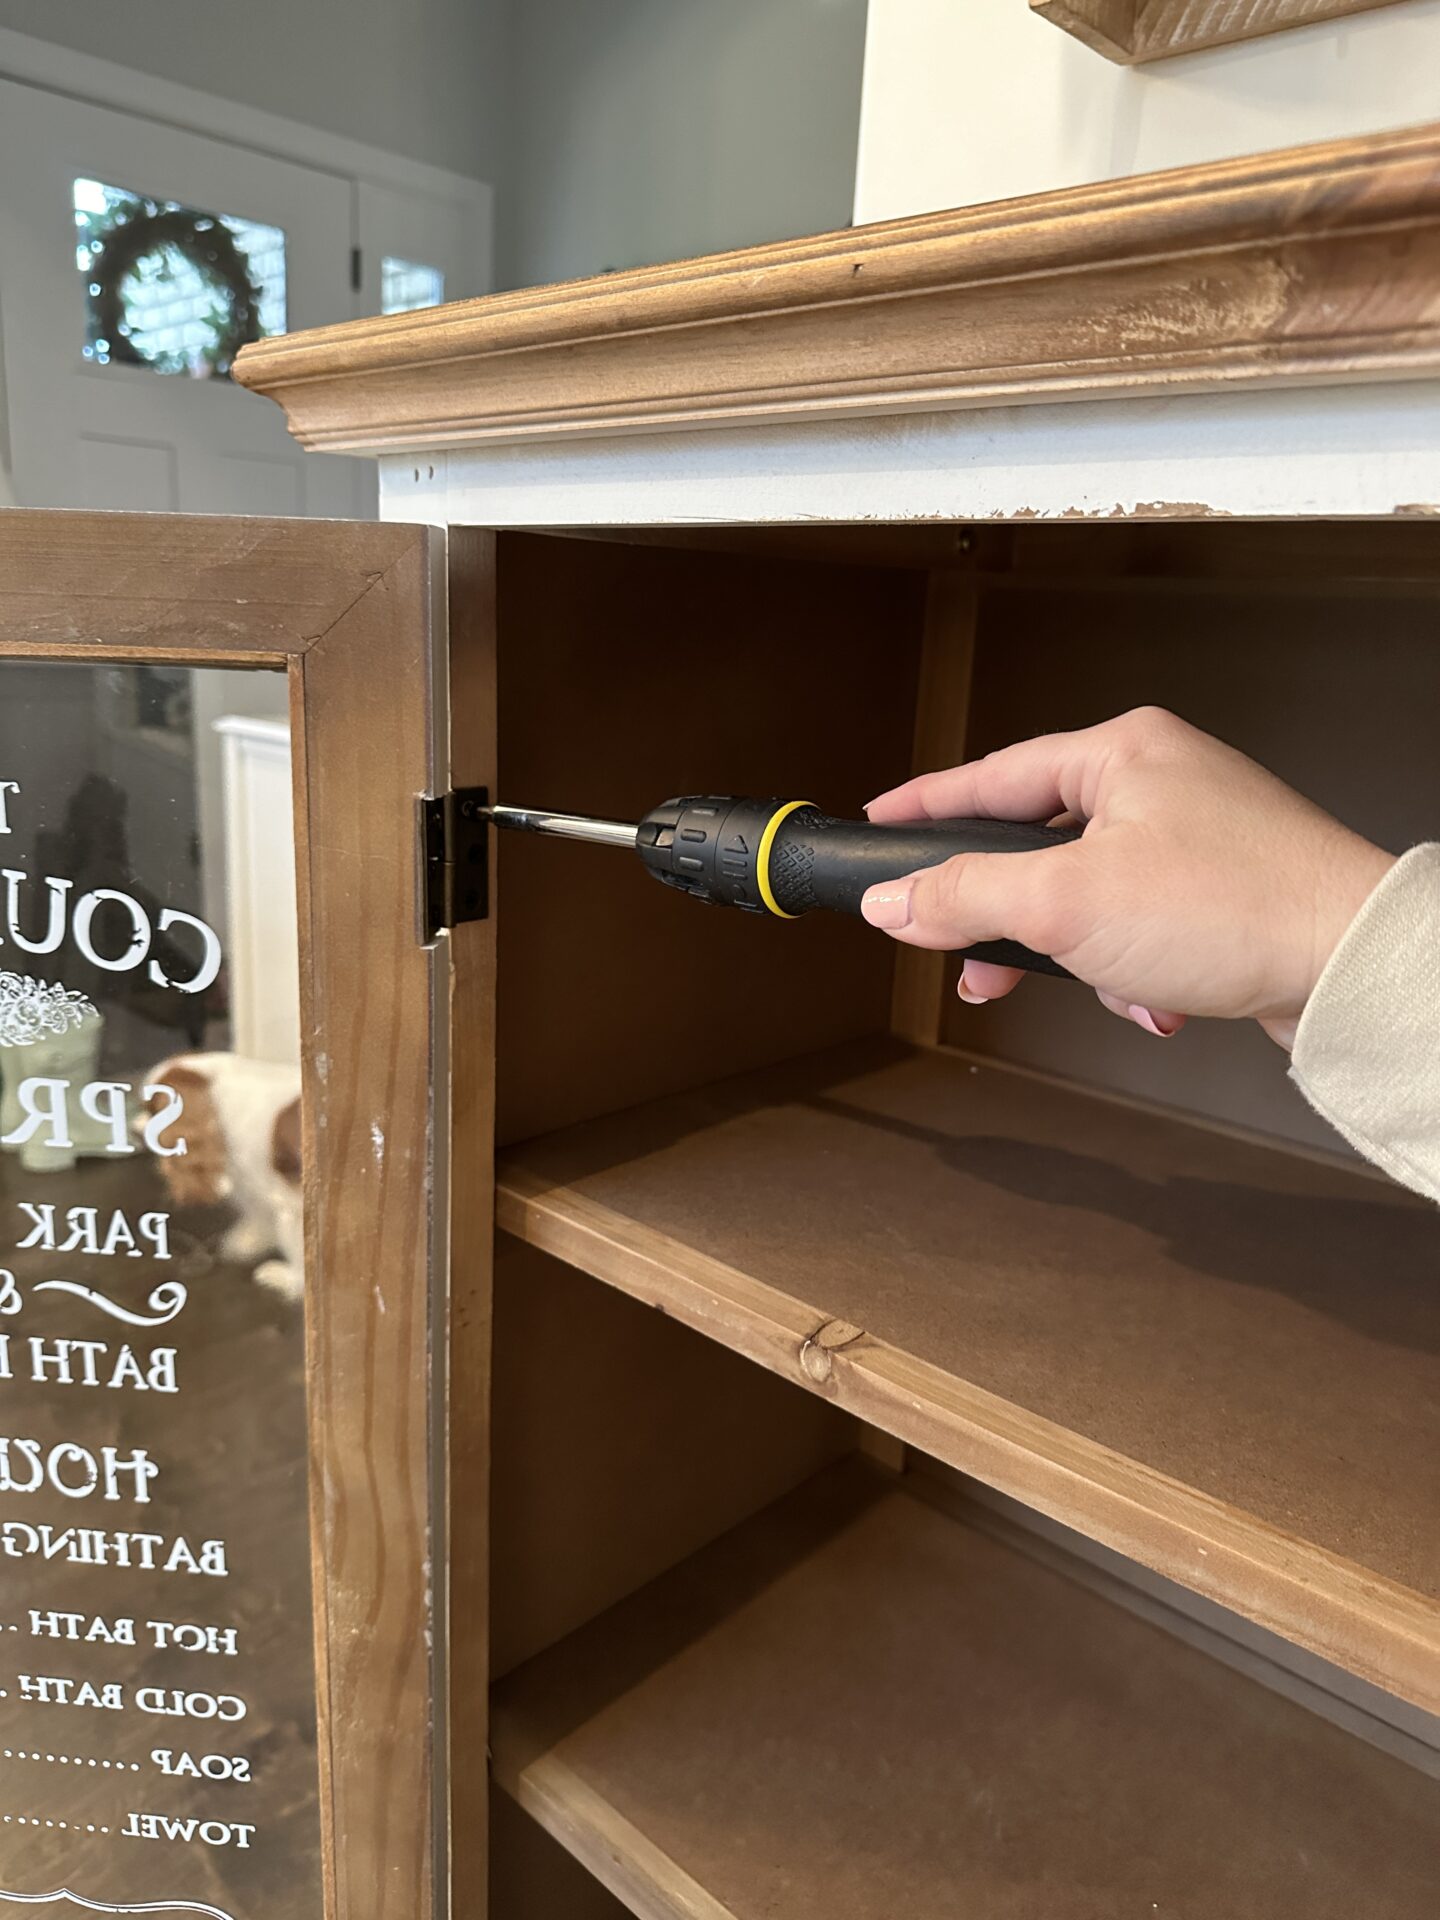
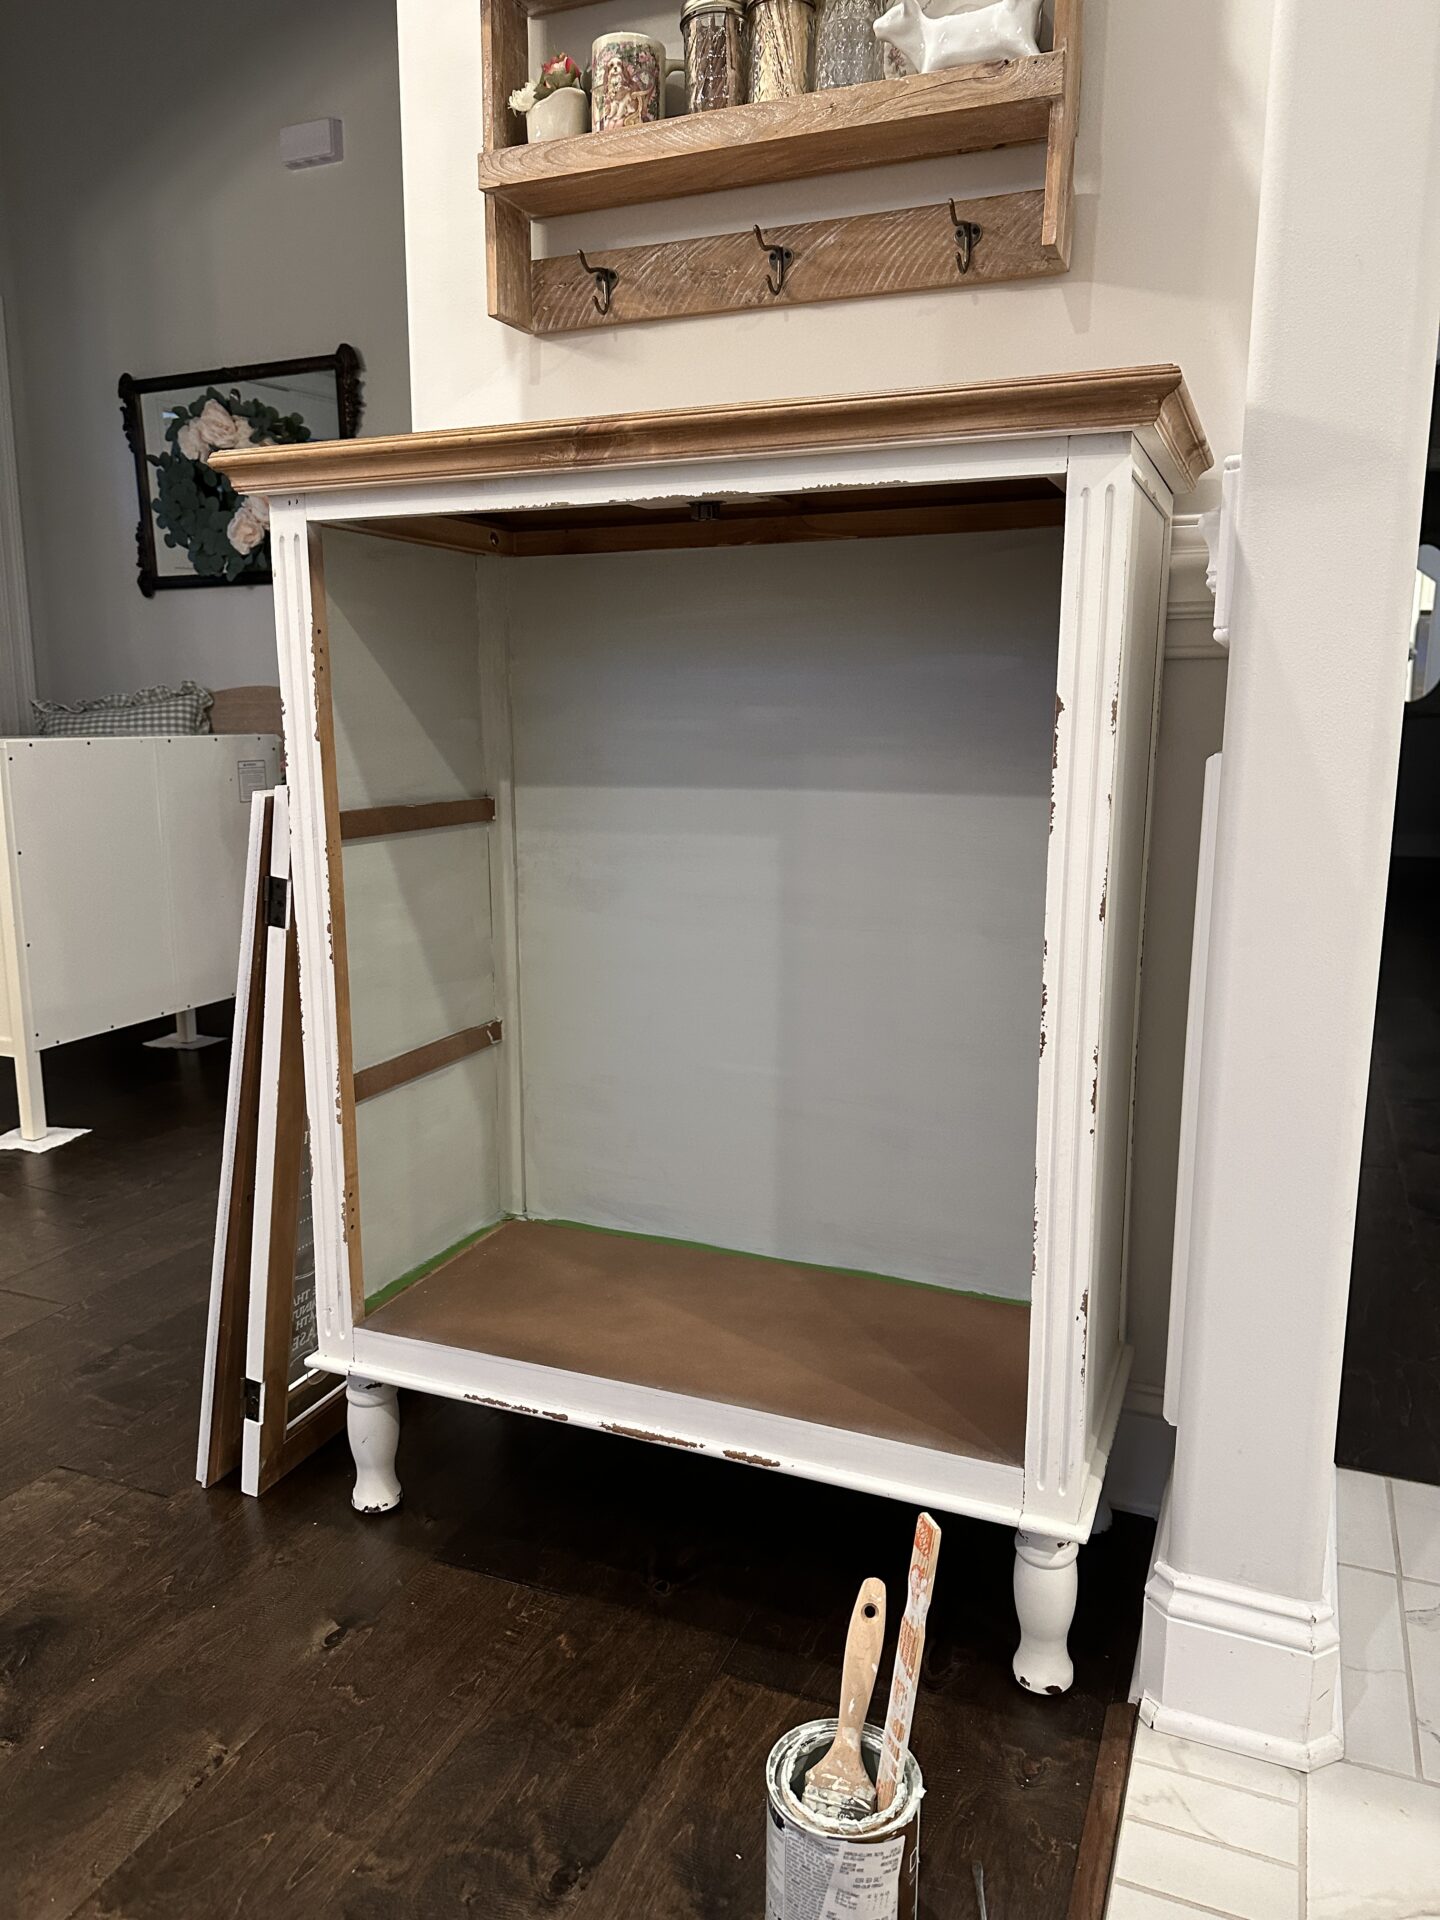
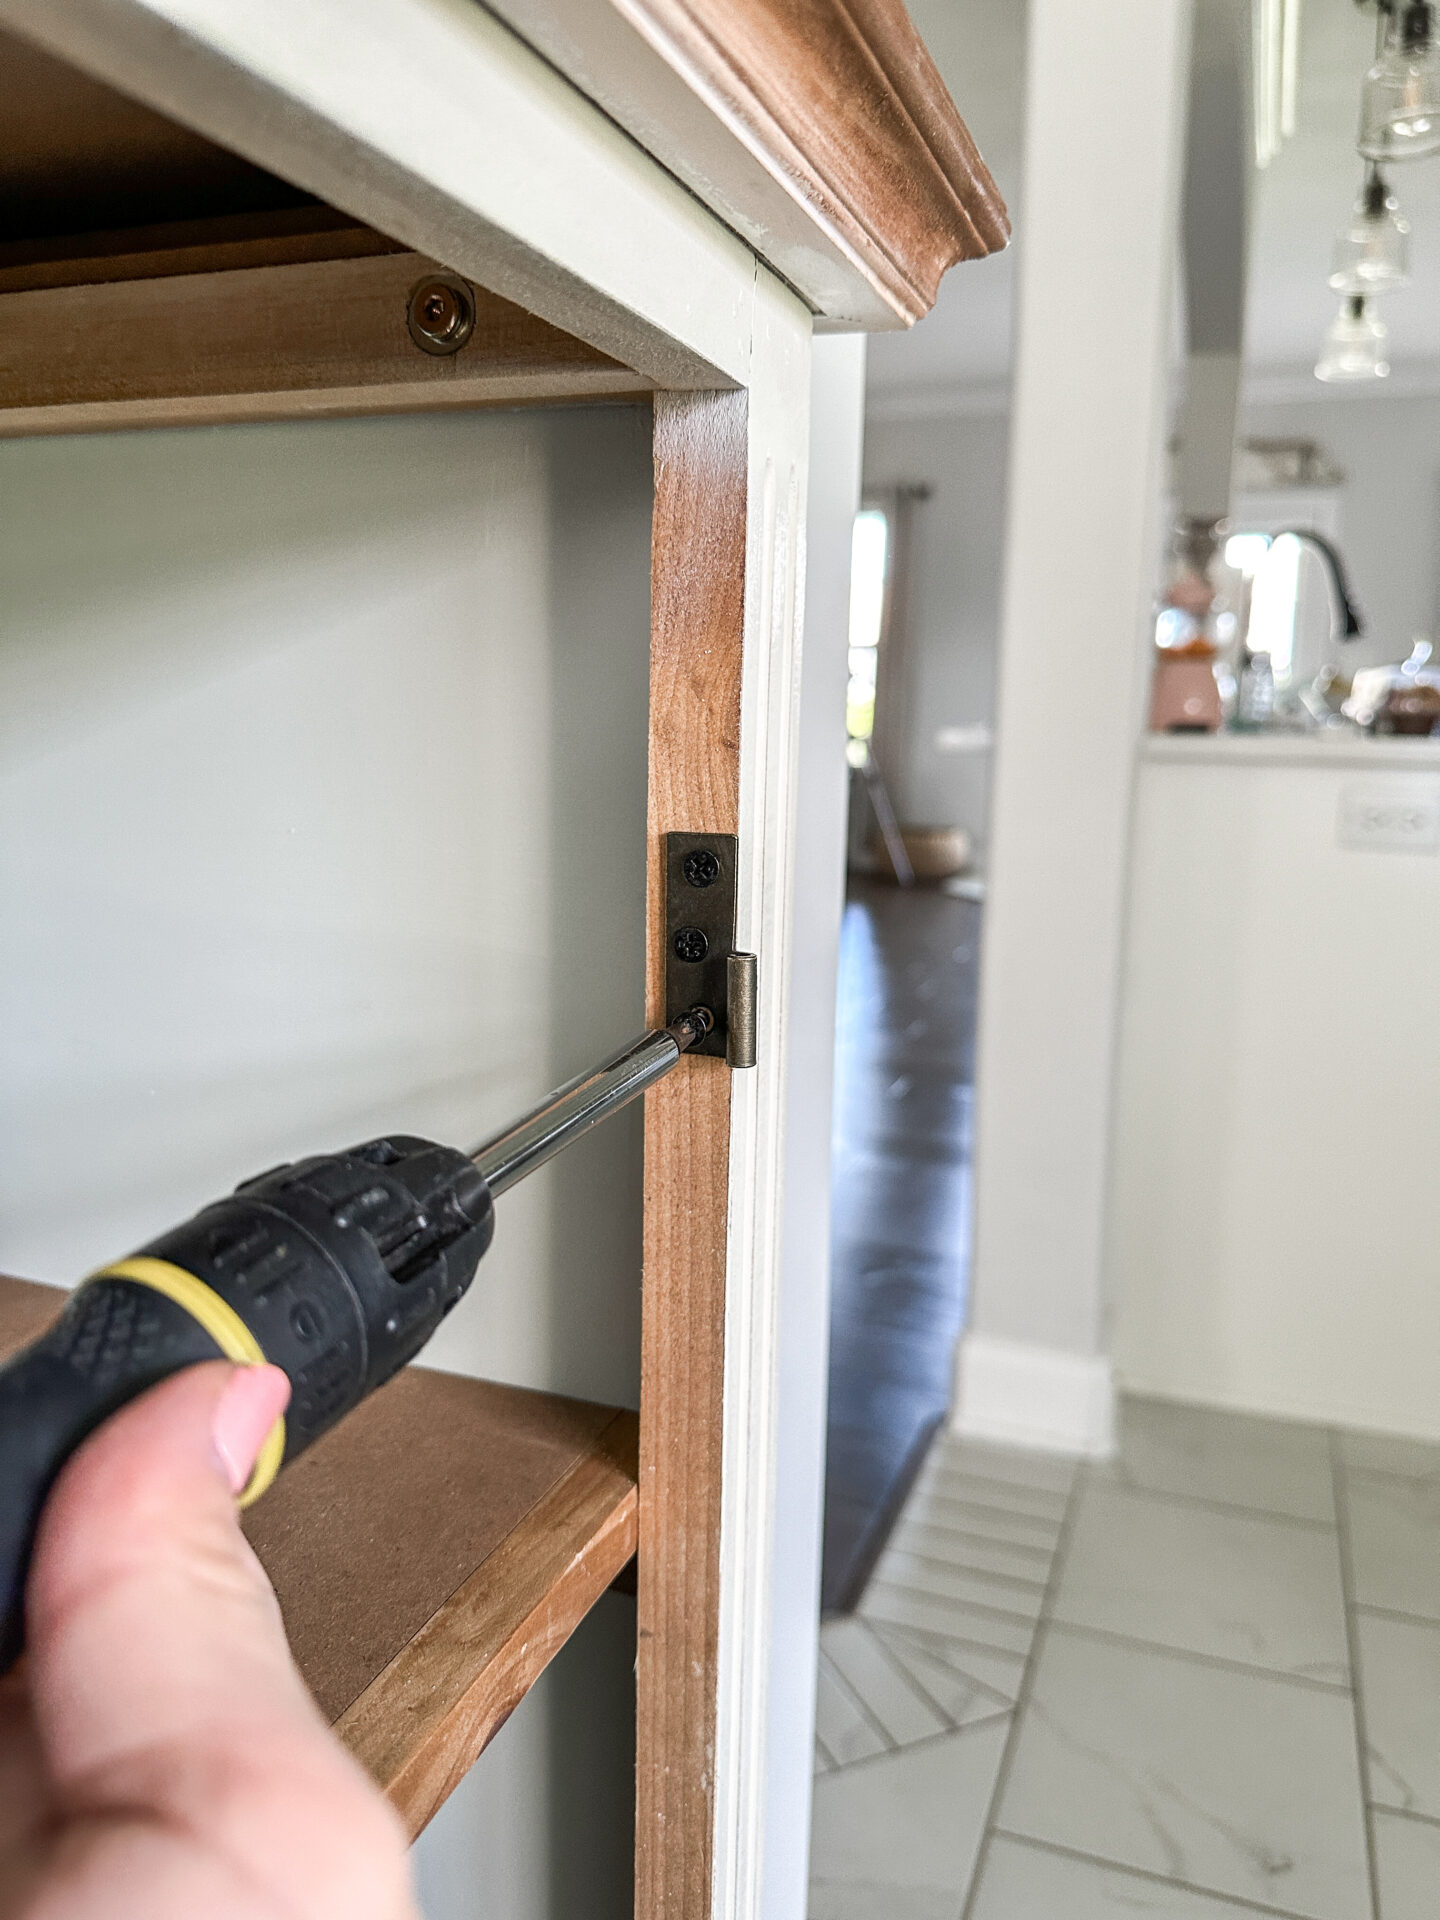
My first step in refinishing this piece was to remove all of the hardware for the glass doors. That meant taking it off of its hinges, and taking the handles off. I placed each of the door’s hardware into its own ziplock bag to keep all the correct pieces together.
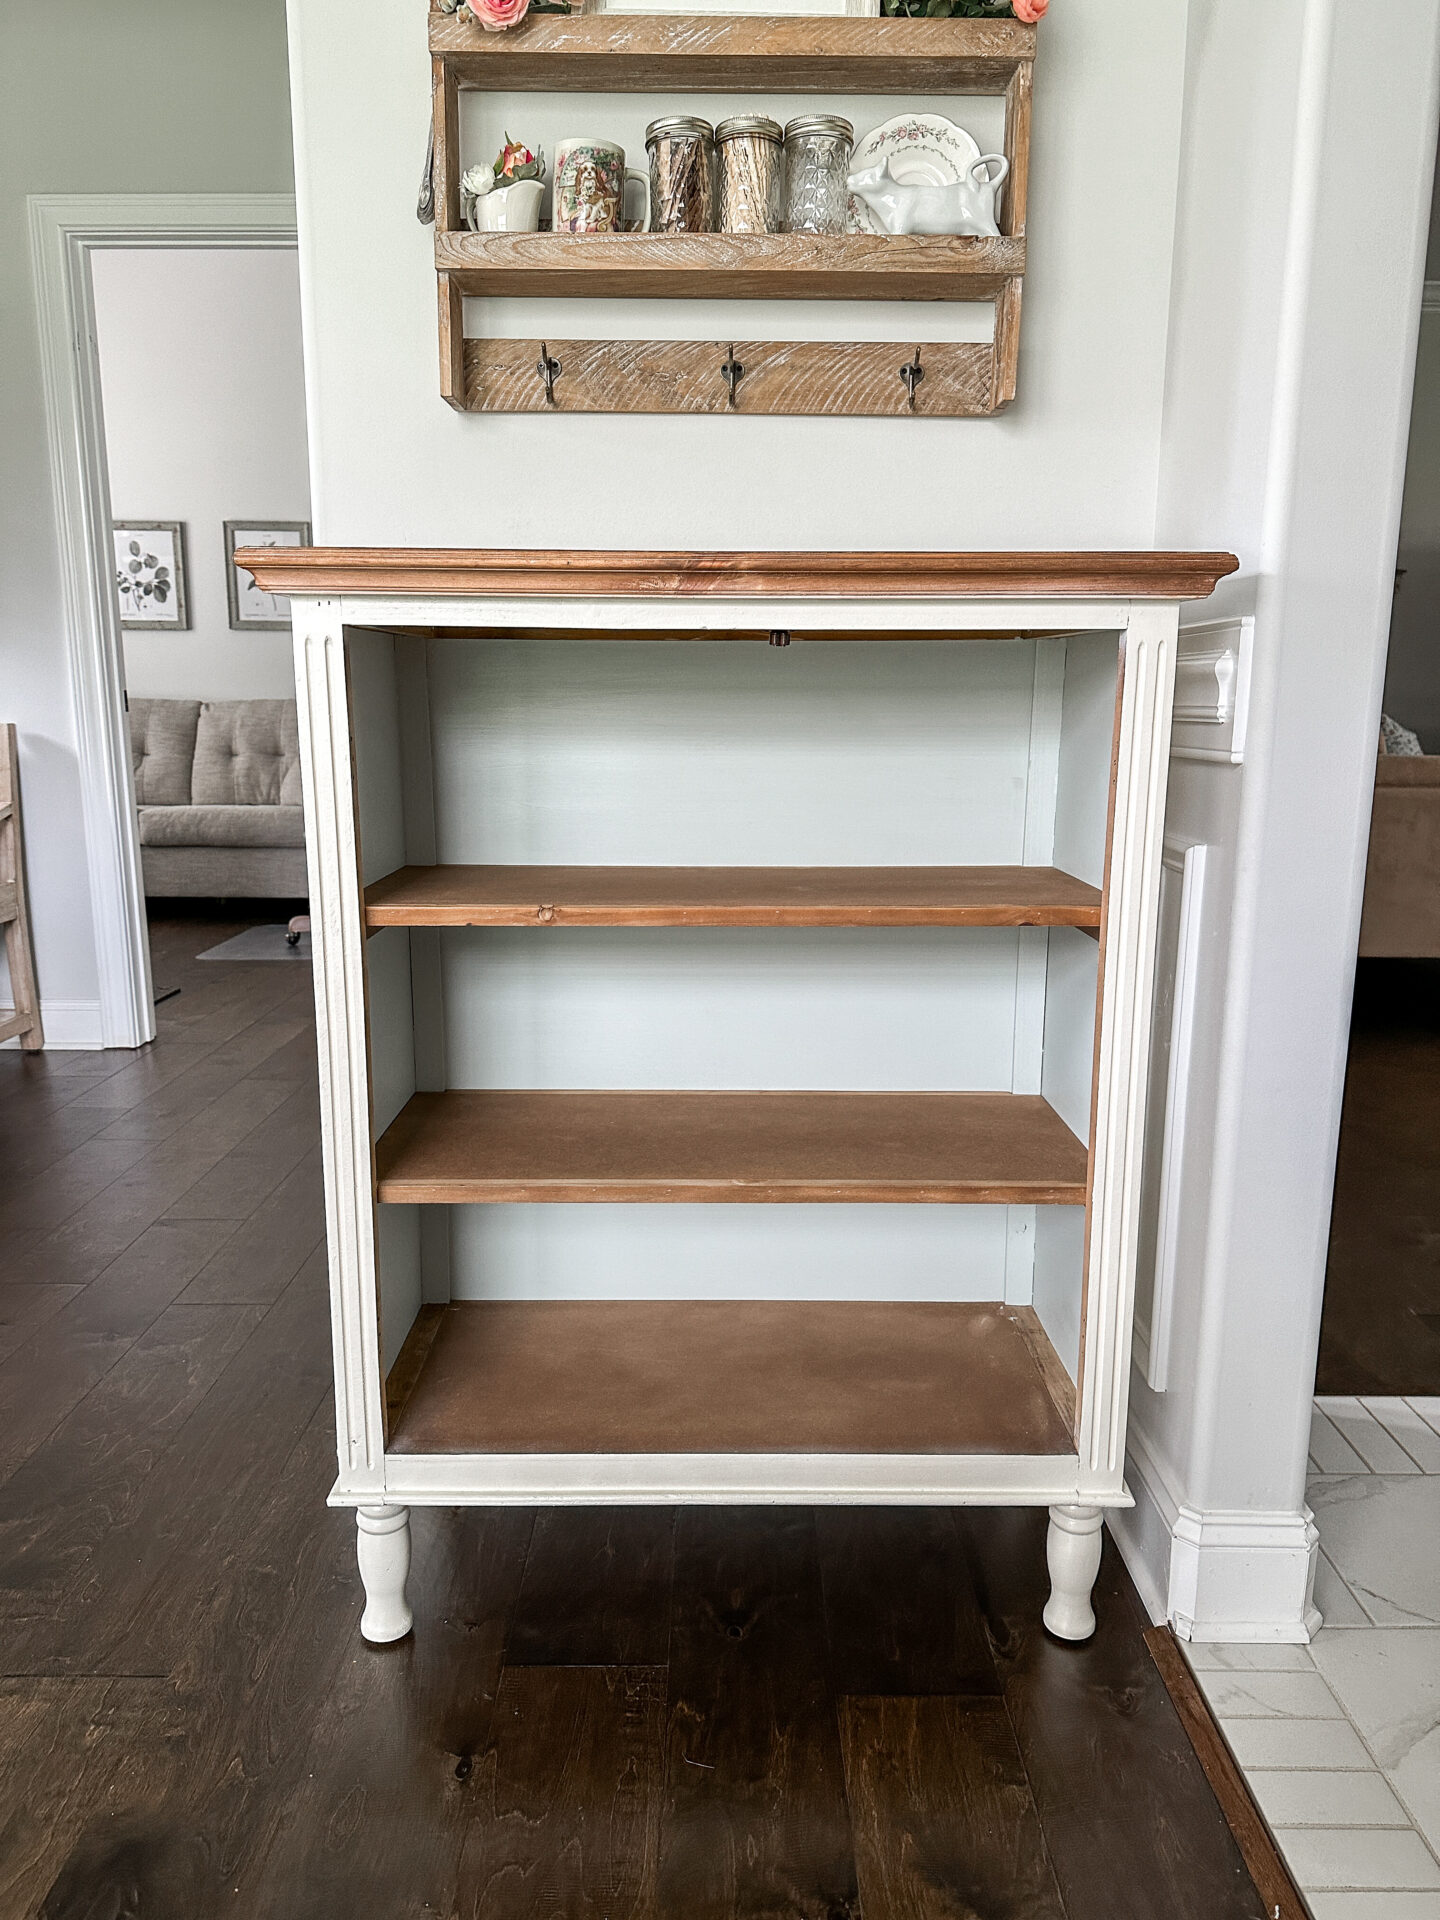
Next, I removed all of the shelves in the cabinet because they would remain the wood color they were.
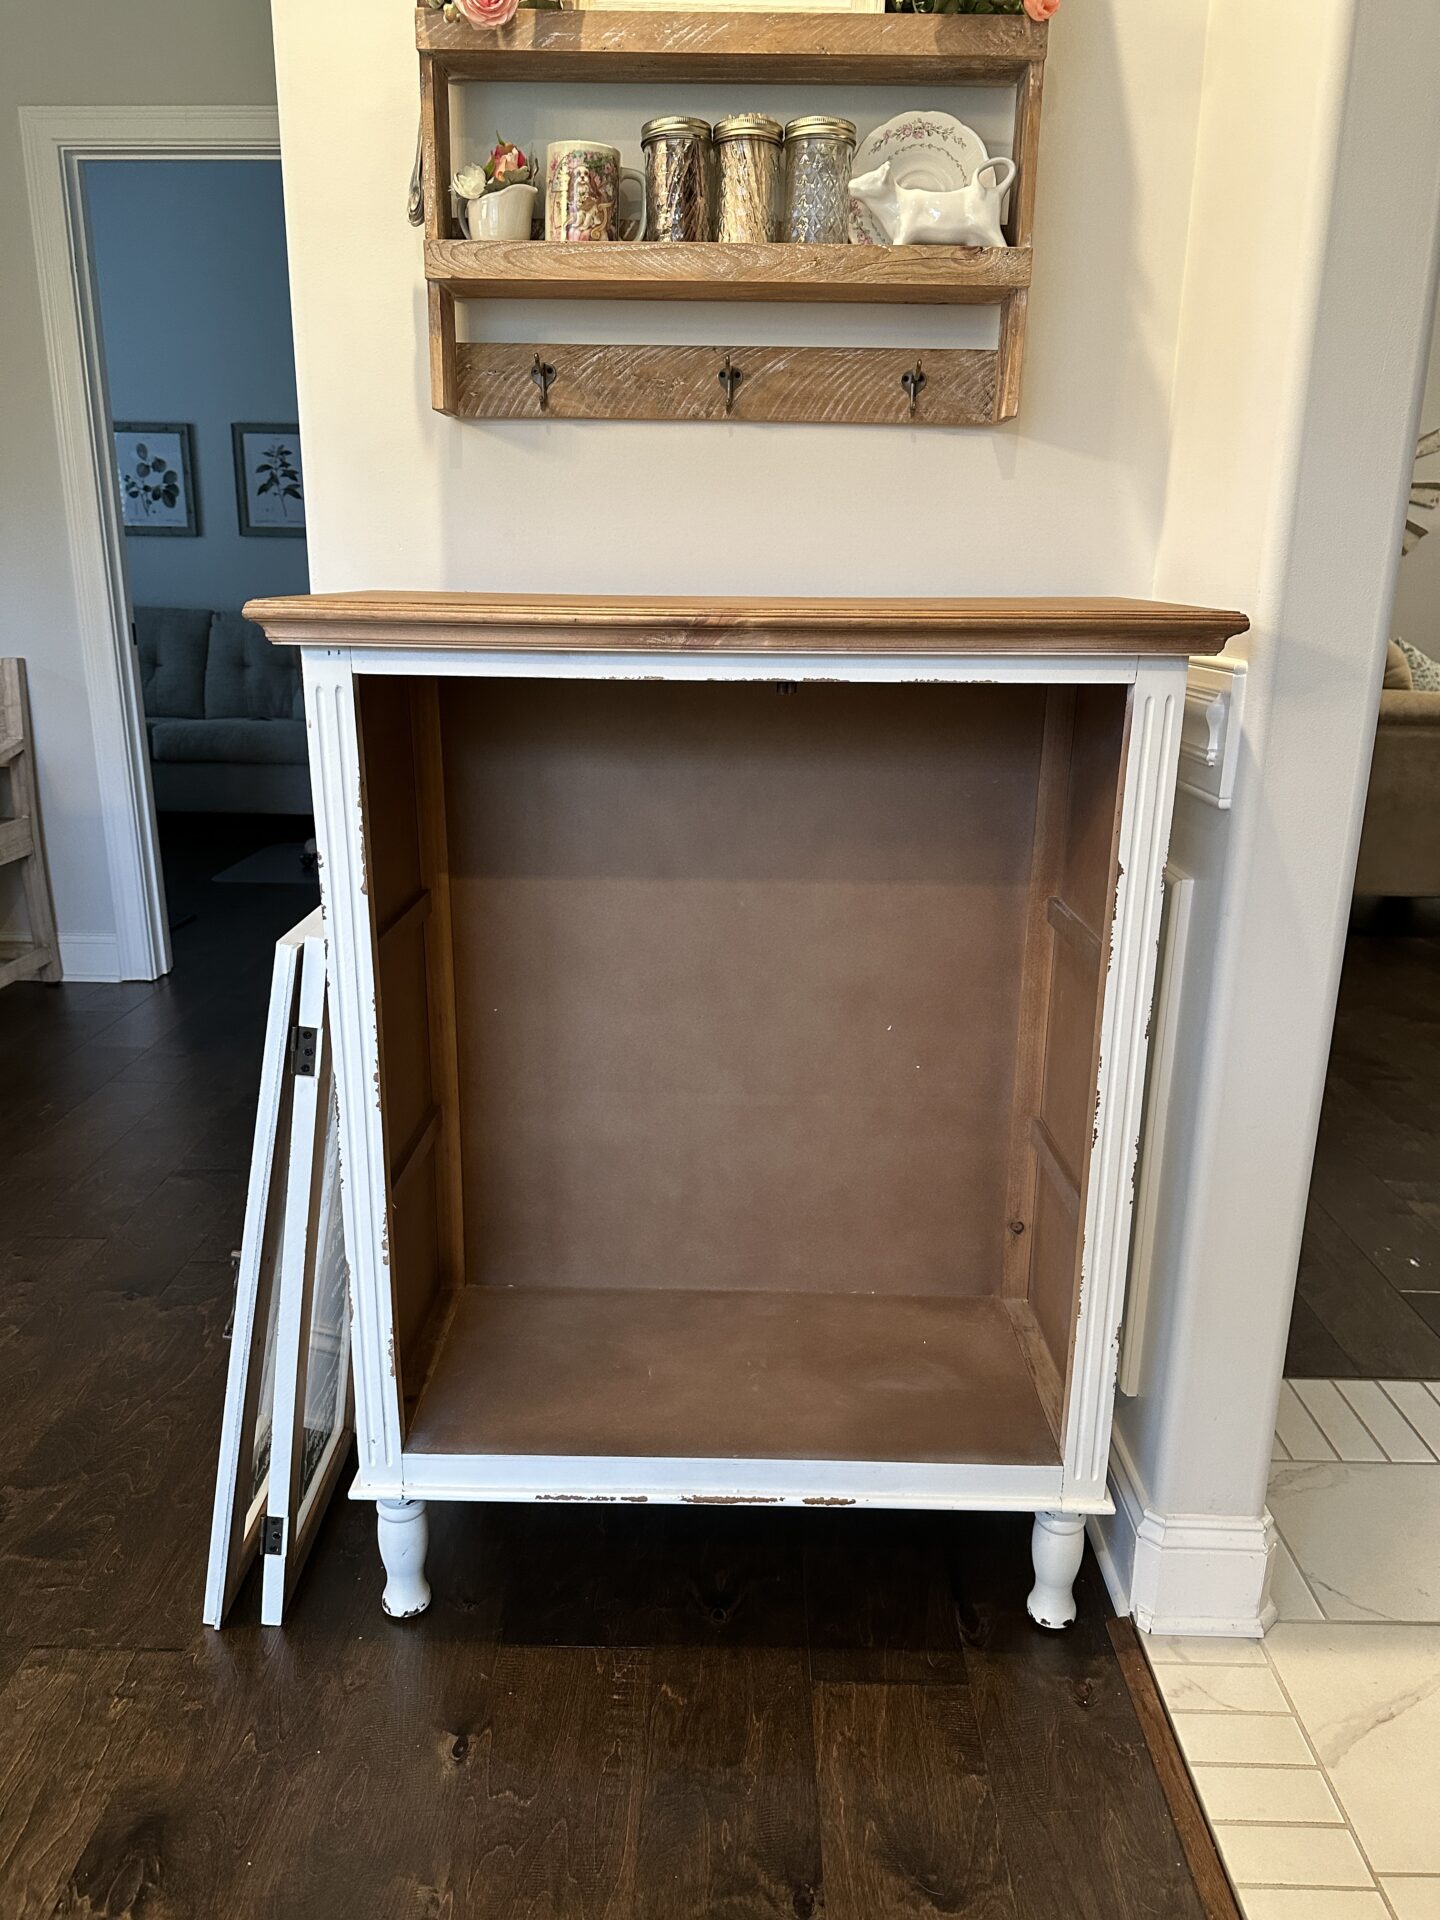
After that, I needed to tape off all of the areas I did not want paint getting on. For this piece, that meant just around the bottom shelf.
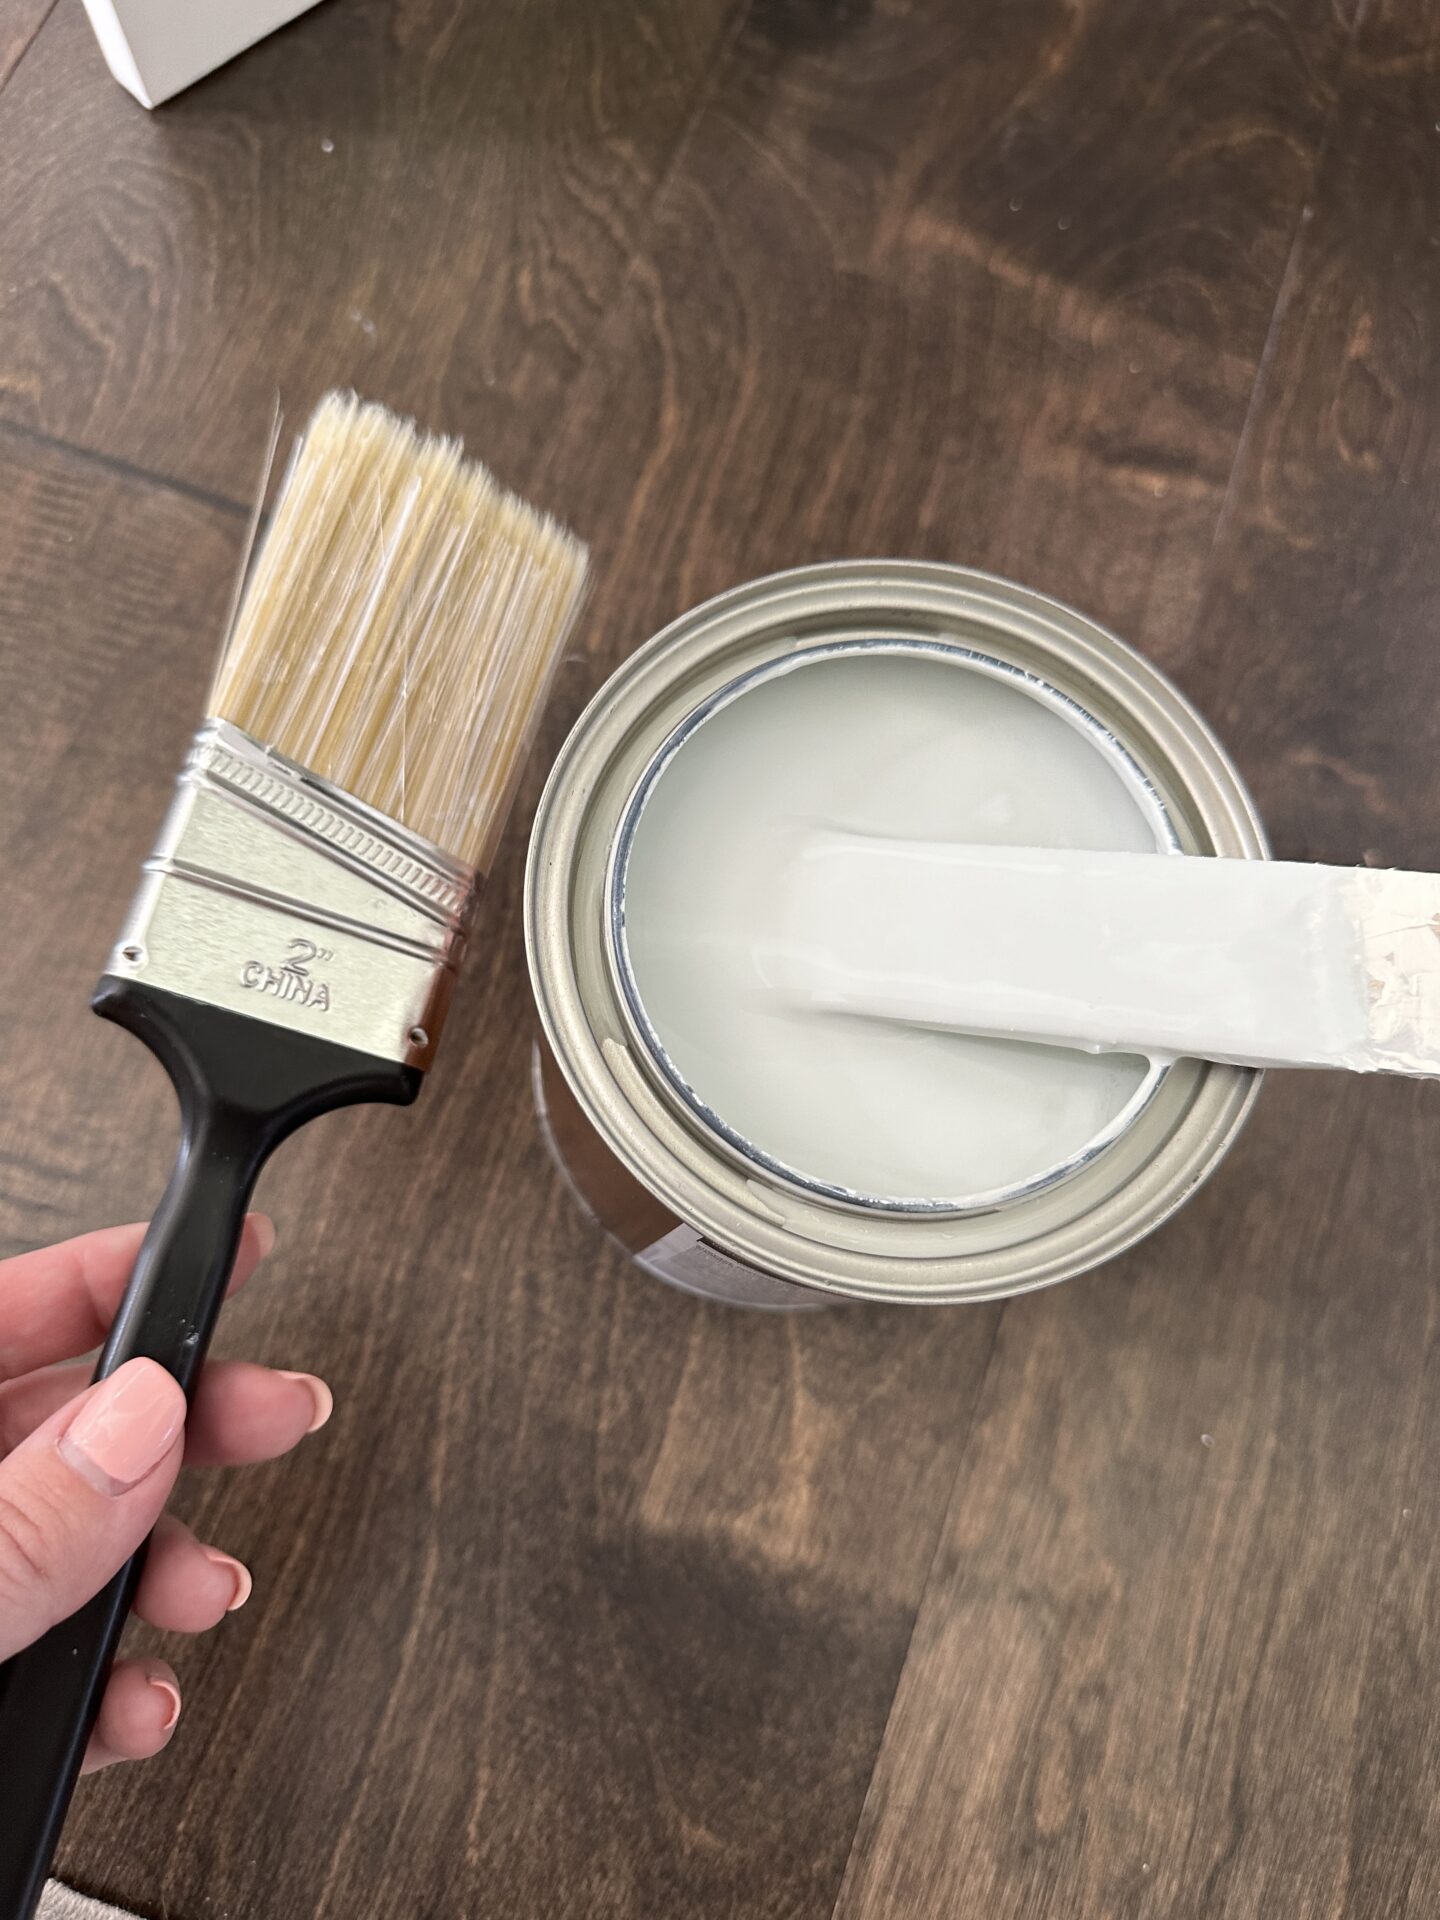
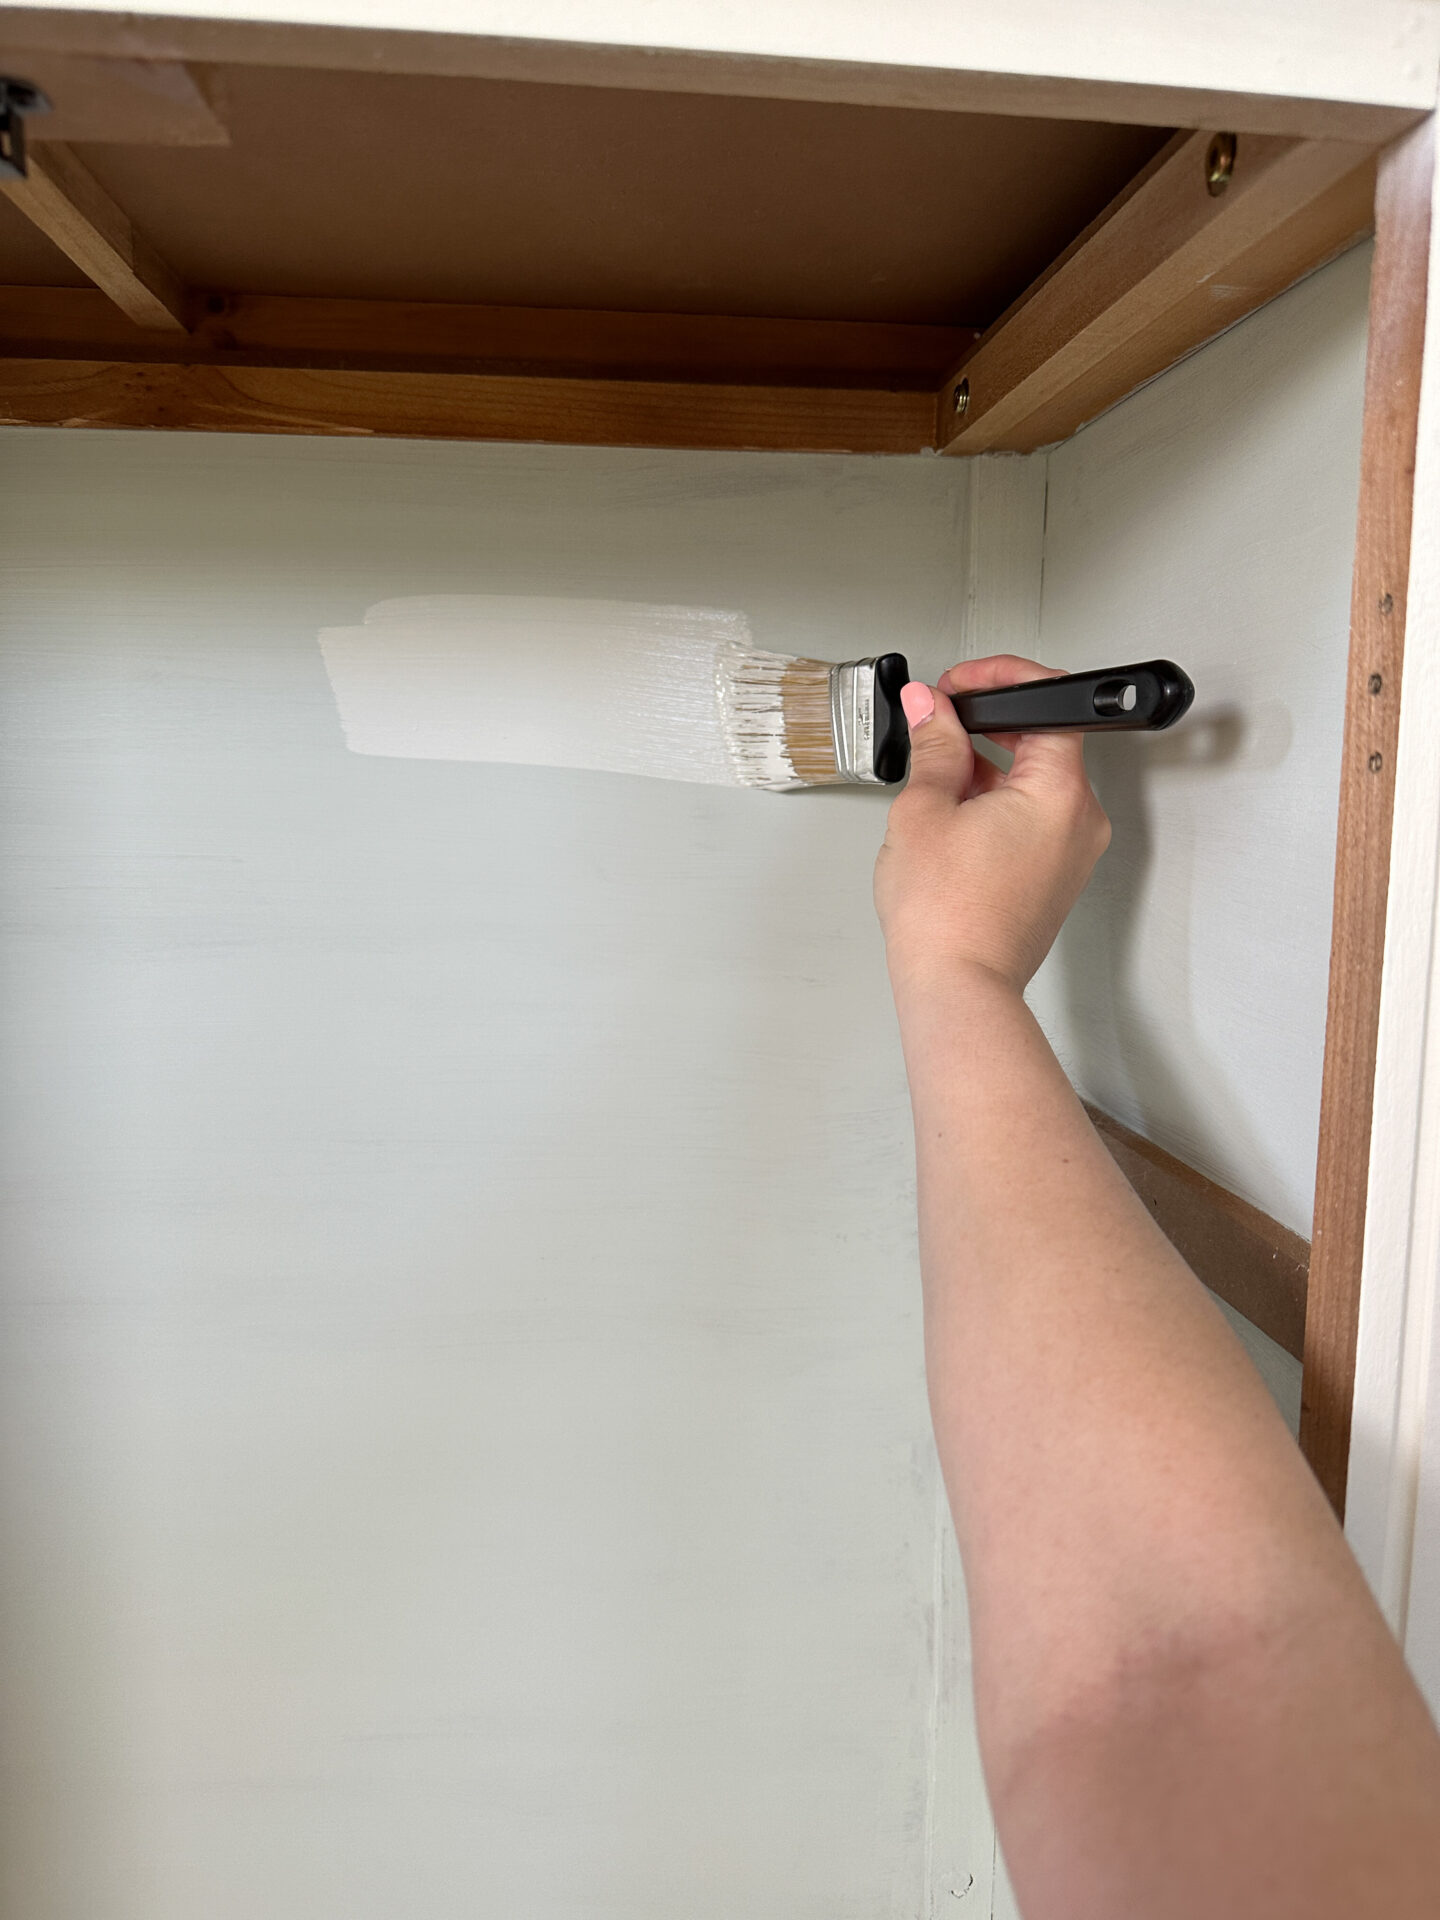
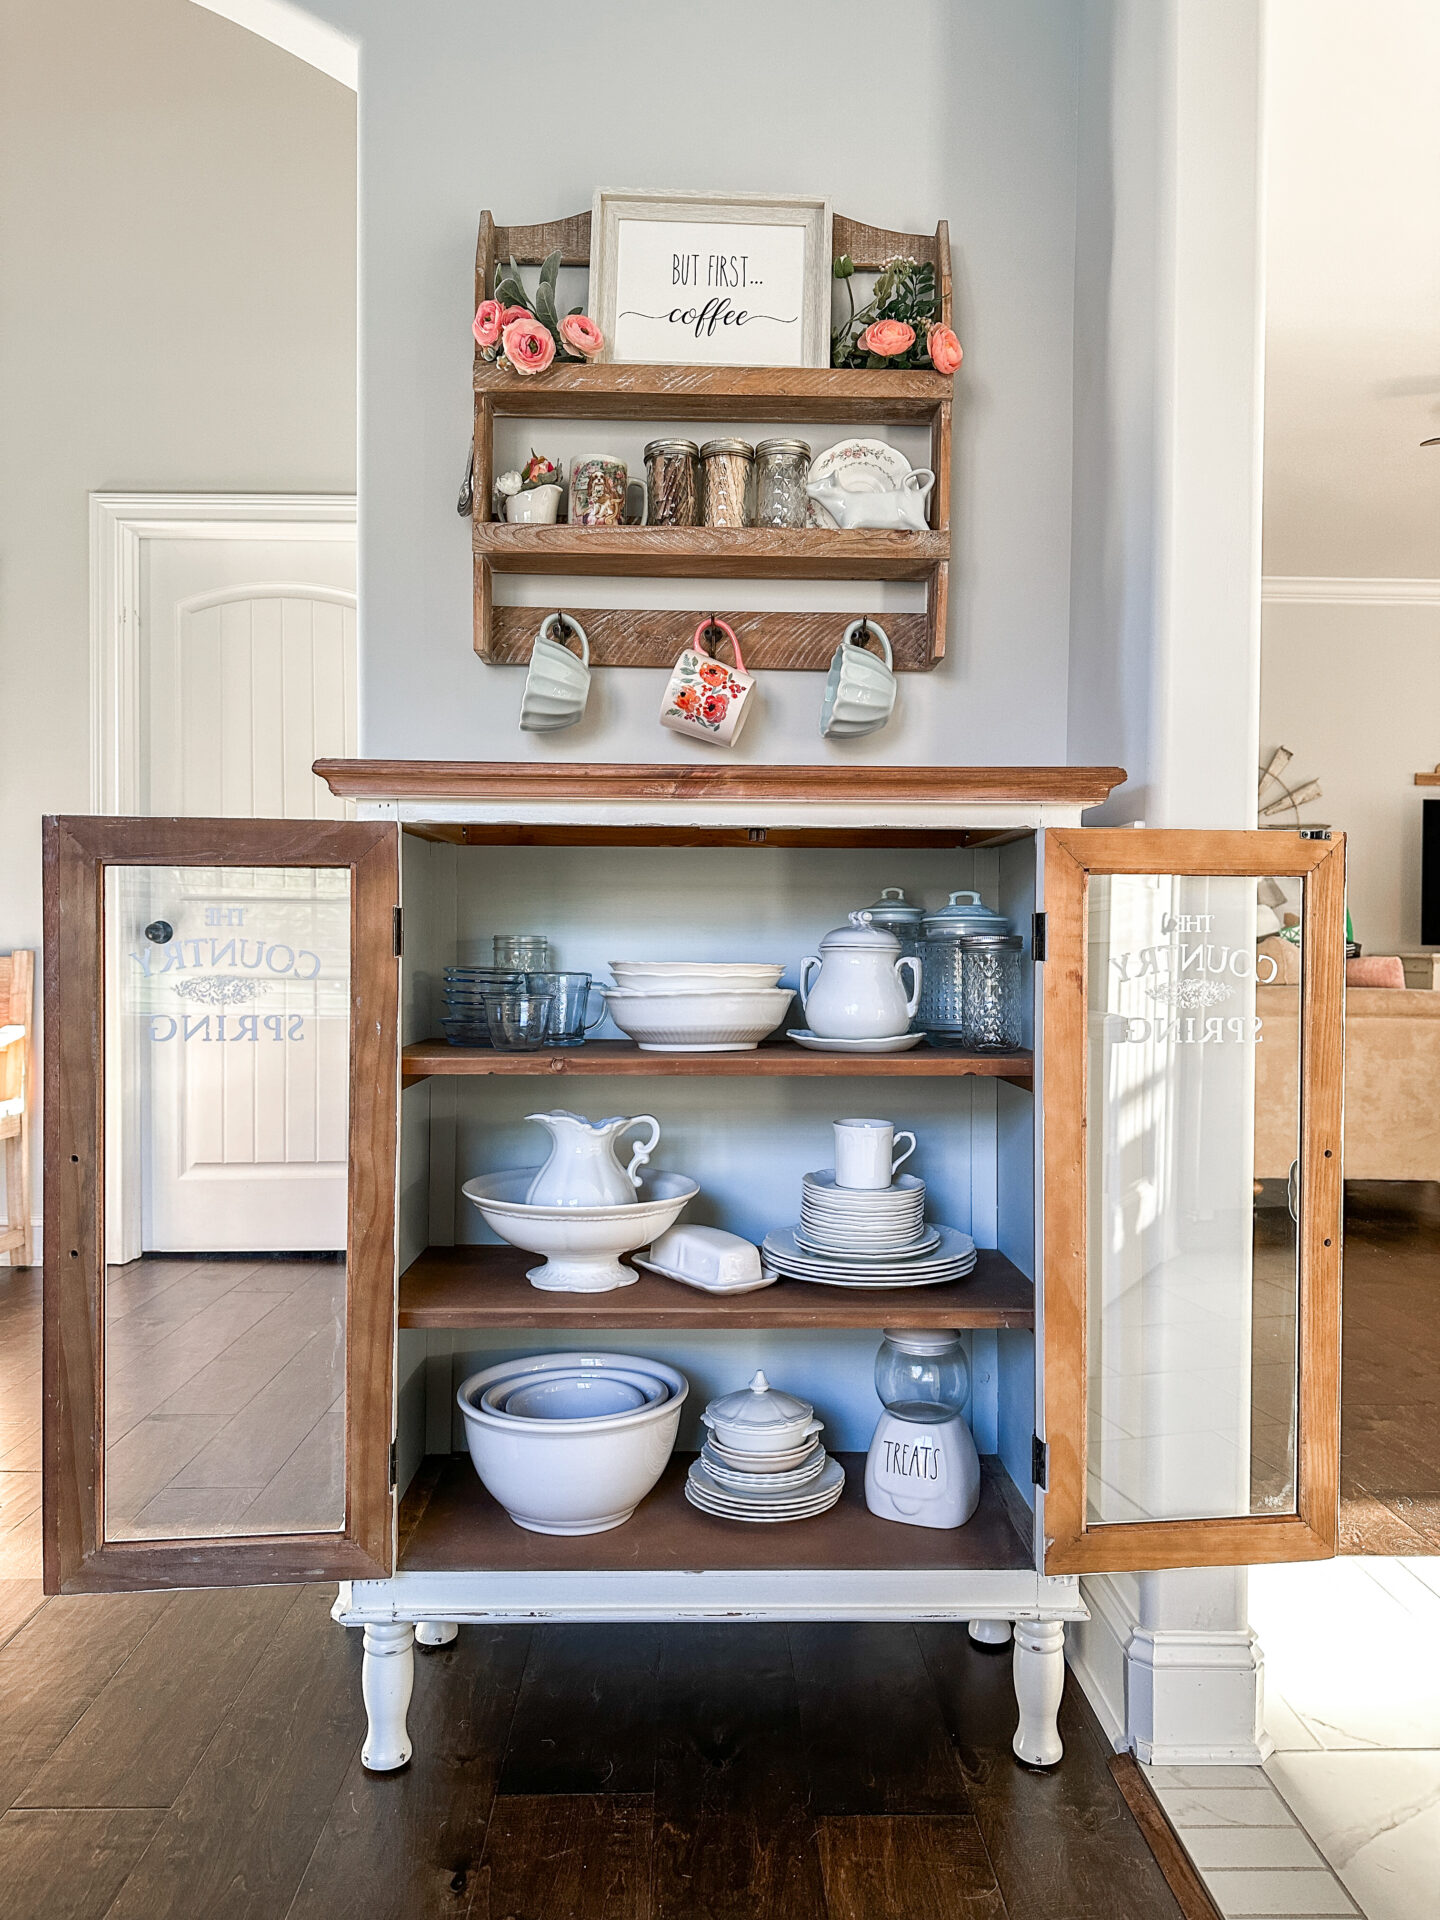
Time to get painting! I used the color Sea Salt by Sherwin Williams for the interior of the cabinet. This color is a gorgeous, yet subtle, shade of green with a hint of blue.
It is the perfect color to brighten up the inside of this cabinet! I like to use an angled brush like this one when dealing with corners because it can get further into a tight space than a flat brush.
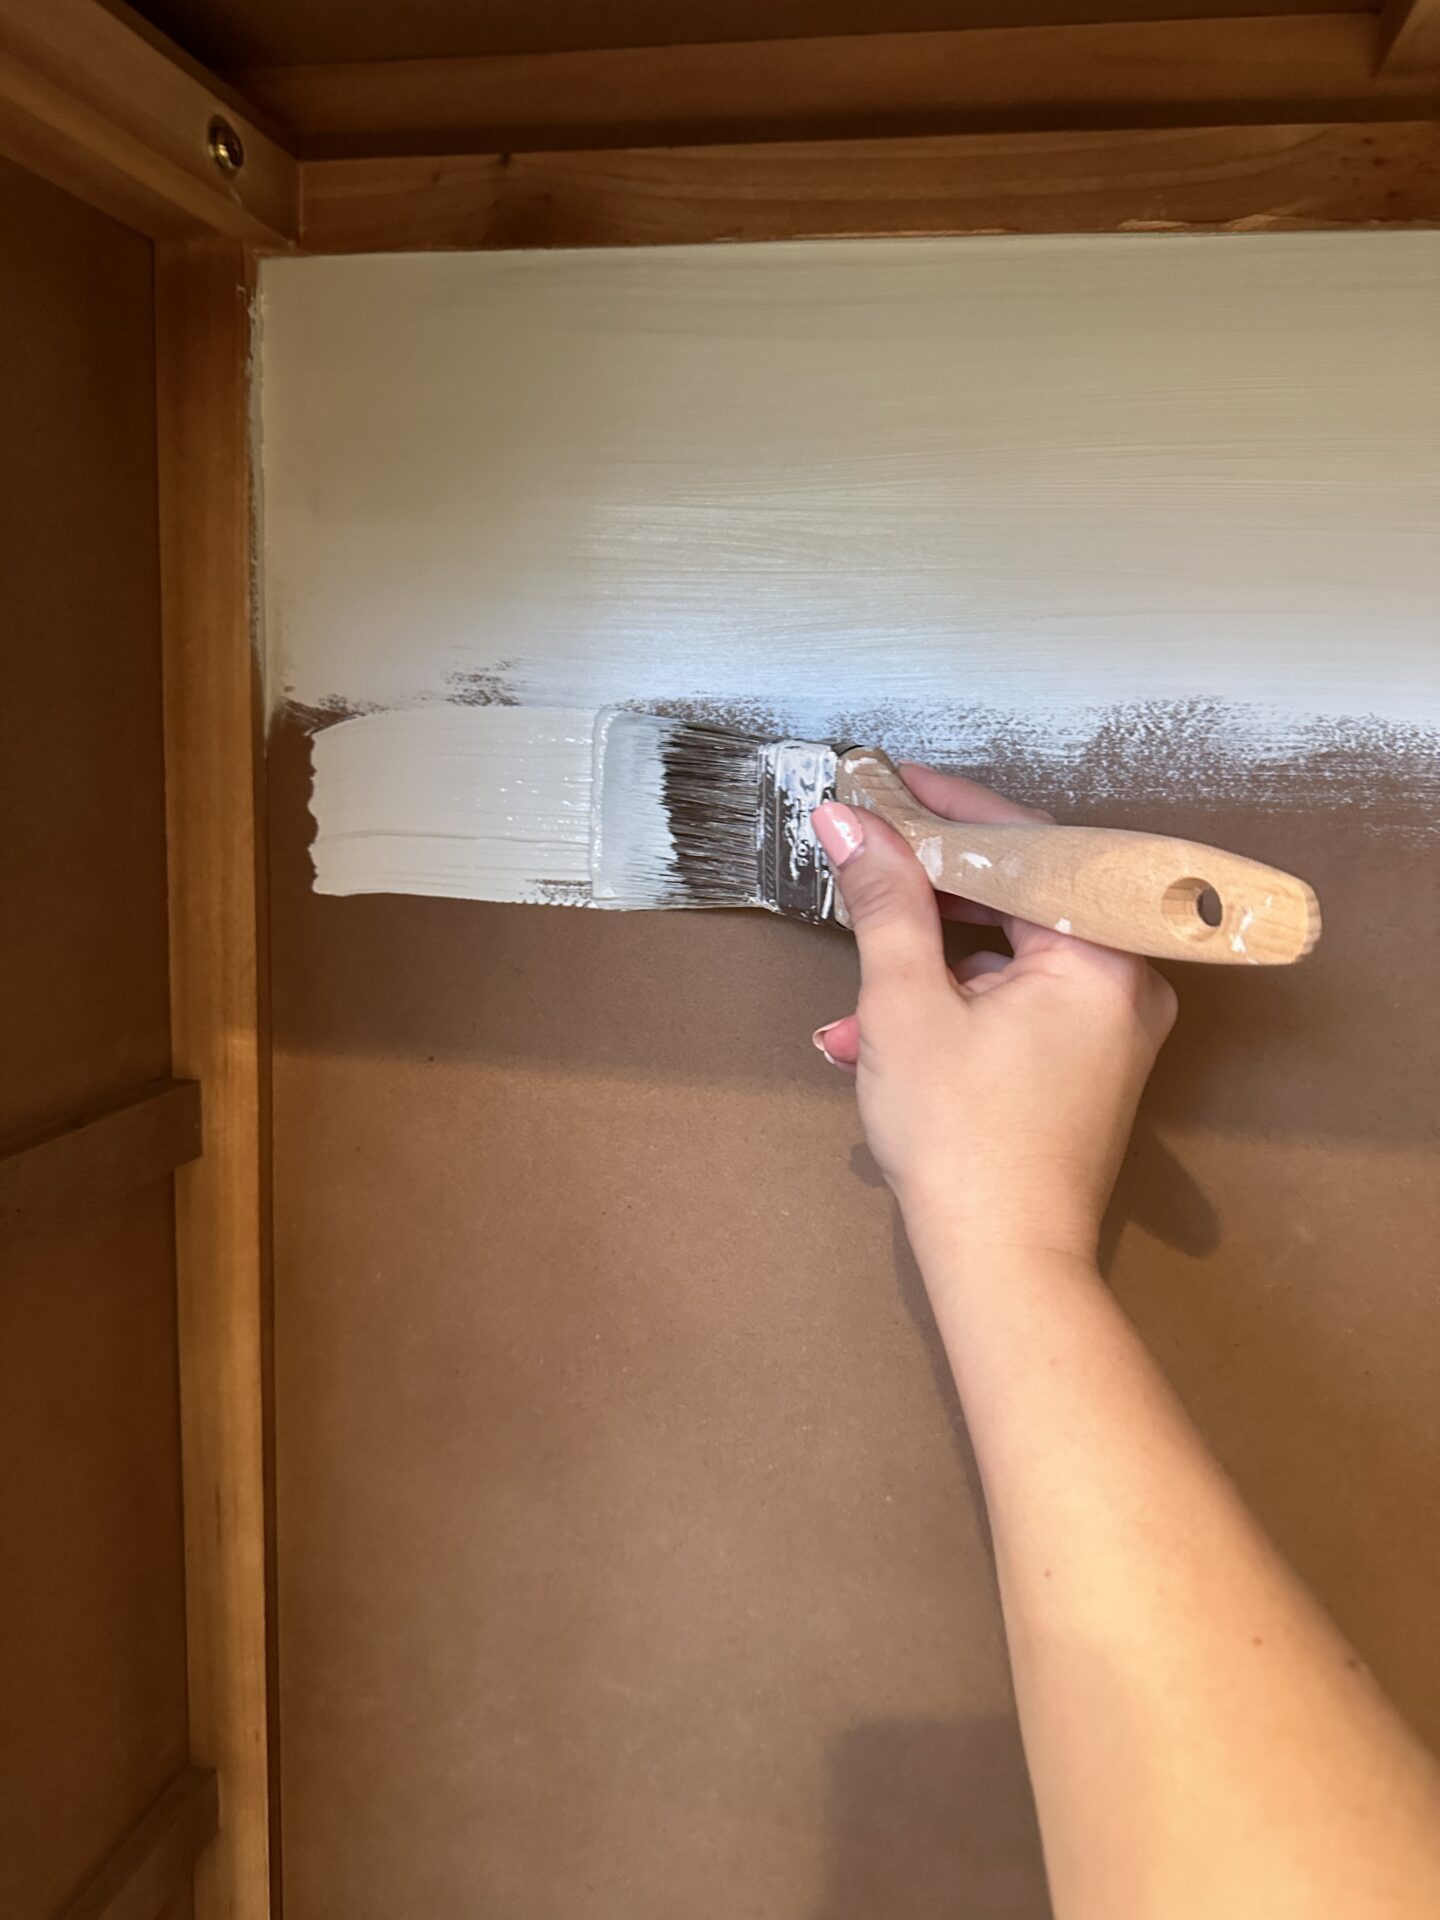
The first coat of paint is on! Now it’s time to wait for it to dry to put on our second coat. This cabinet only needs 2!
The second coat goes on even better than the first and gives you maximum coverage! Now that dark wood background is a beautiful, pale shade of Sea Salt.
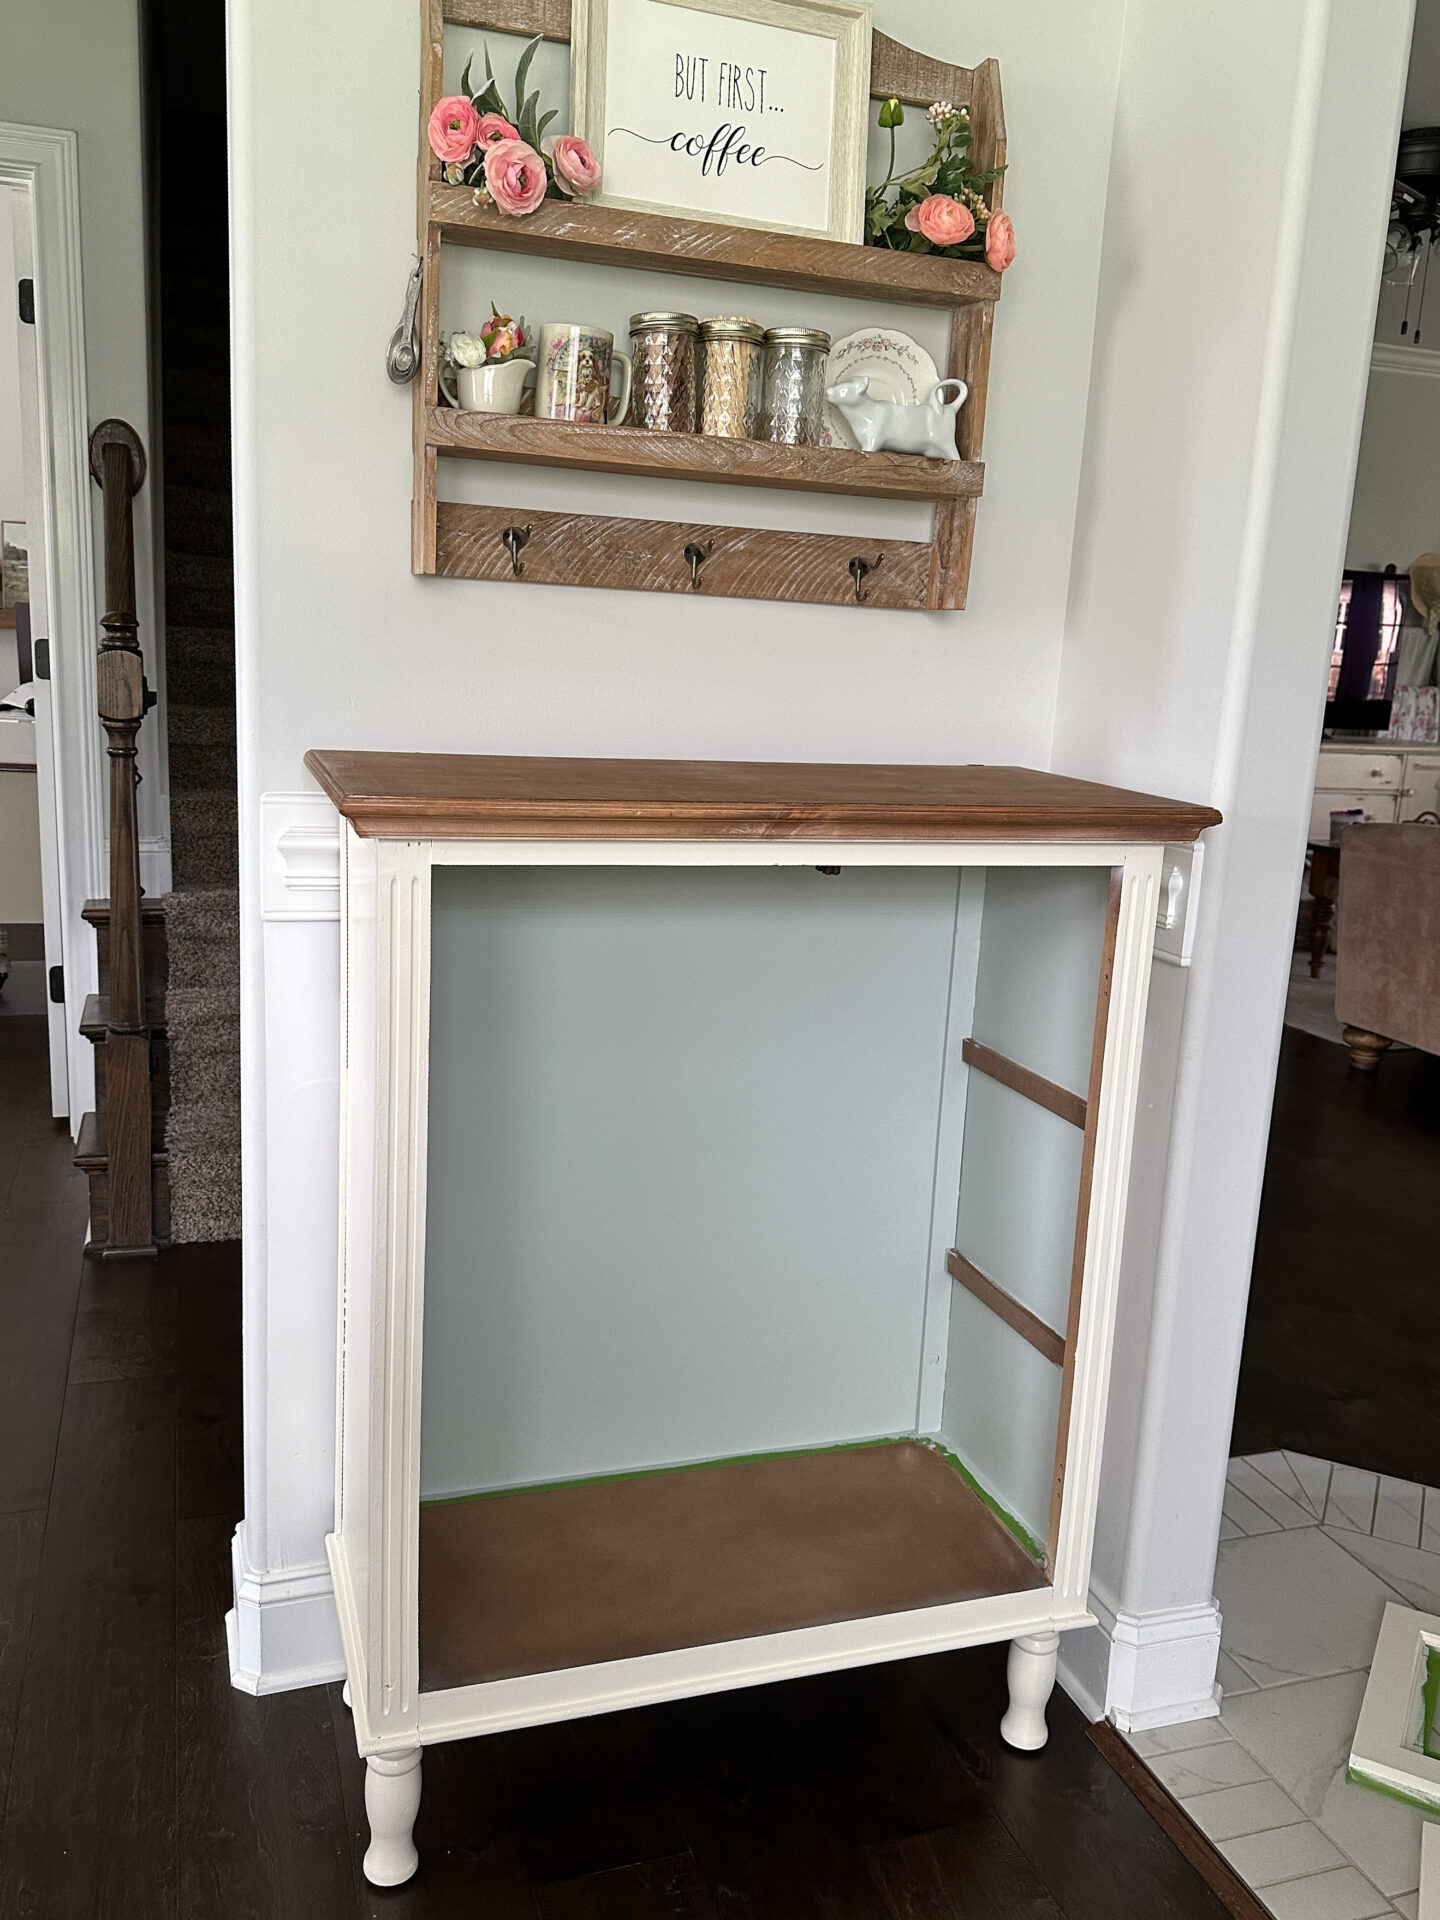
Now that our inside is fully painted and dried, our next step is to remove the tape and replace our shelves.
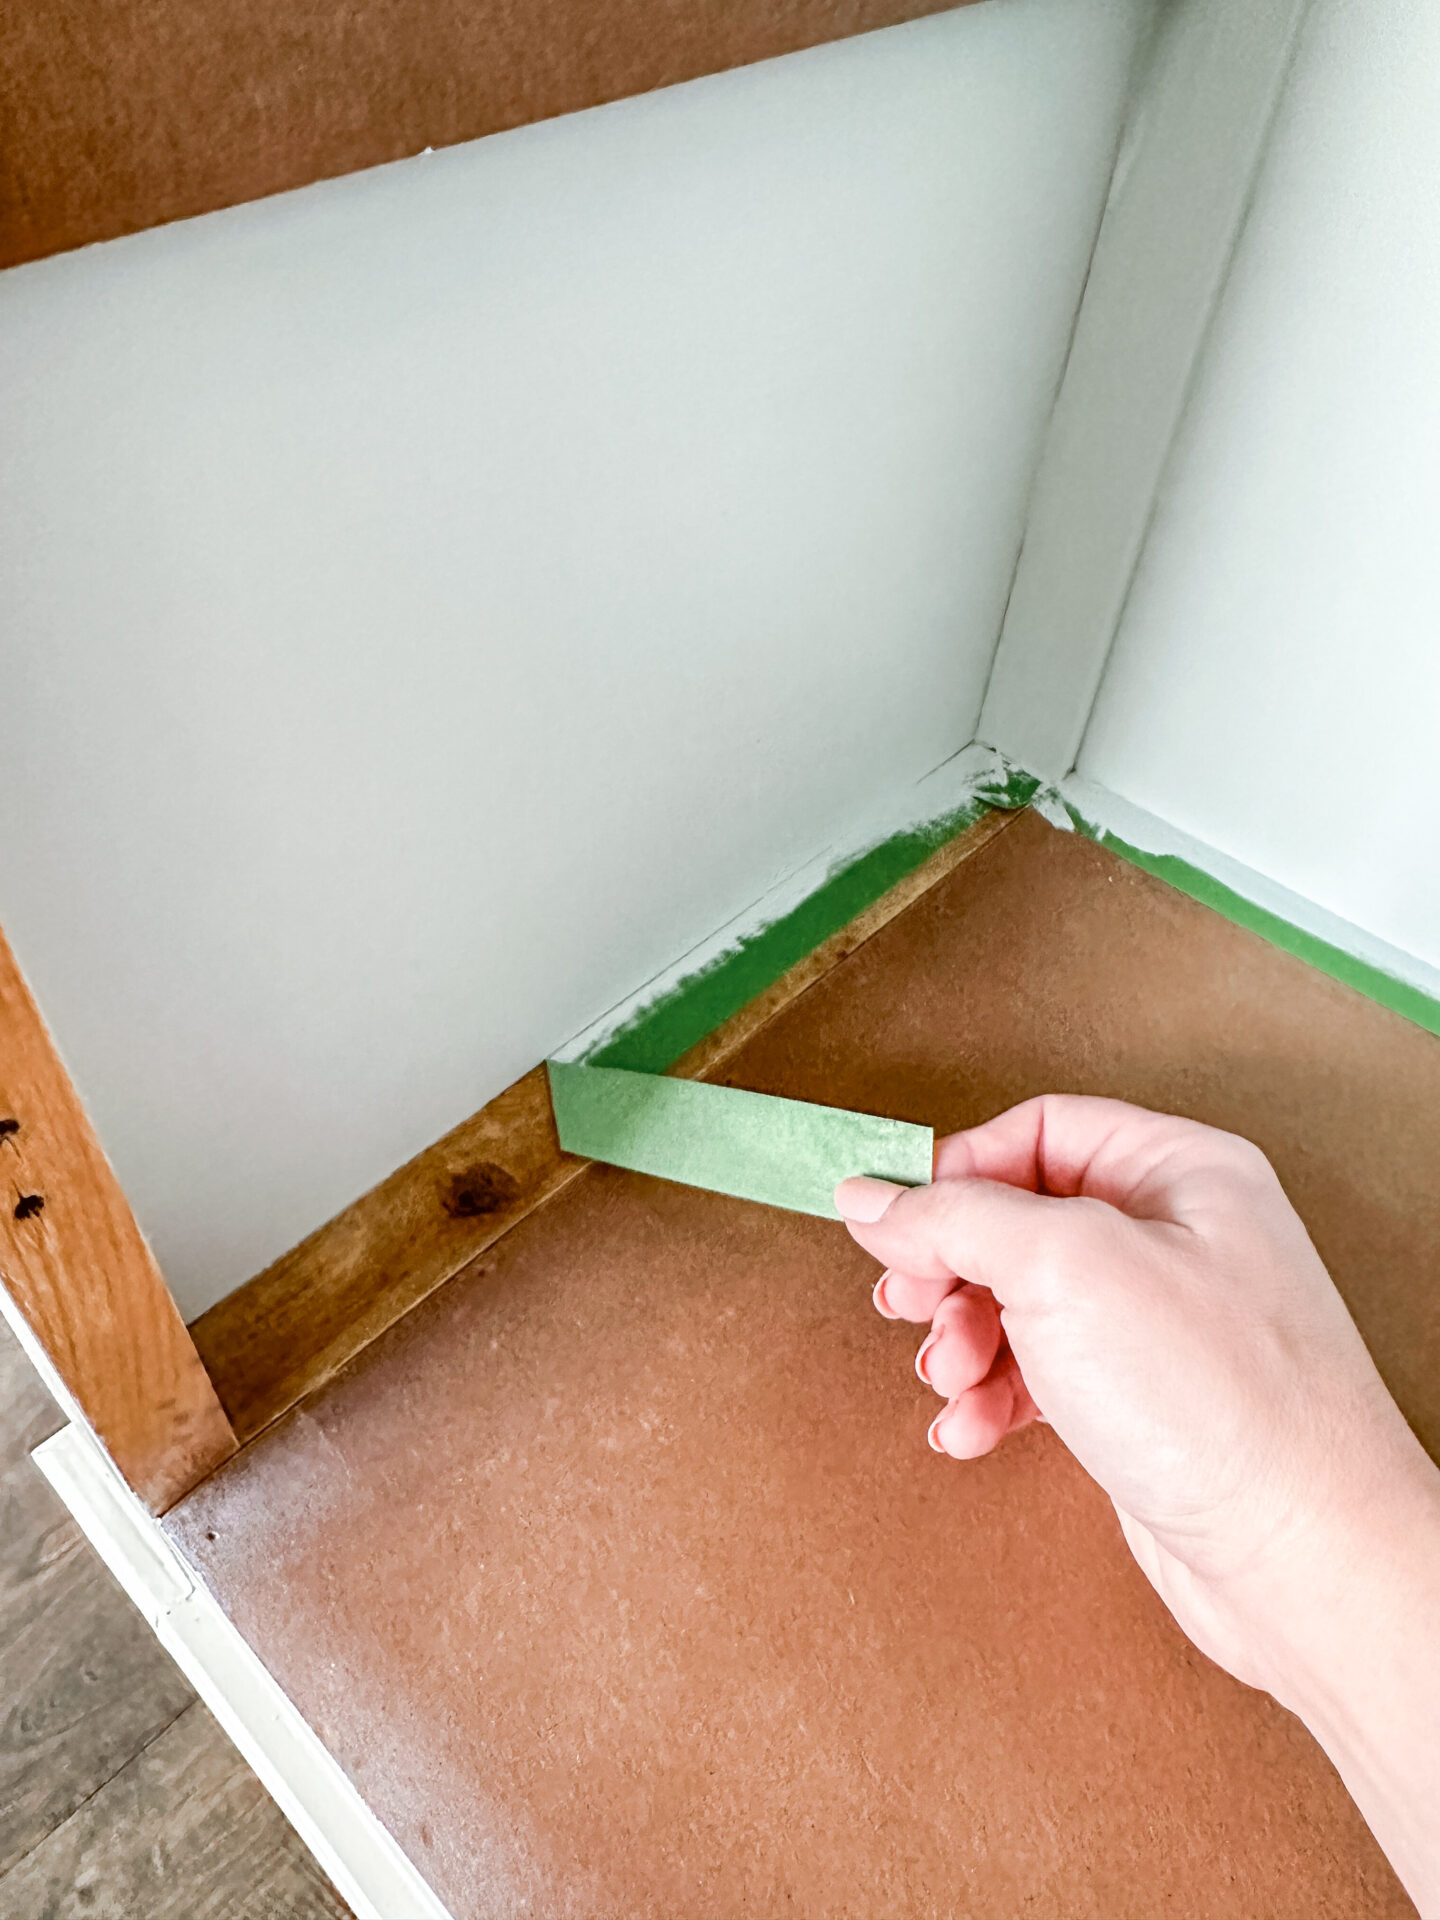
Taping is an important step in painting and refinishing. It prevents drips, leaks, and paint from getting onto your project piece. Look at that nice clean line! Now those shelves will really POP against this gorgeous pale blue! As will the dishware I place inside of the cabinet when it’s complete.
The Exterior: Steps
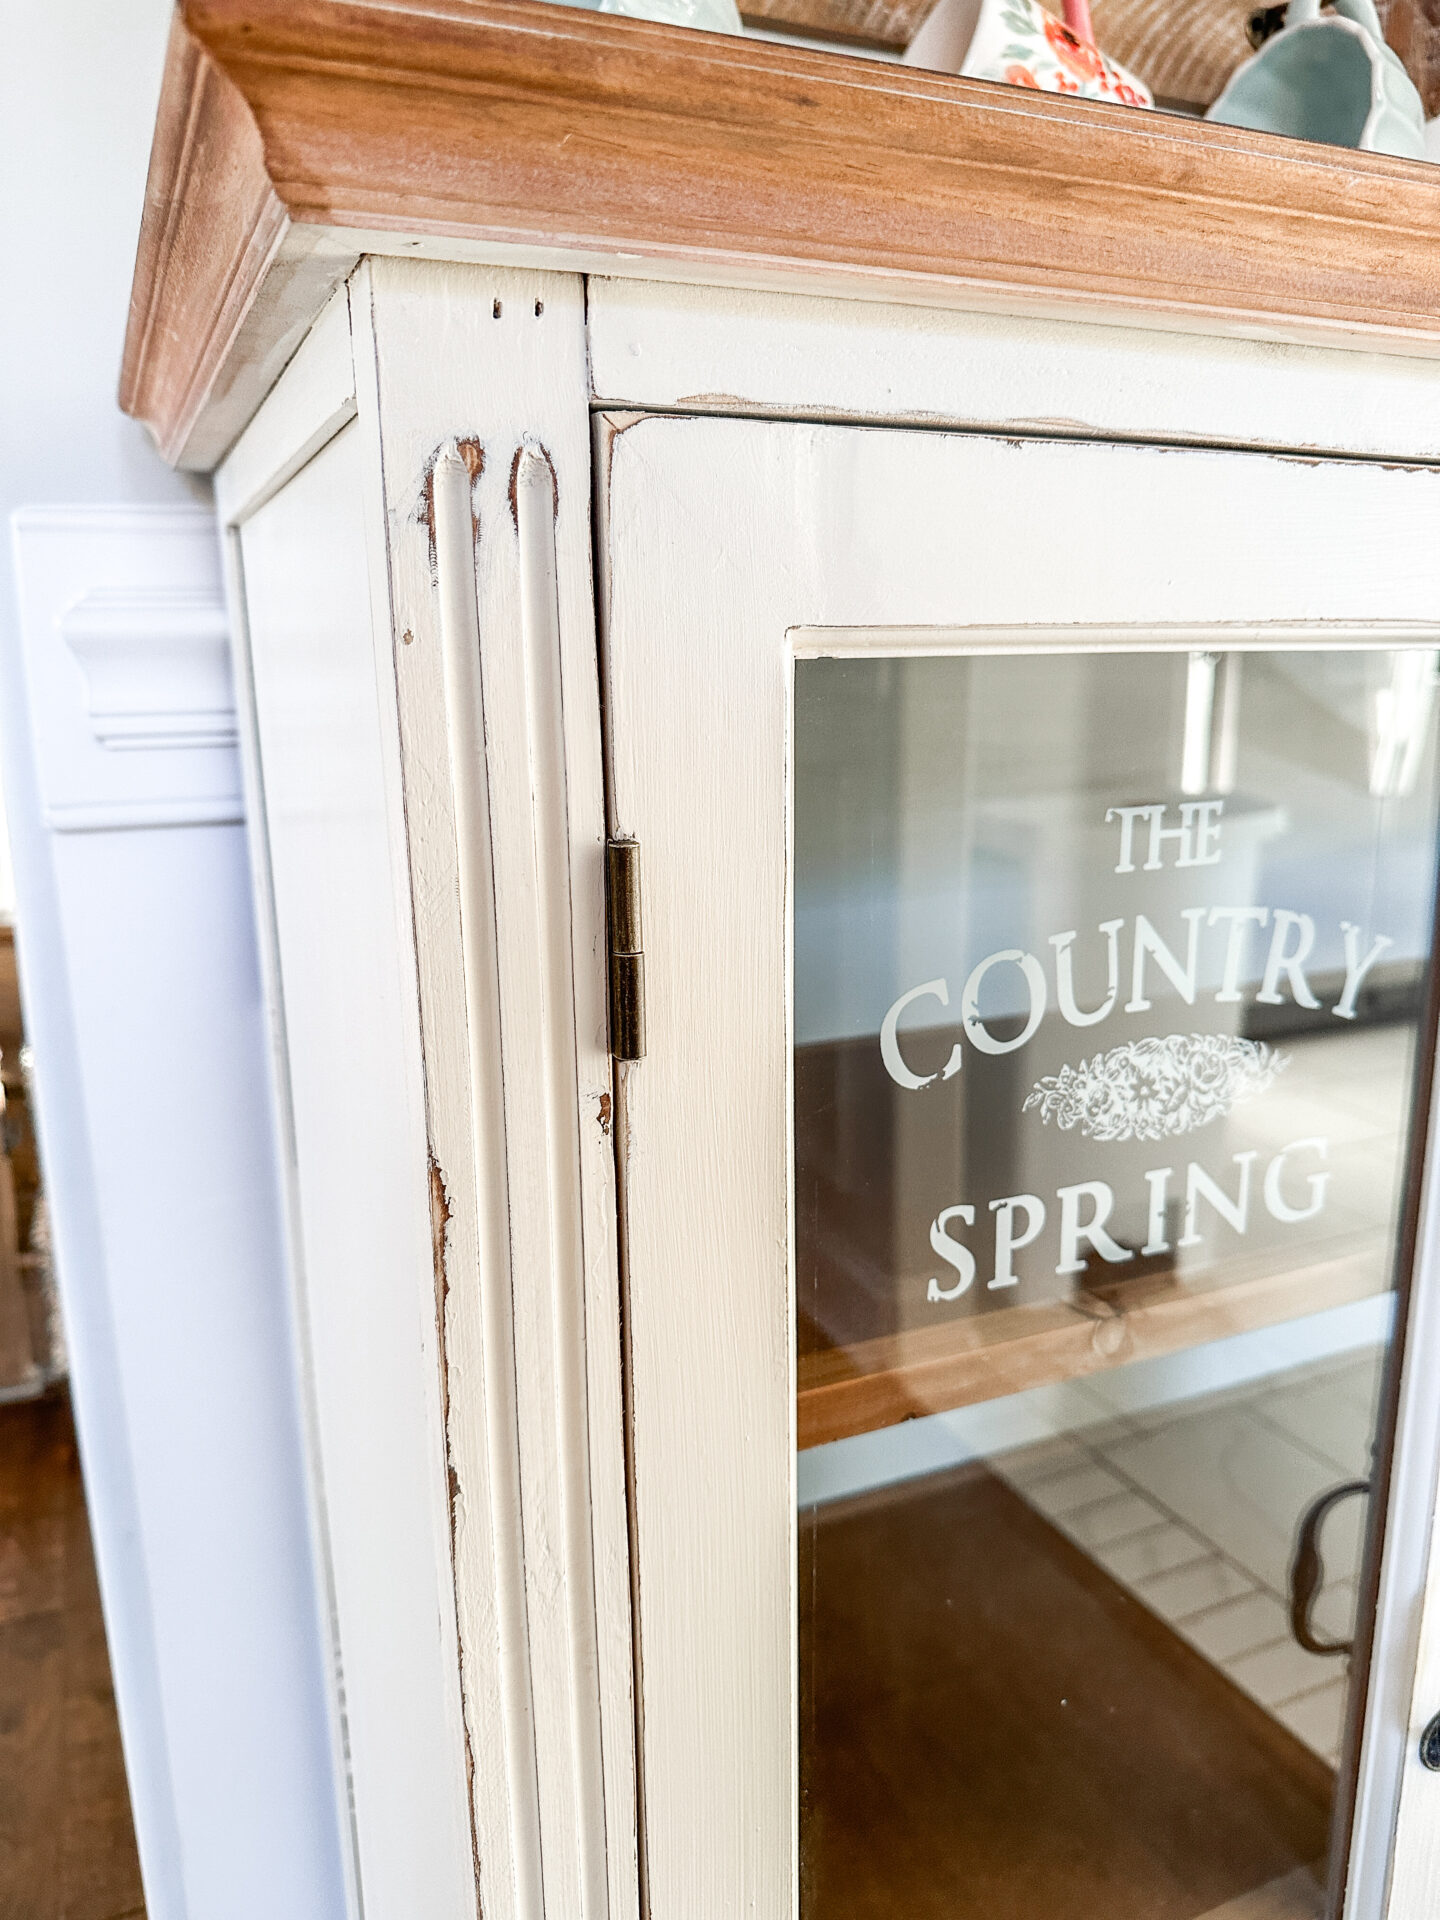
Before I tackled refinishing the glass doors, I wanted to focus on the body of the Hobby Lobby Cabinet. There were many places it was intentionally distressed, but those areas were not flush with the cabinet, so they needed gentle sanding to provide a smooth finish.
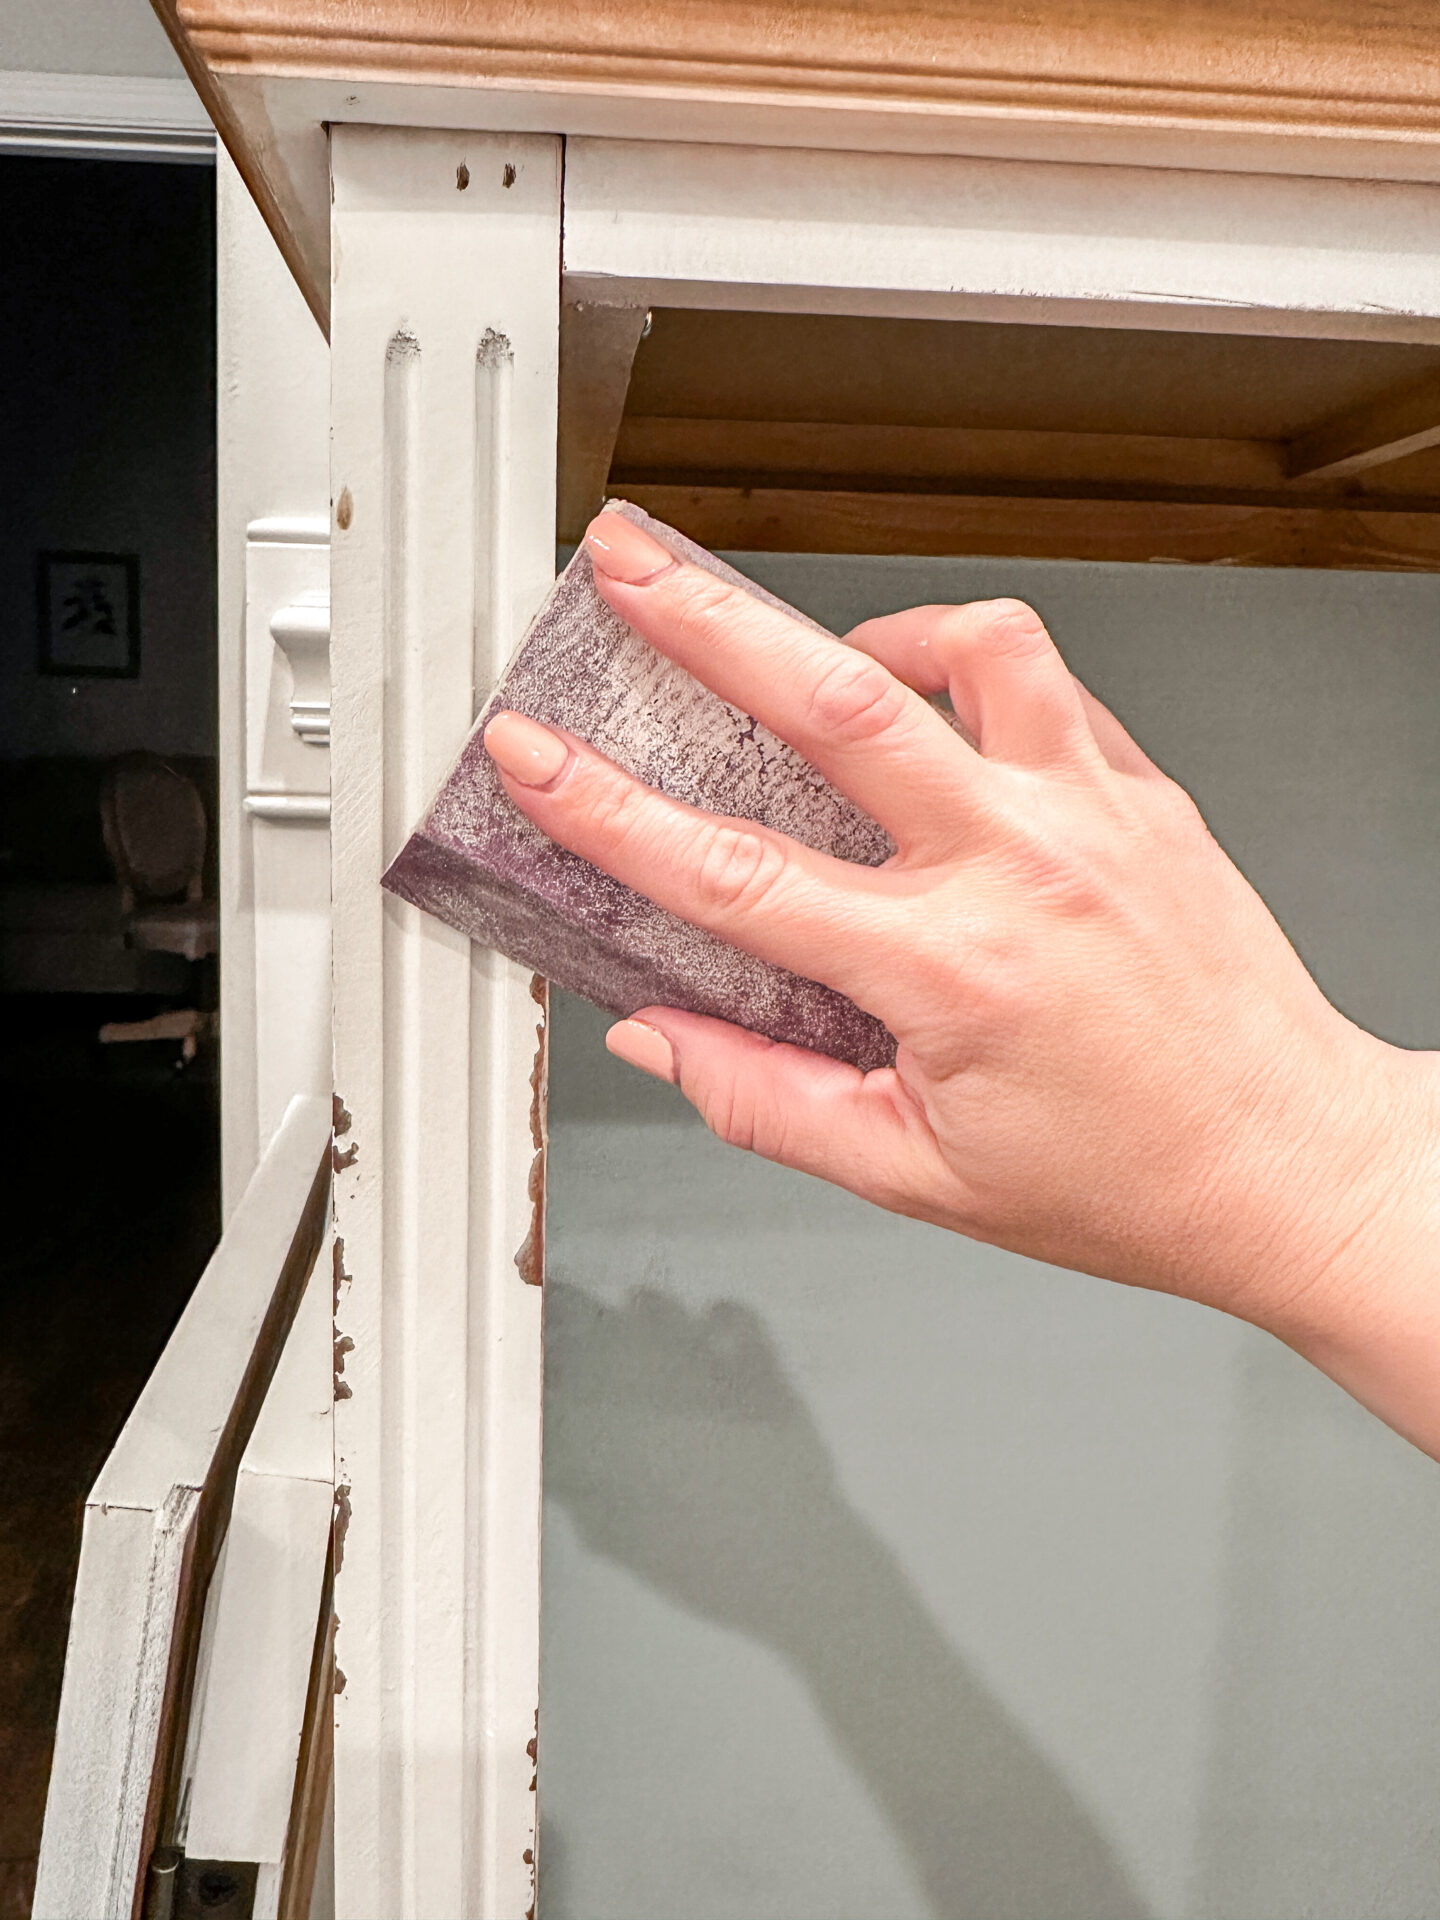
After all of the sanding was done, I wiped the cabinet down to remove any dust left behind. Then I went right in with my paintbrush and finished the first coat. I tried to keep in mind where all of the previous distressing was because I wanted to re-distress in the same places later on.
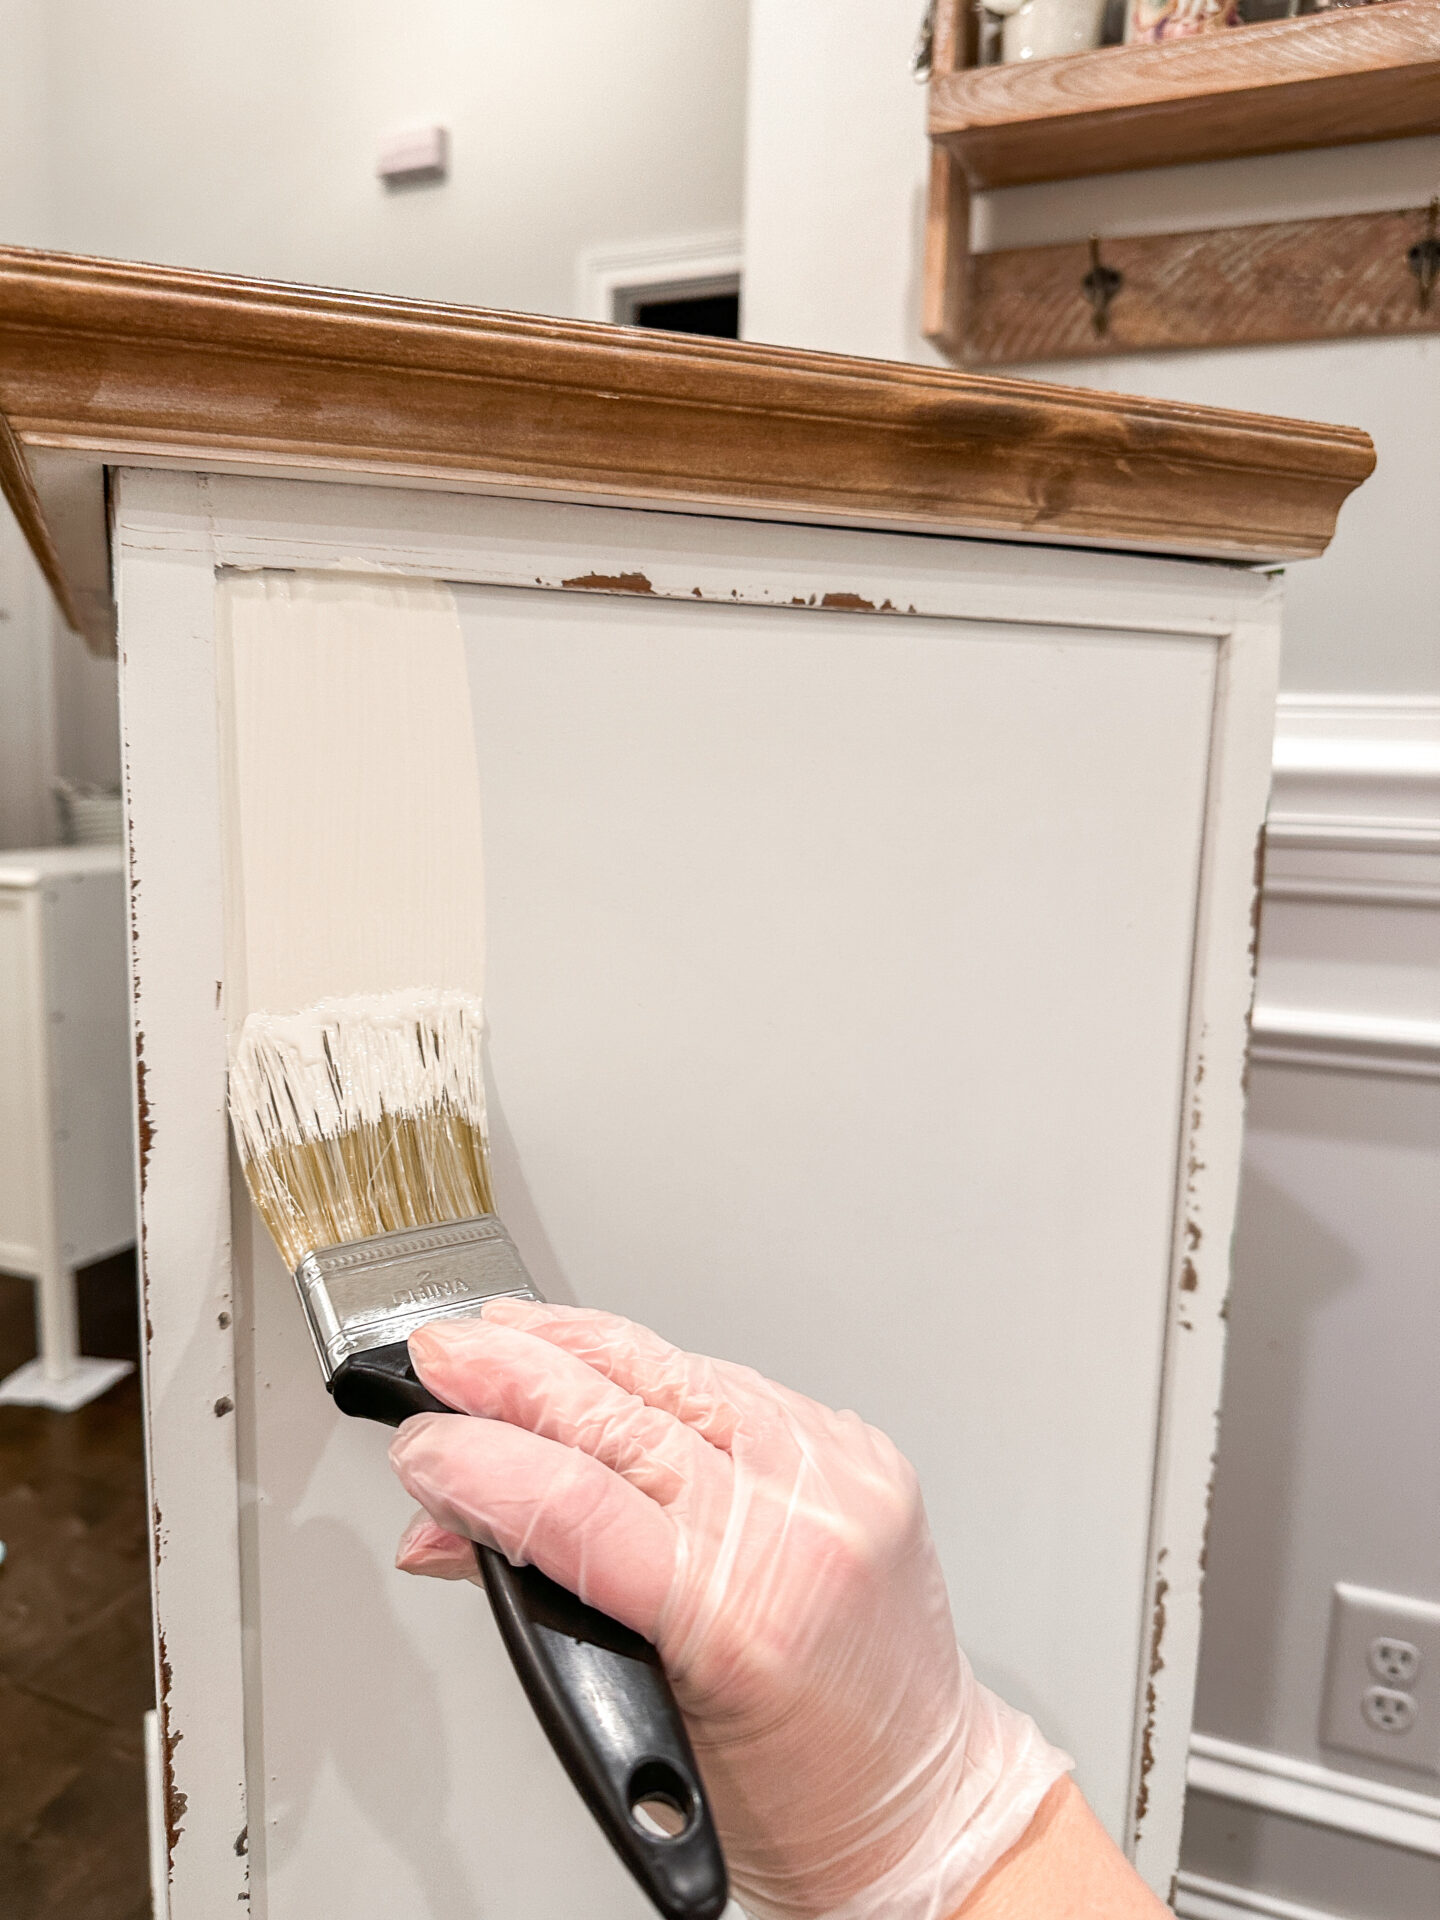
Now that we’re finally painting the body, you can easily see why I said the original color was too white for my home! I like to use off-white/ivory-colored paints to bring in a little bit of extra warmth to my project pieces, so Cottage White by Behr is my favorite and most used!
After letting the paint dry overnight, it was given a second coat of Cottage White and left to cure for a few days before distressing. BUT, in the meantime, I started working on the doors!
The Doors
My first step in tackling the doors was to remove the white writing. I have a super easy hack for this, so please see below for a quick How-To!
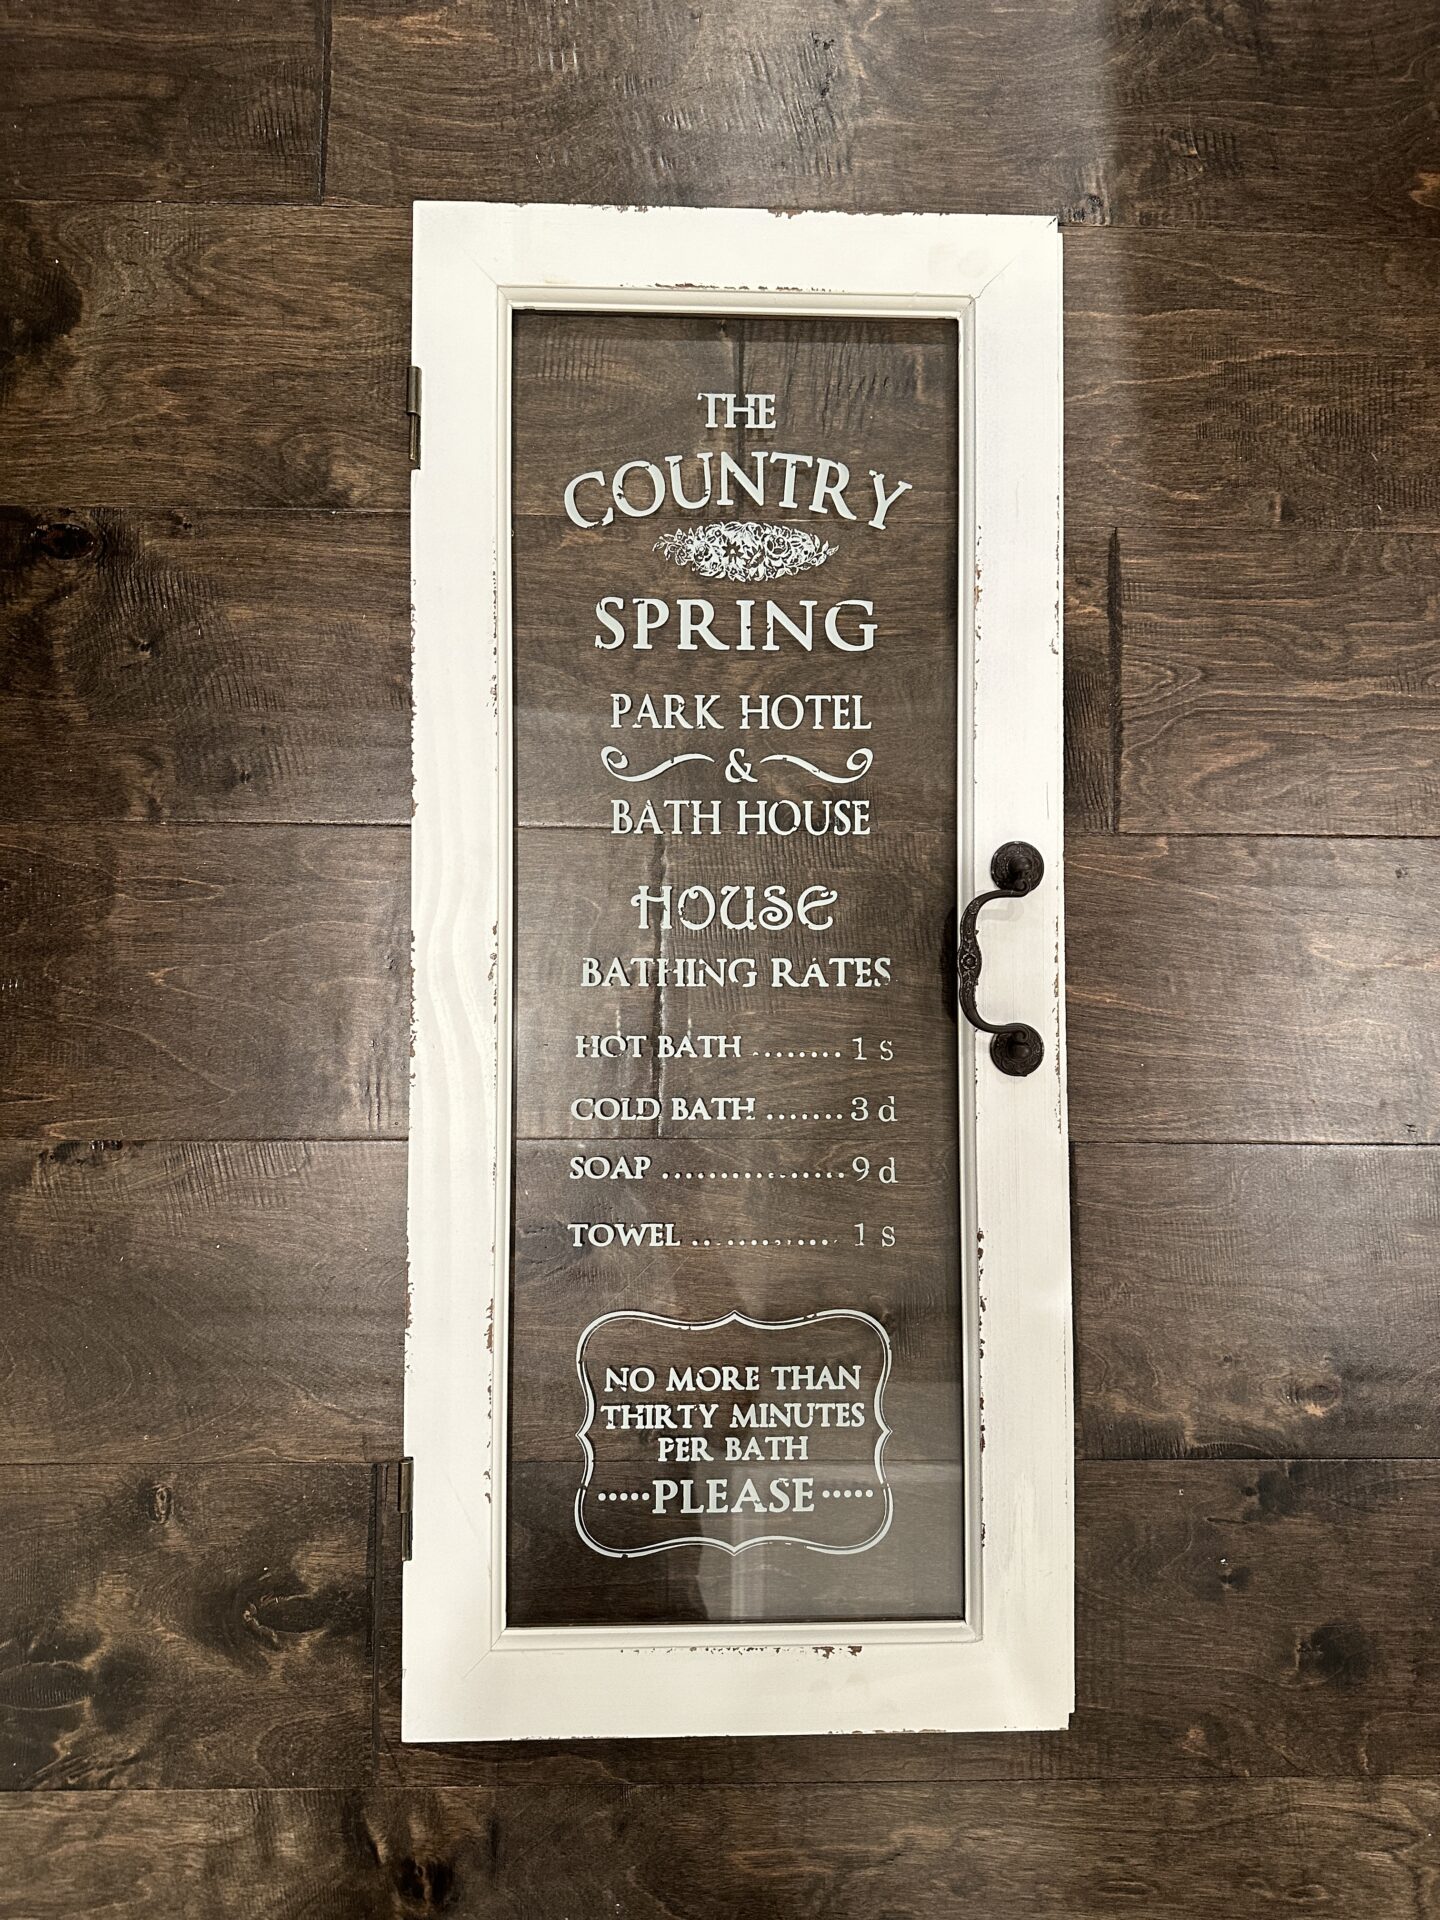
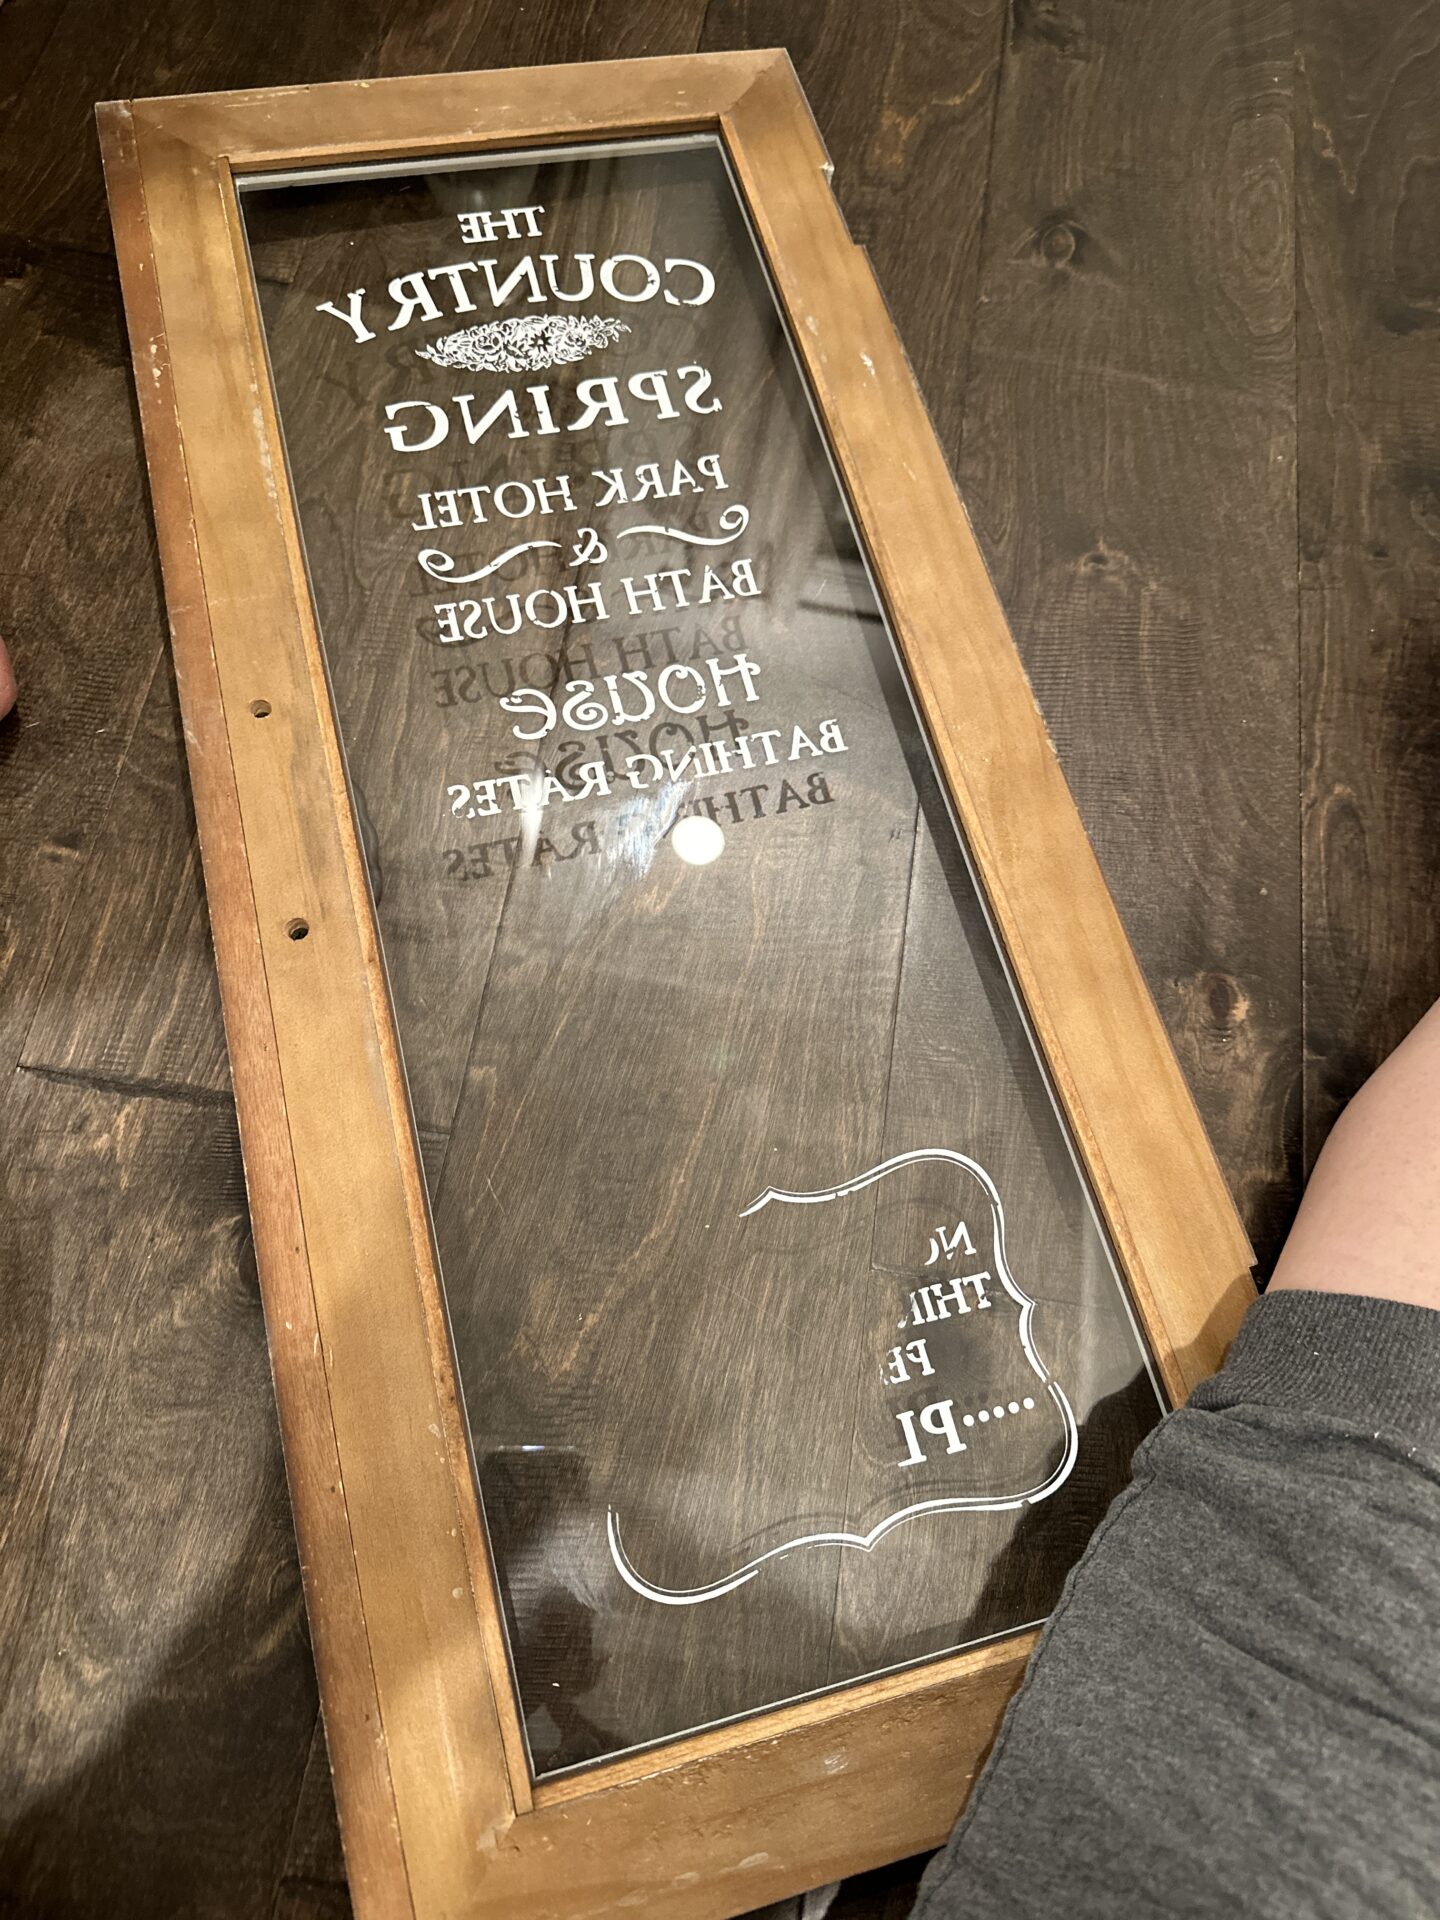
As you can see, these doors clearly state this is a bathroom cabinet lol! Let’s change that shall we? After all, this is going to be my new Coffee Bar Cabinet. You can check out my old Coffee Bar set up here!
Removing the writing is really very easy, as long as you have a blow dryer and some rubbing alcohol that is! After you’ve gathered those two things and a rag, you are ready to get started.
Removing the Writing

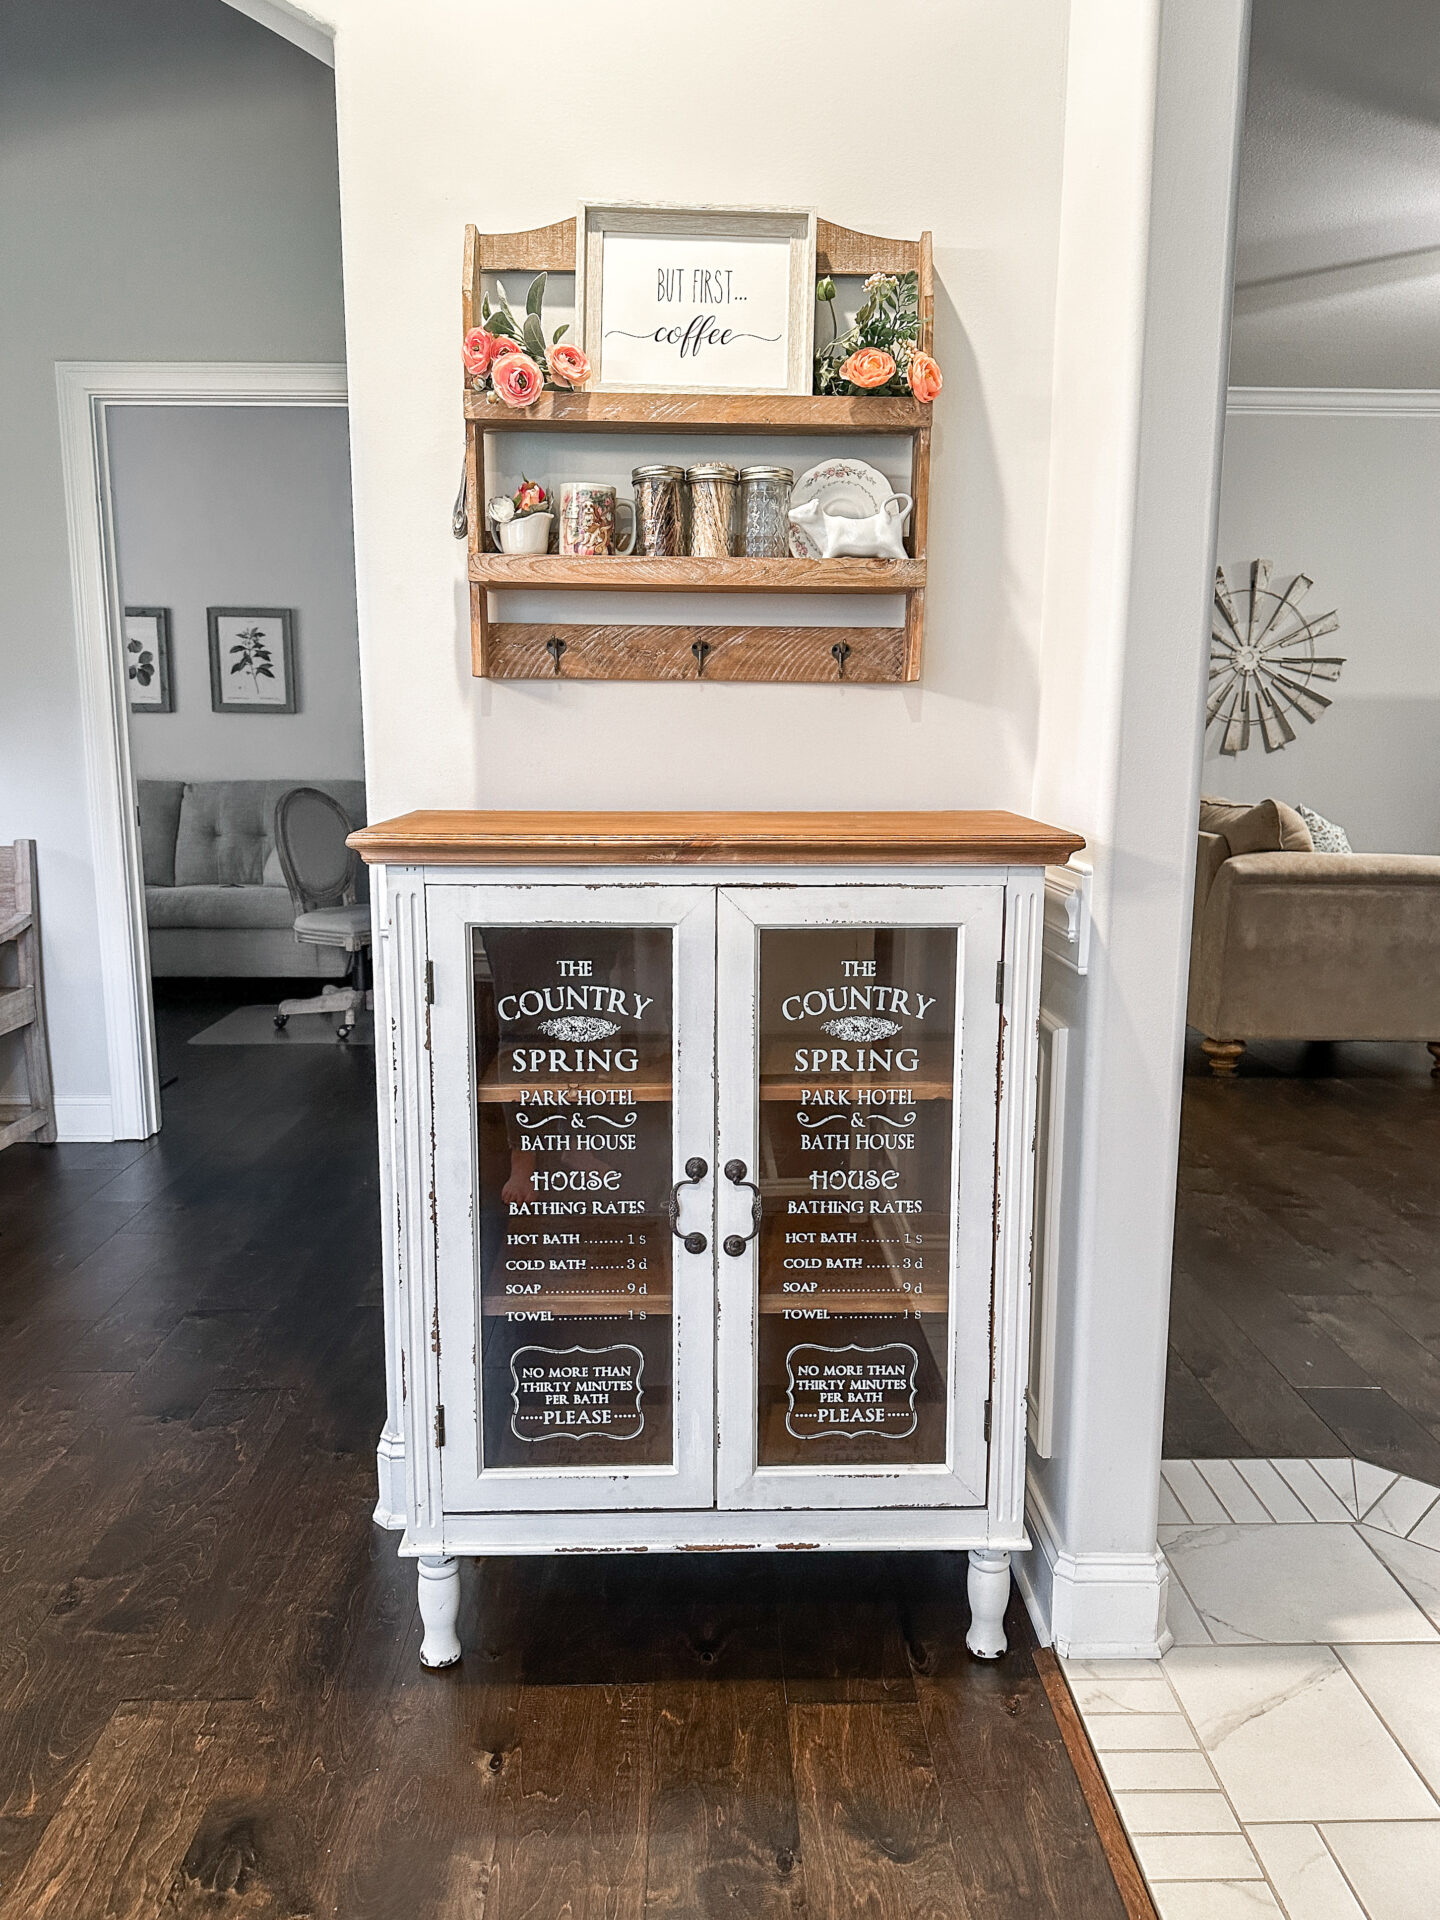
For our cabinet, the writing is on the inside of the glass, so we just need to flip the door over and get to work. Grab your blow dryer and work on one section at a time. So heat up a couple of words, turn off the blower, grab your rubbing alcohol and your rag, and rub in circular motions until the words start to come off. If it seems like it’s getting harder to rub off, then grab your blow dryer and reheat the word you’re working on. Repeat this process until all of the wording is gone. Or, if you wanted to keep some of the writing like I did, just remove the words you want gone.
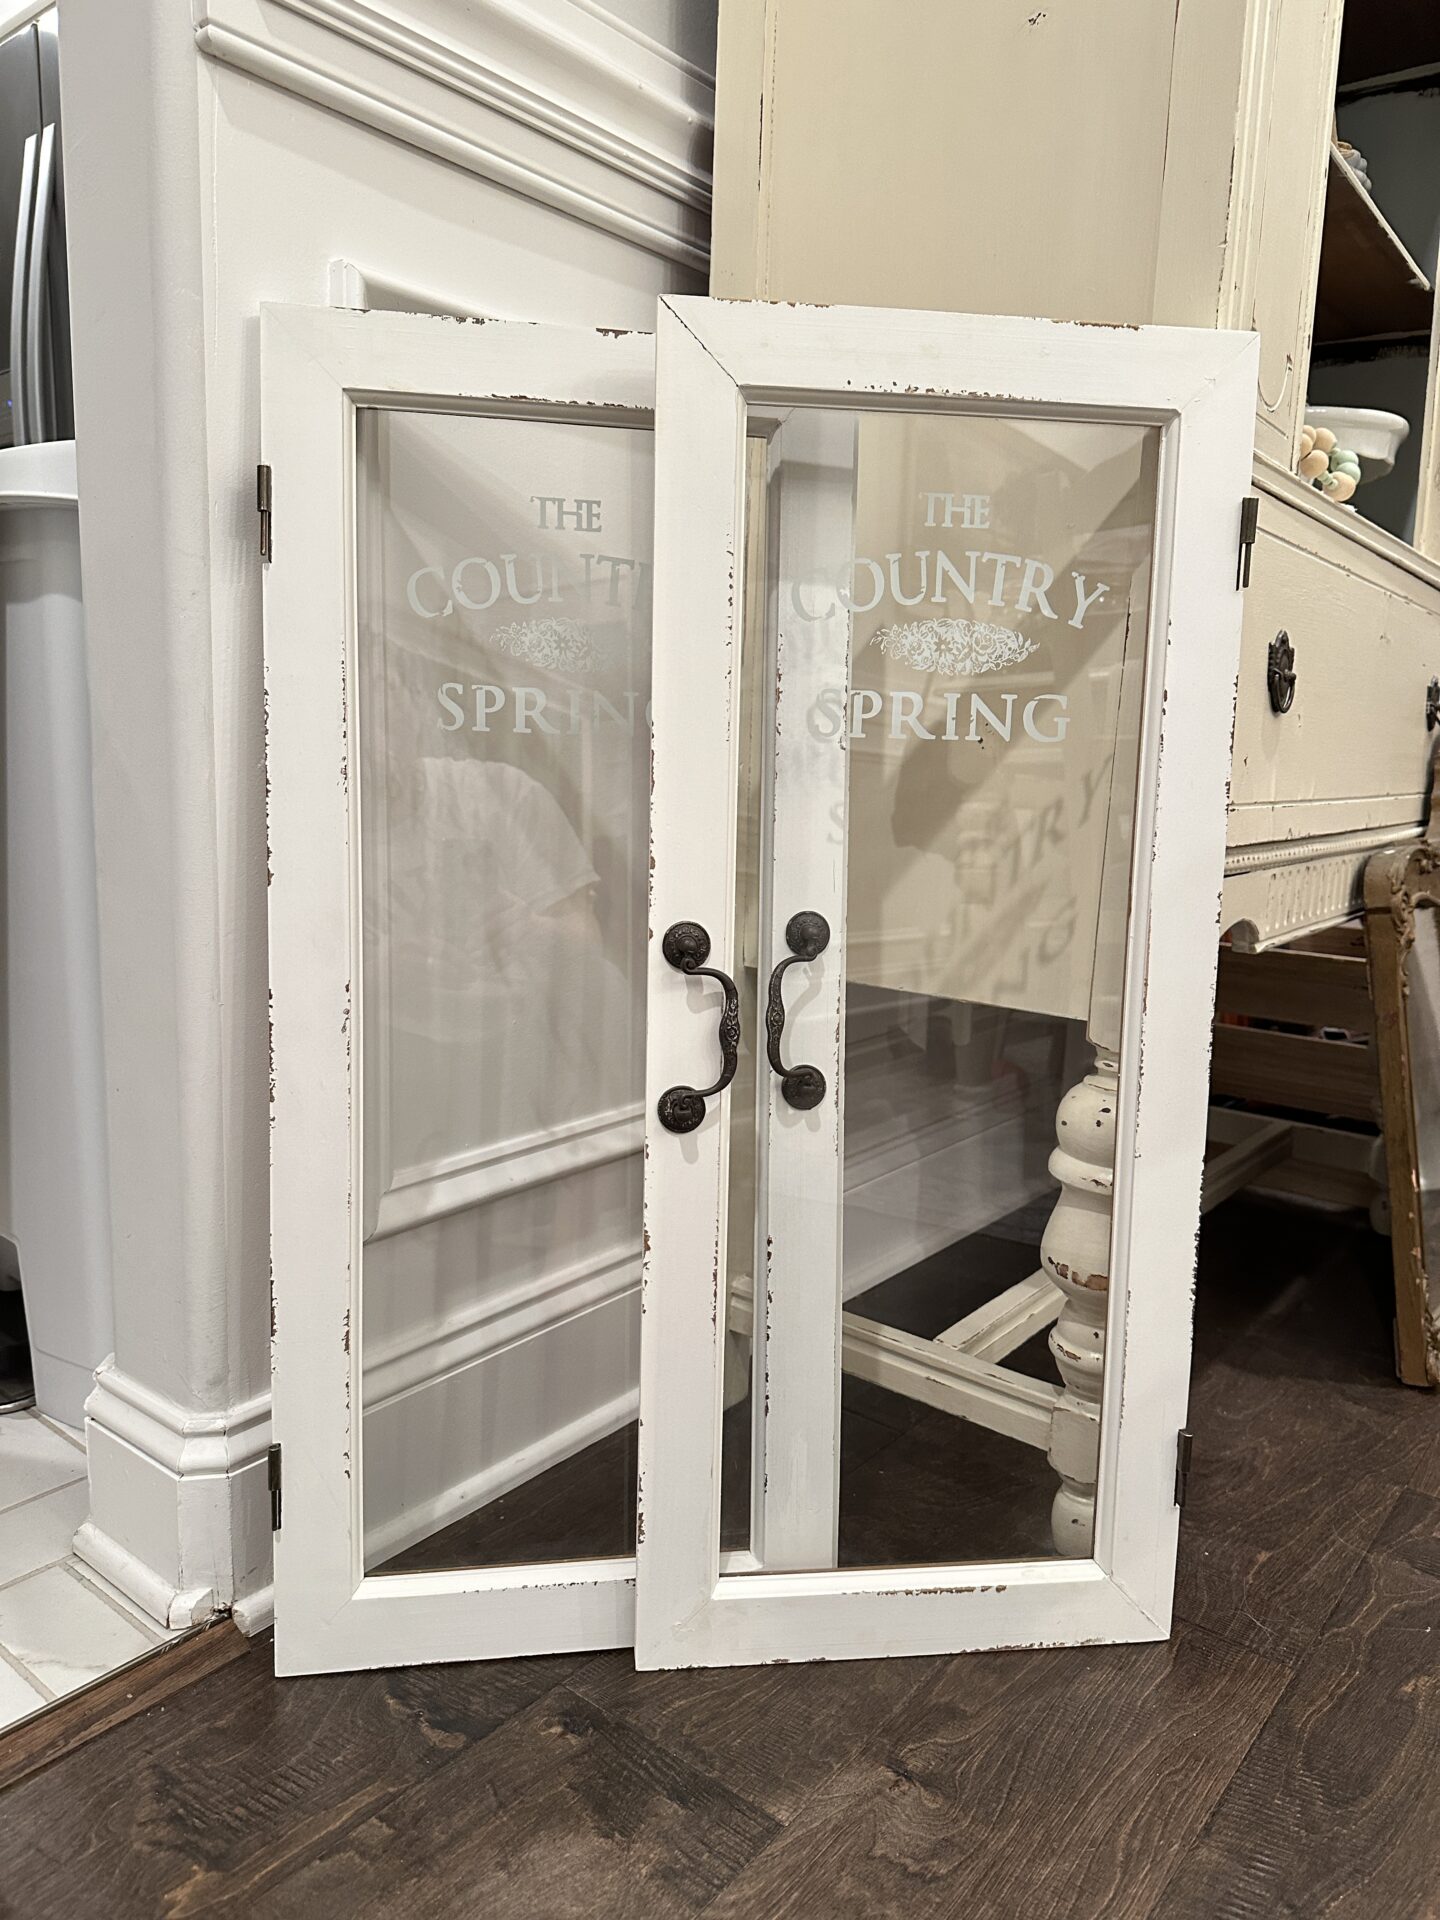
Now that our doors are free of all of the writing we wanted removed, we can work on painting the frames!
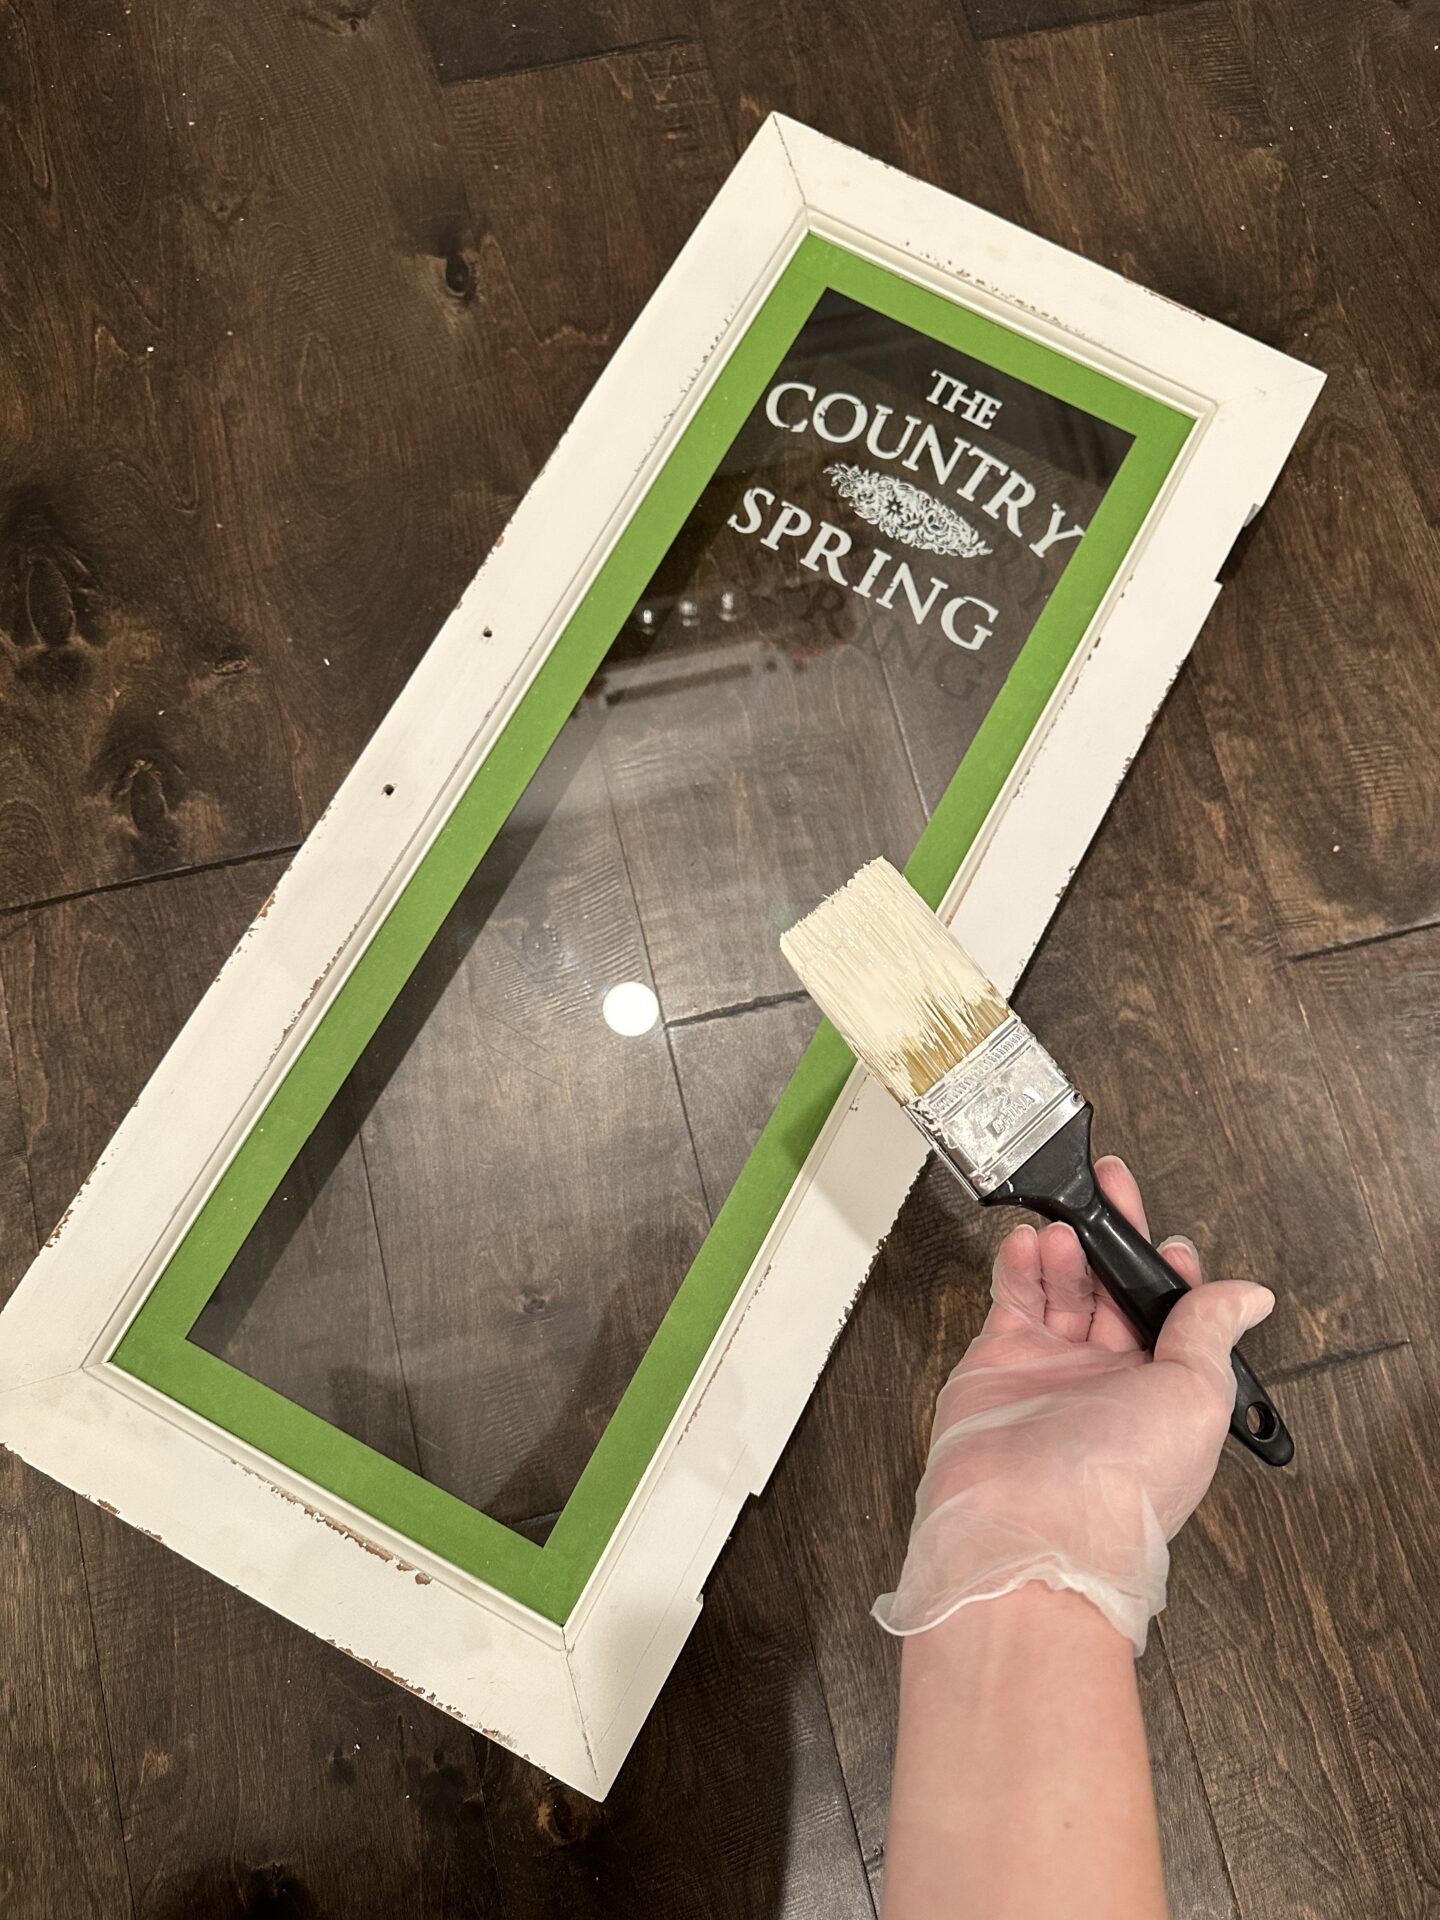
Once again, grab your tape and tape off the areas you do not wish for paint to get on. This will make cleanup so much easier!

After the first coat of paint dried, I applied a second, just like I did on the body of the cabinet. I let that dry overnight and removed the tape the next day. Once again, I allowed the paint to cure over a few days time before trying to move the doors or distress them.
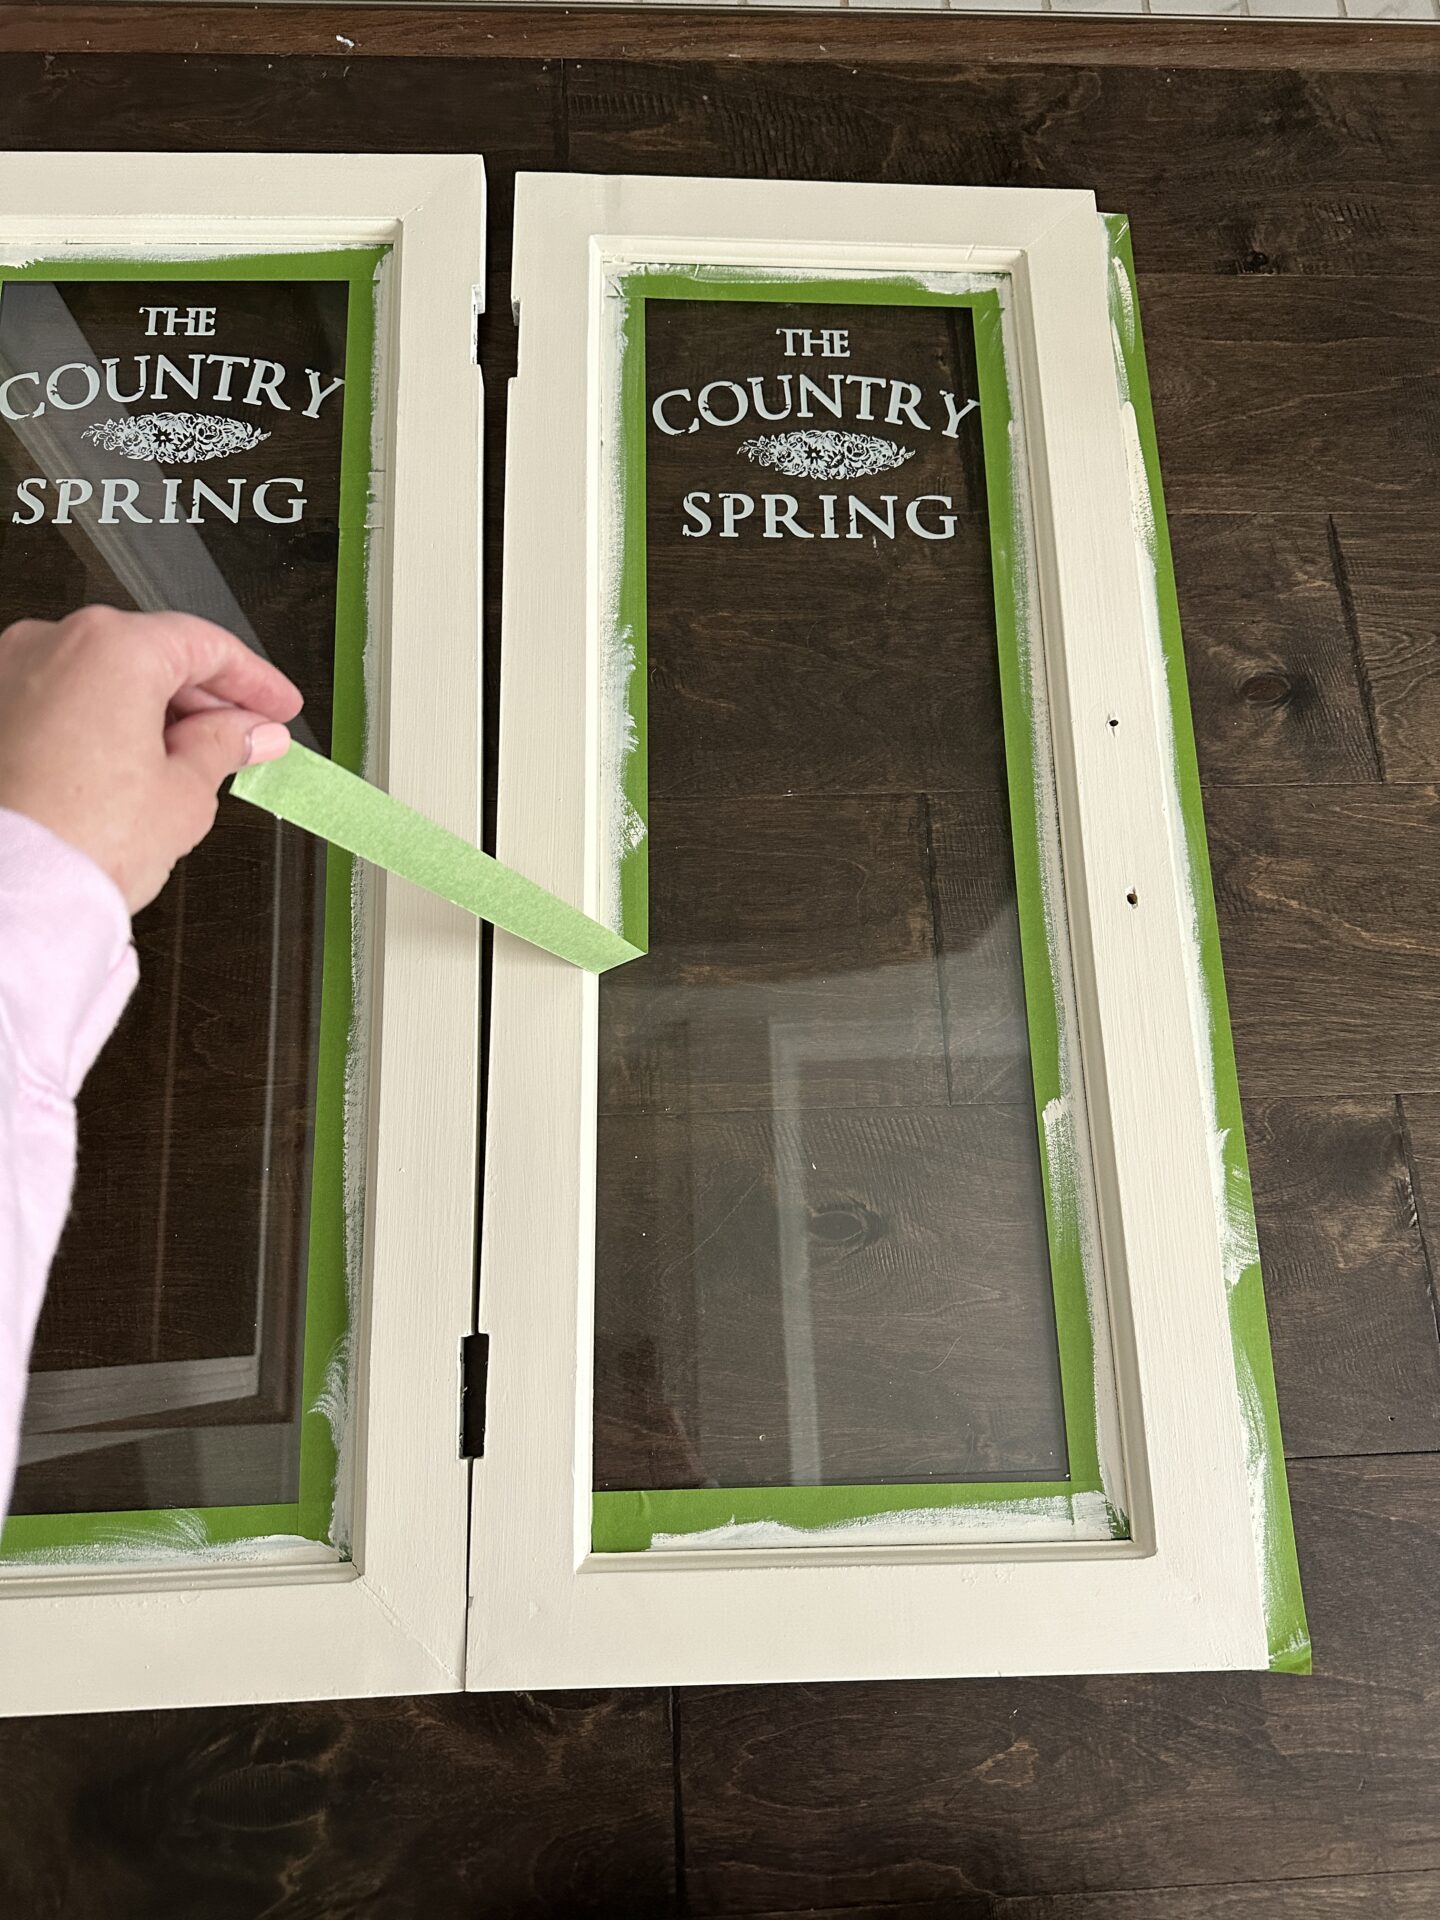
Once the paint has cured, we can finally remove the tape, clean the glass, re-install the hardware and put the doors back on the cabinet!
Putting Cabinet Back Together
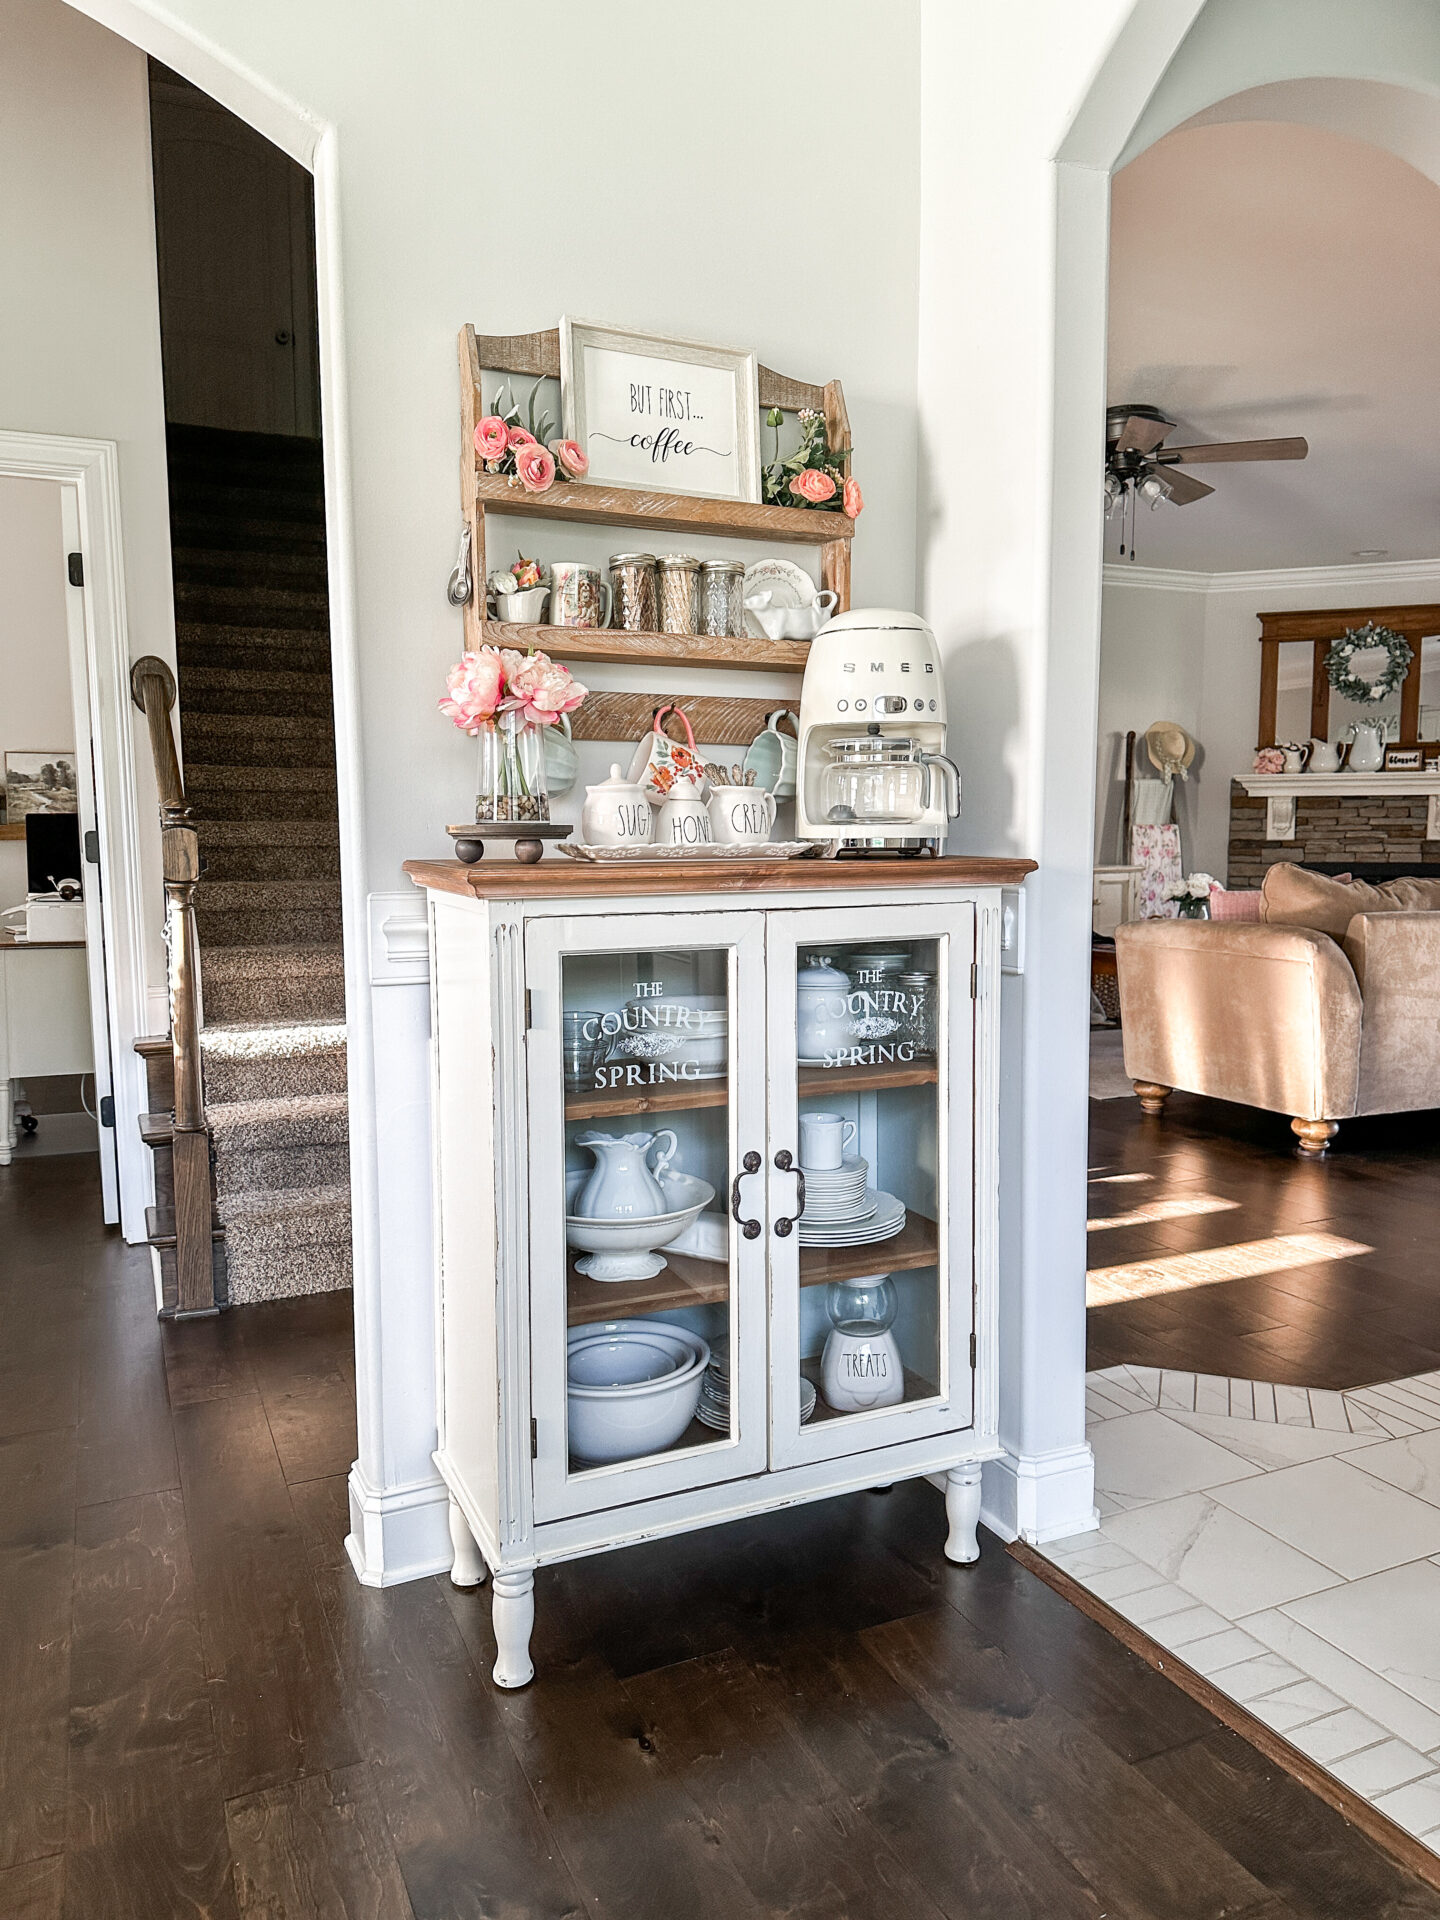
This was definitely the most exciting part of the whole process! Now, we can finally see what the finished product will look like!
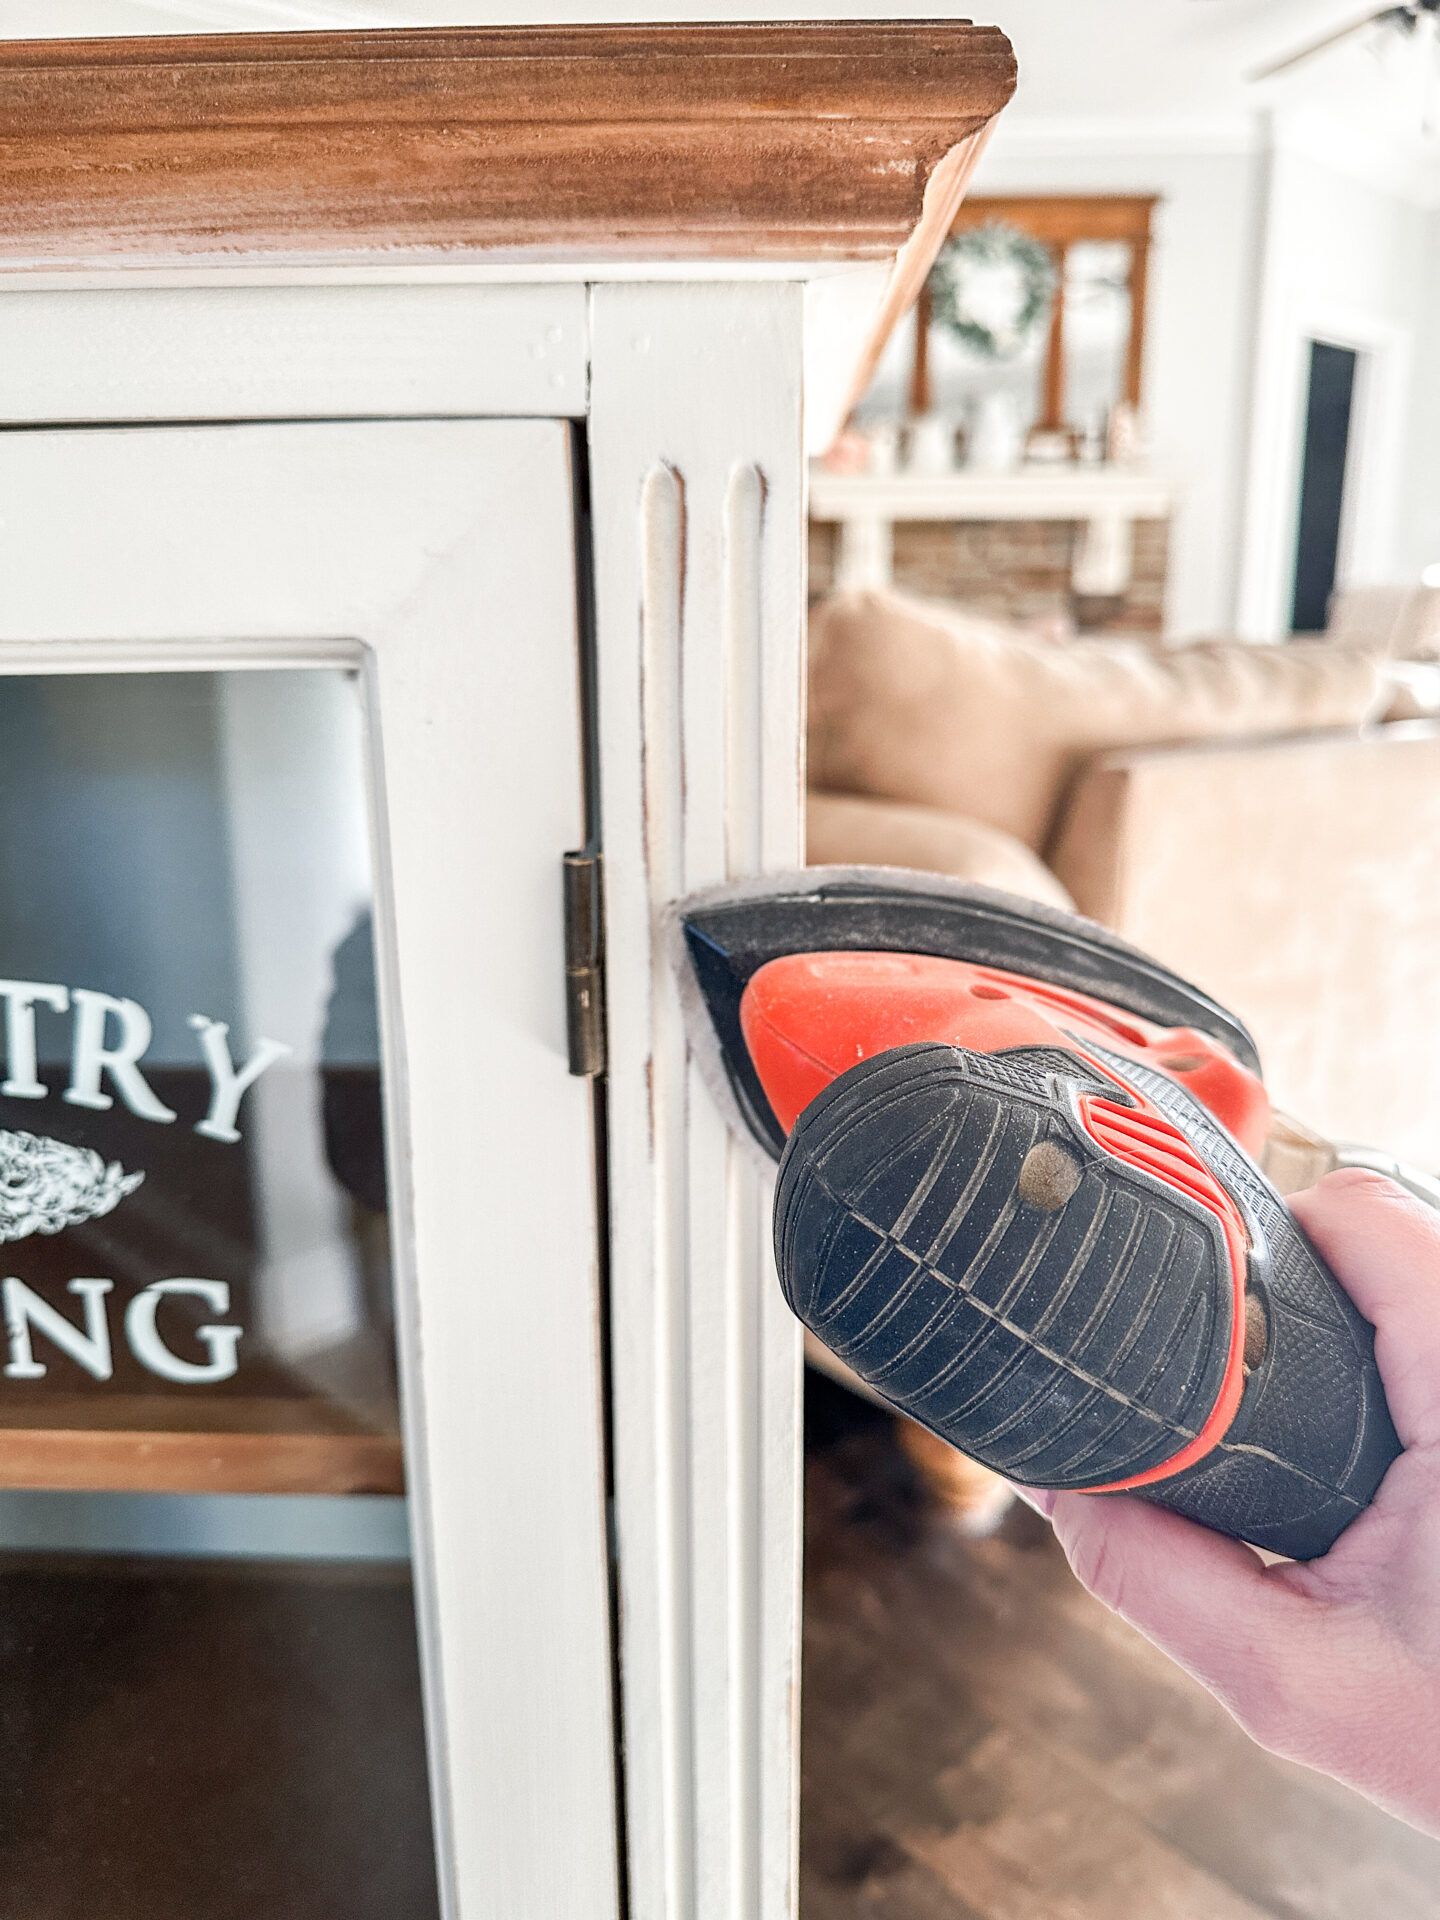
With the doors back in place, now it’s time to distress the cabinet. The easiest and quickest way to get distressing done on a piece like this is to use a Mouse Sander. If you want less of a distressed look, grab a sanding wedge. They also work great for bringing out subtle details!
The finished look
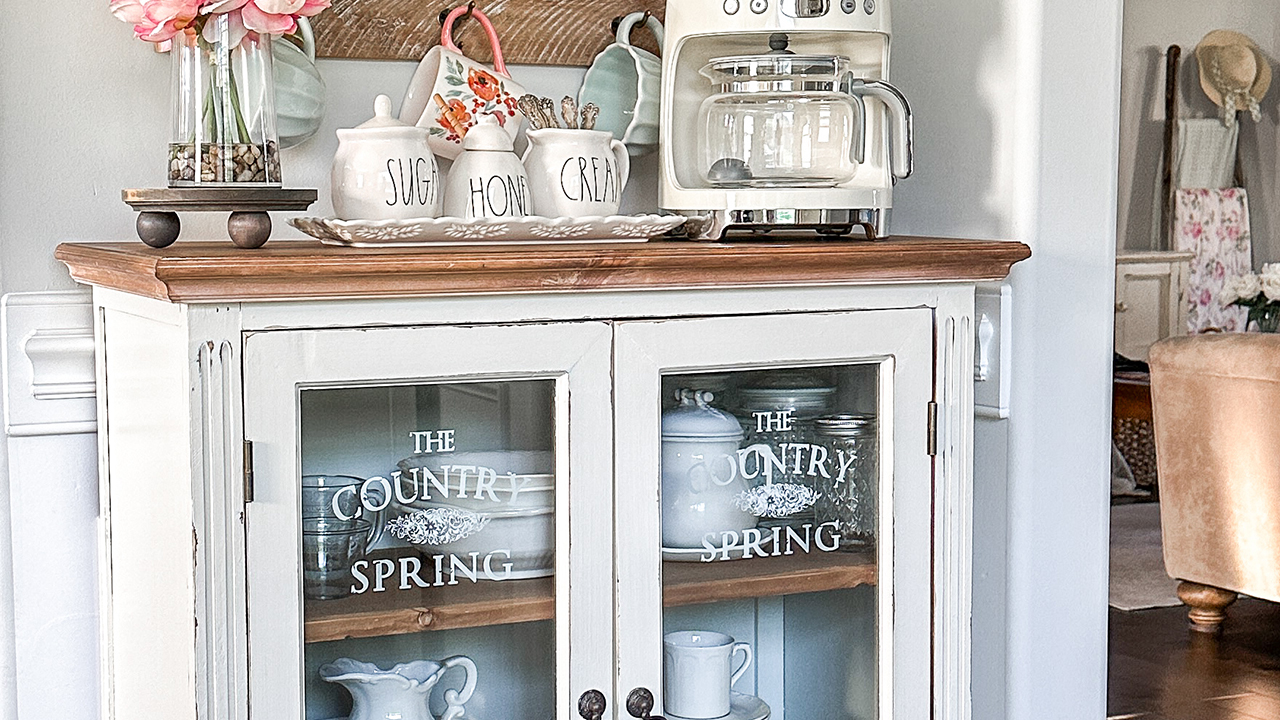
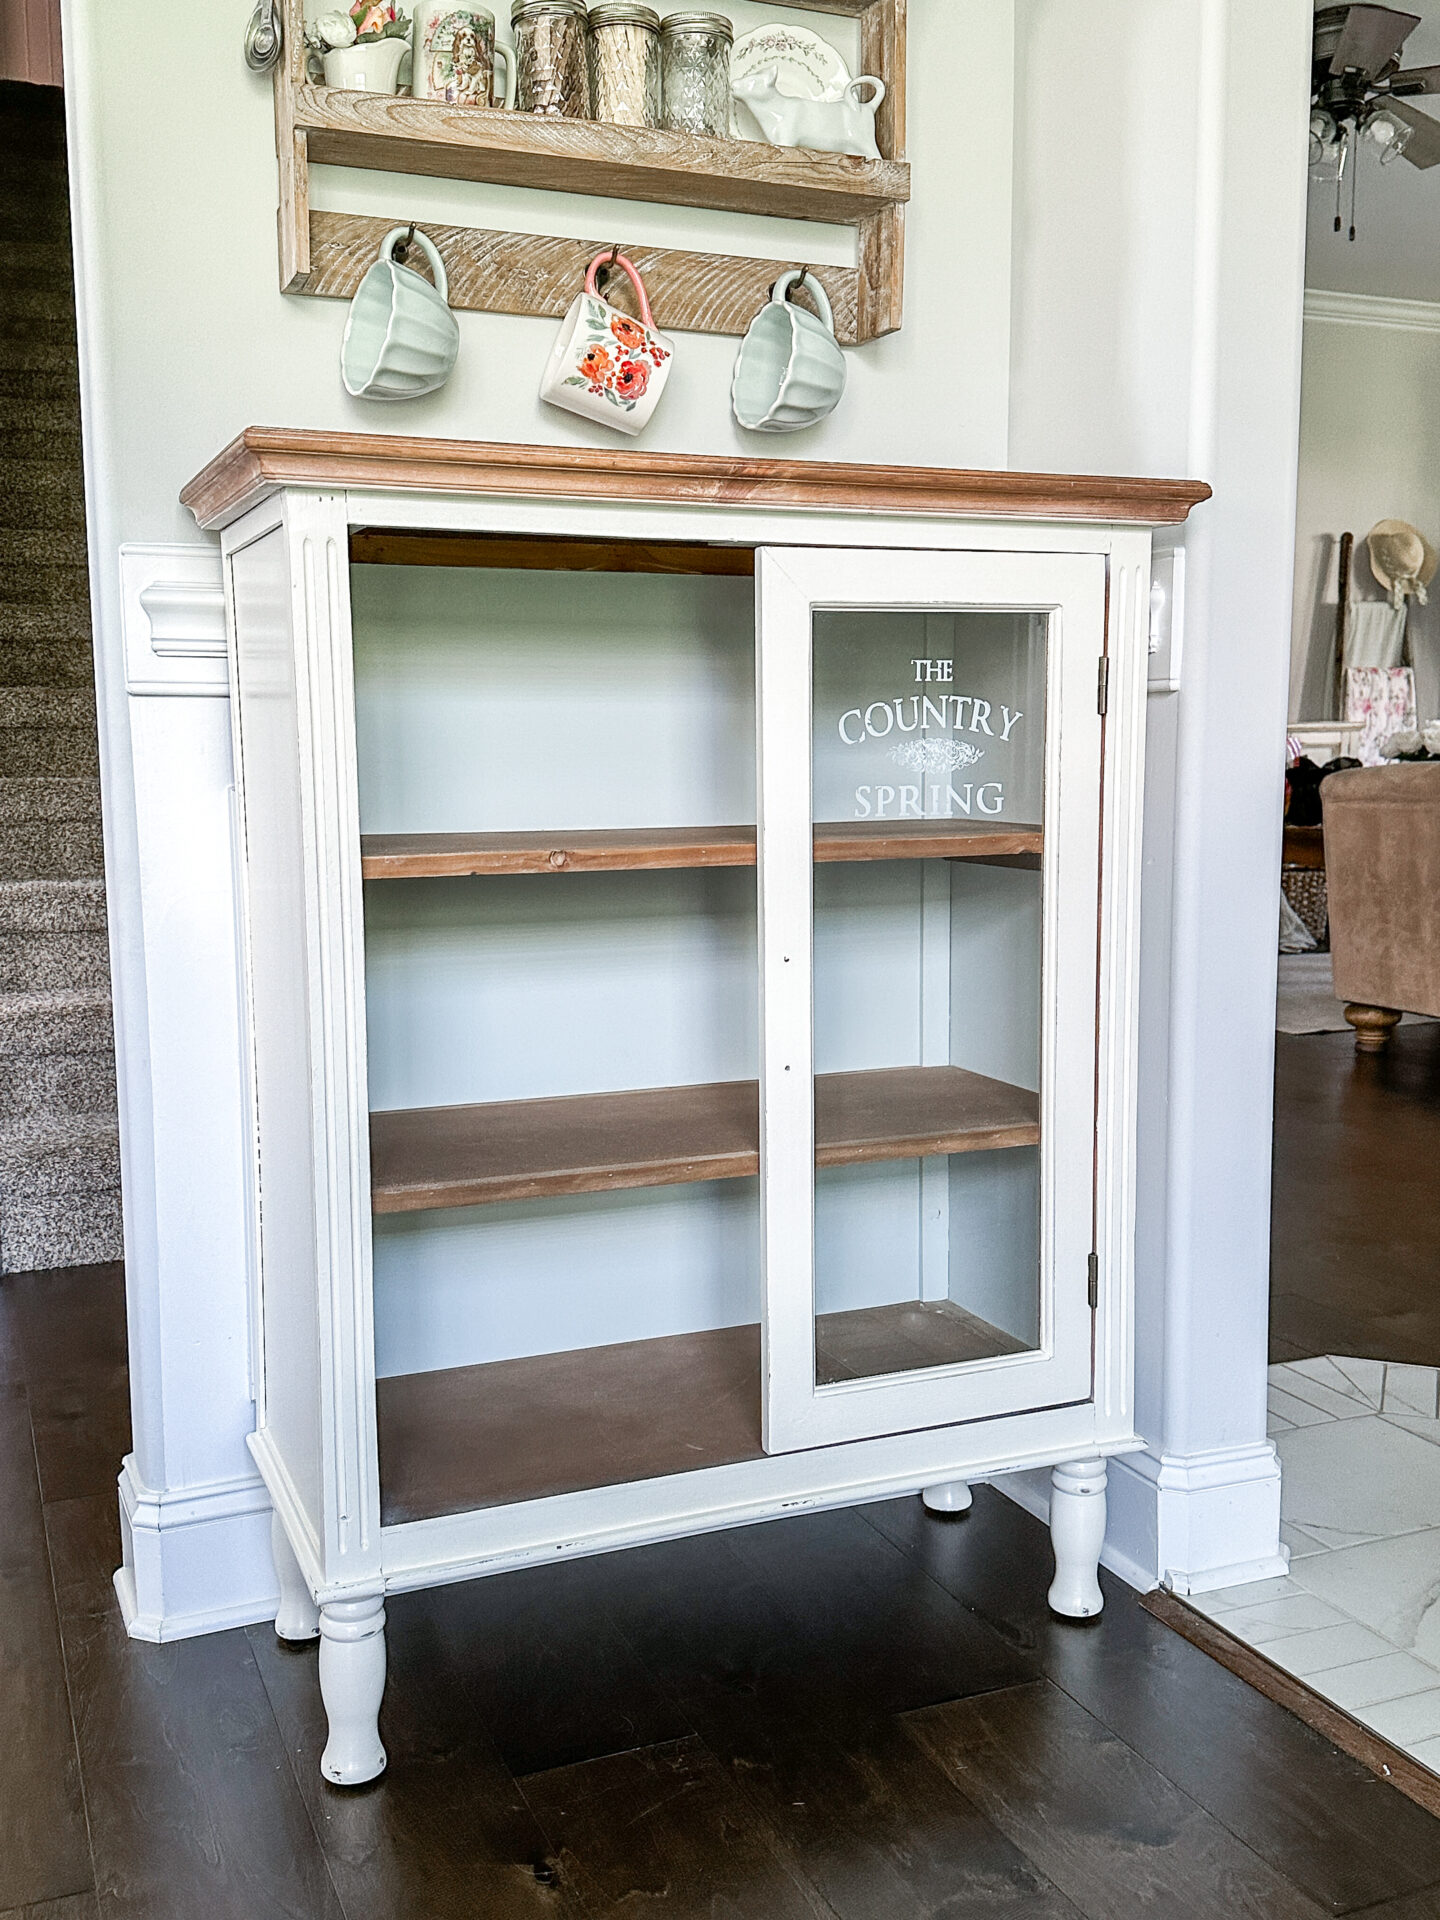
Let’s take a look at how our cabinet turned out! I LOVE how the inside turned out. That Sea Salt back was just the perfect light color to make this cabinet stand out. Without all the wording on the glass, my Ironstone and Fire-King pieces can be seen much better now too!
Please ignore the shelf on the wall as that will be replaced by an antique plate rack I purchased! That is a whole nother project, but I will be sharing about that here on my Blog soon!
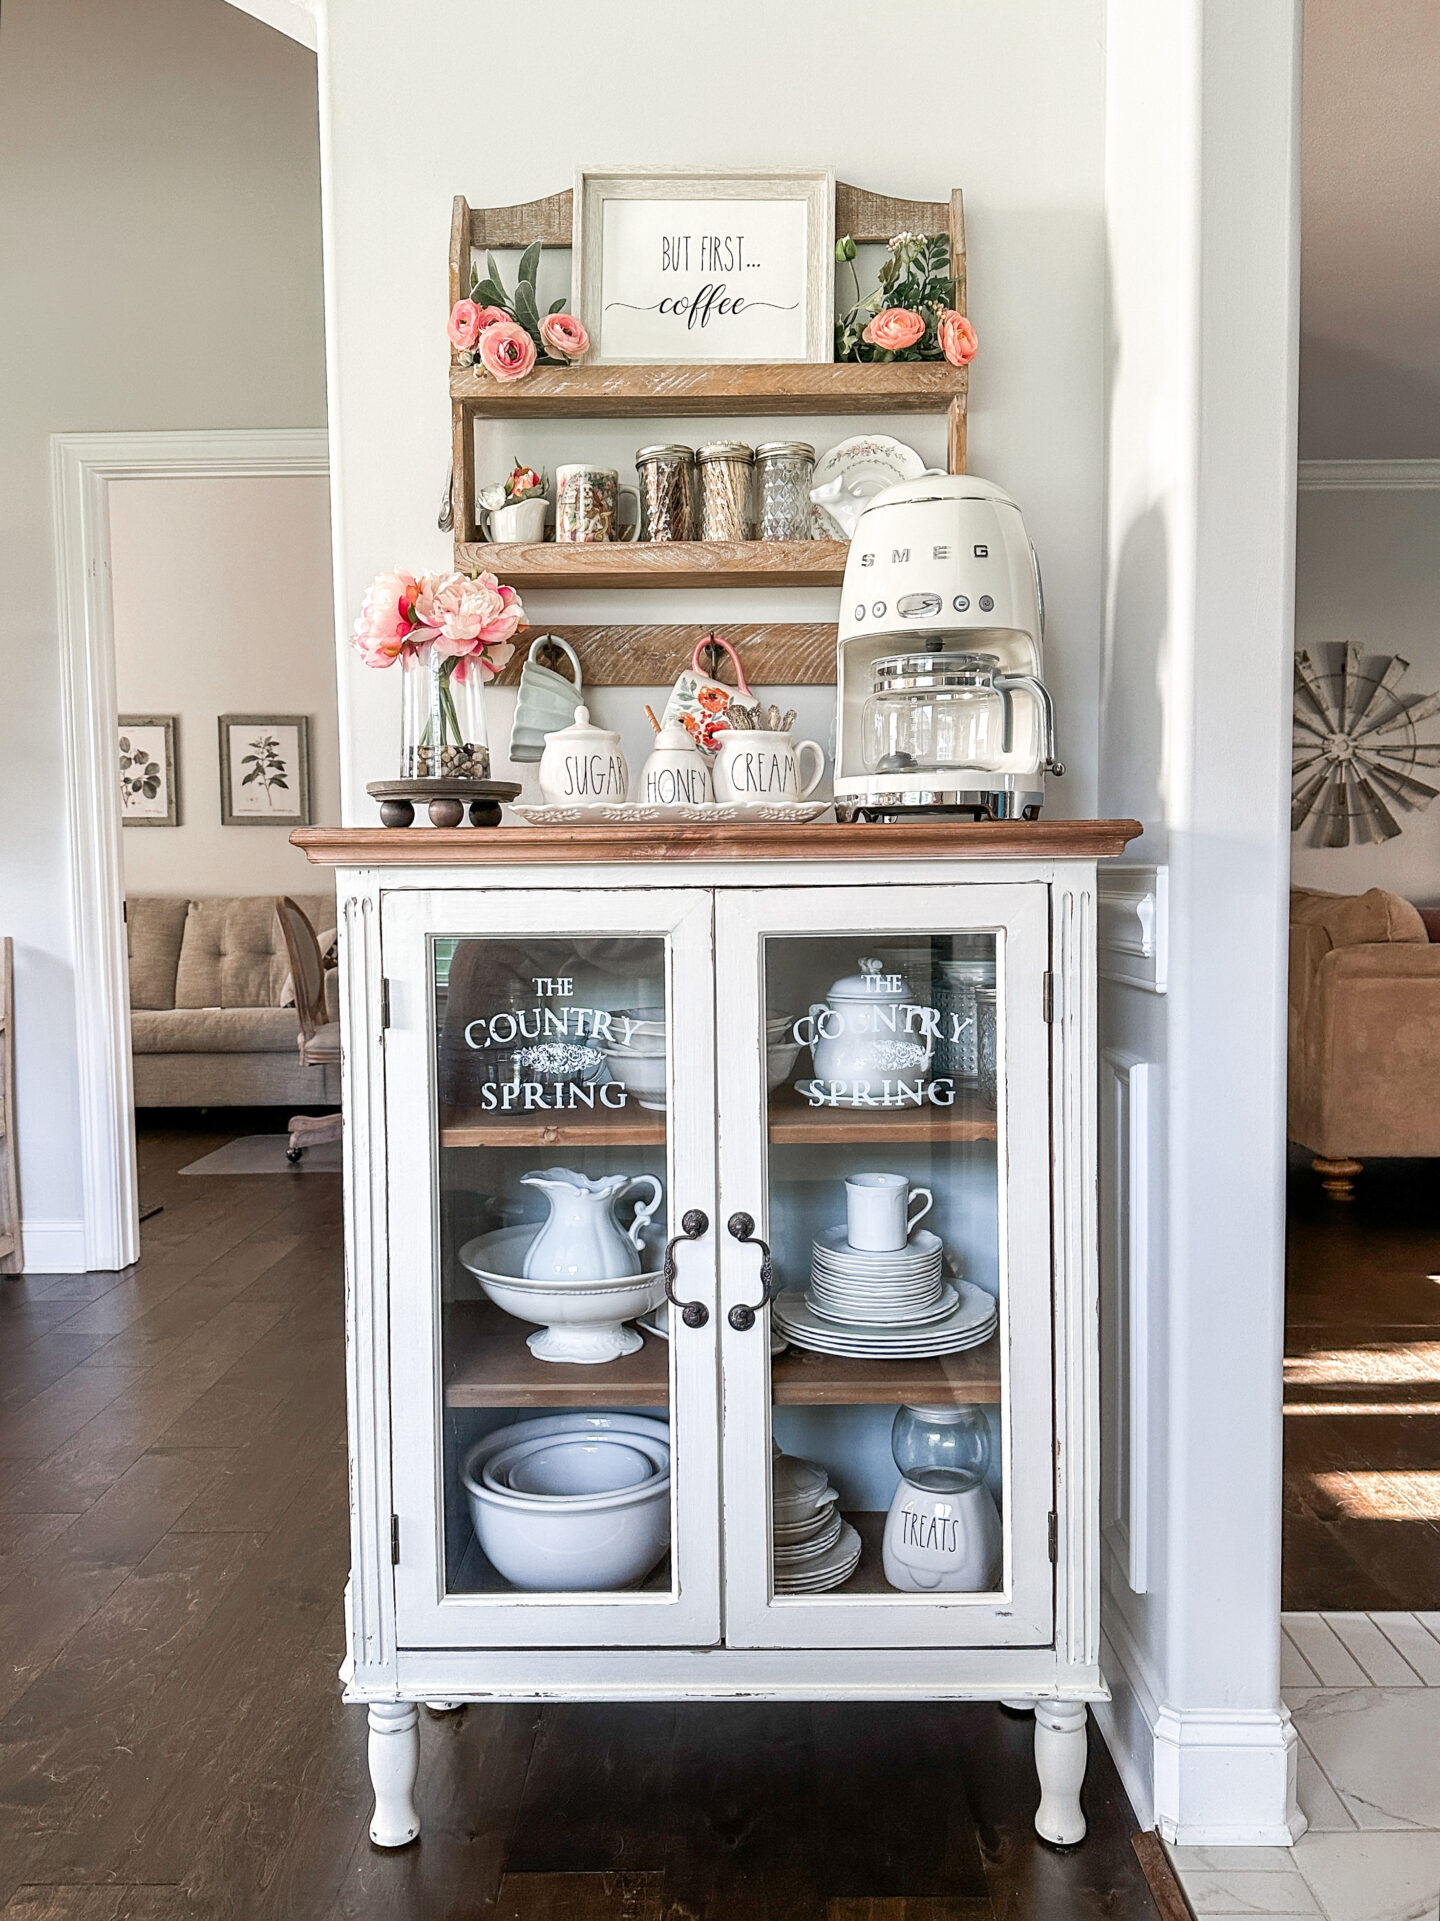
The only thing I still want to change about this cabinet is the feet, which is thankfully a super easy fix! They’re a bit too tall for my liking and the shape is all wrong for this room. Other than that, I am in love with how this cabinet turned out!
What do you think of how this project turned out? What color would you have painted the inside of the cabinet if it were in your house? Would you have kept all of the writing or fully removed it? Let me know your answers in the comments!
Thank you so much for stopping by! Stay tuned for some more fun DIY’s coming to the Blog soon!
Shop Products from this Post


I would love it if you would share this Post with a friend! Please use the image below to share on Pinterest!