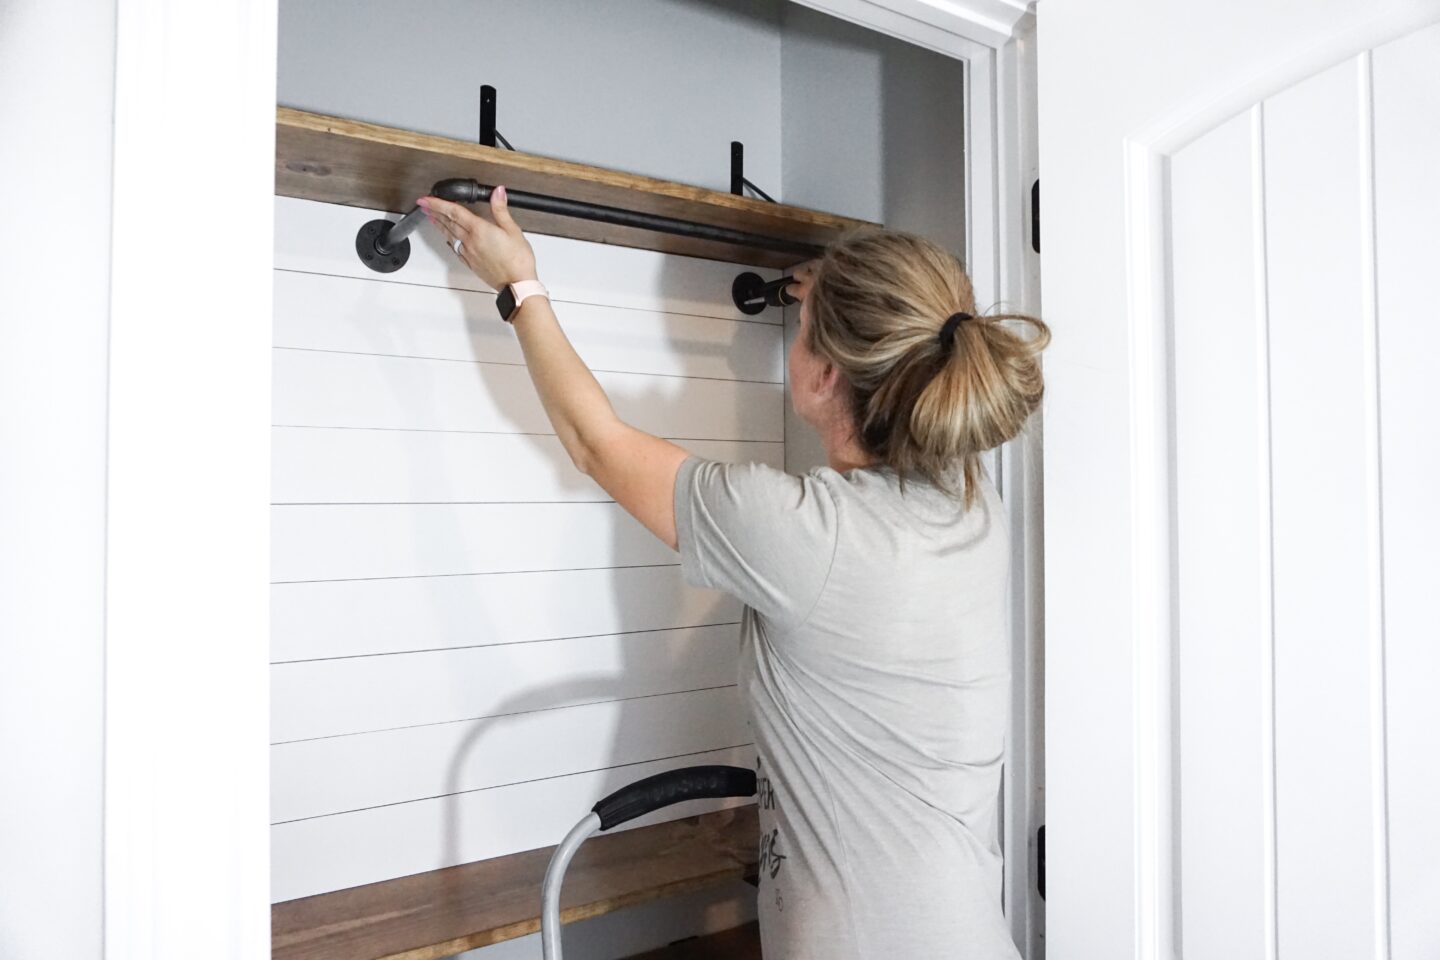
Hello everyone! Welcome to my DIY Coat Closet Makeover! I can’t wait to show you everything from the beginning design to the end result, and before and after! This was a HUGE project for me to tackle on my own, but I am one determined mama and was ready for a big change.
Let’s start with what I had to work with…
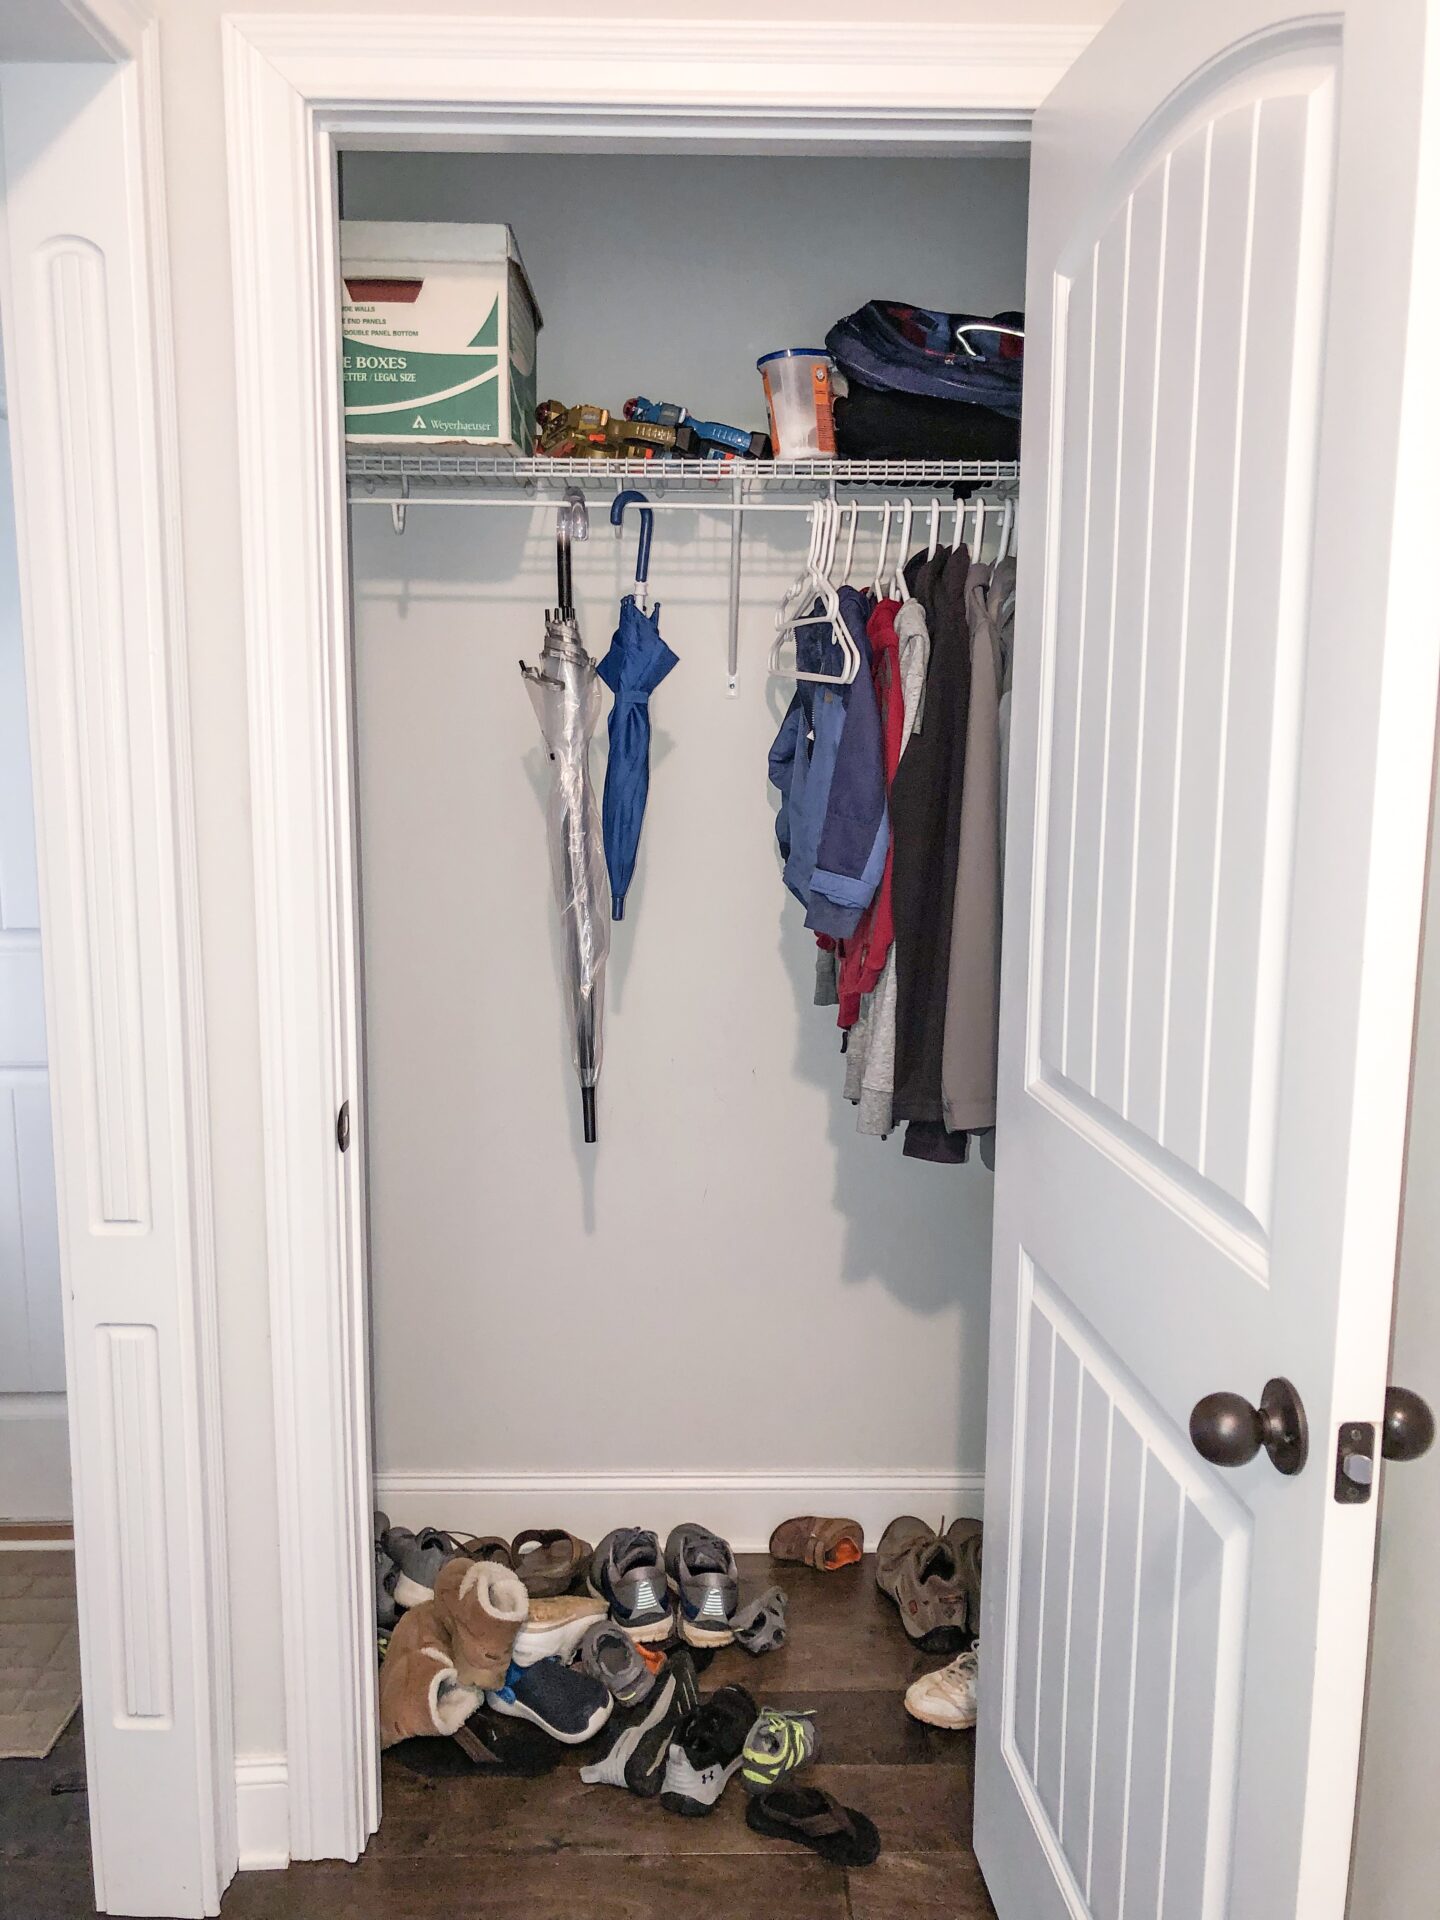
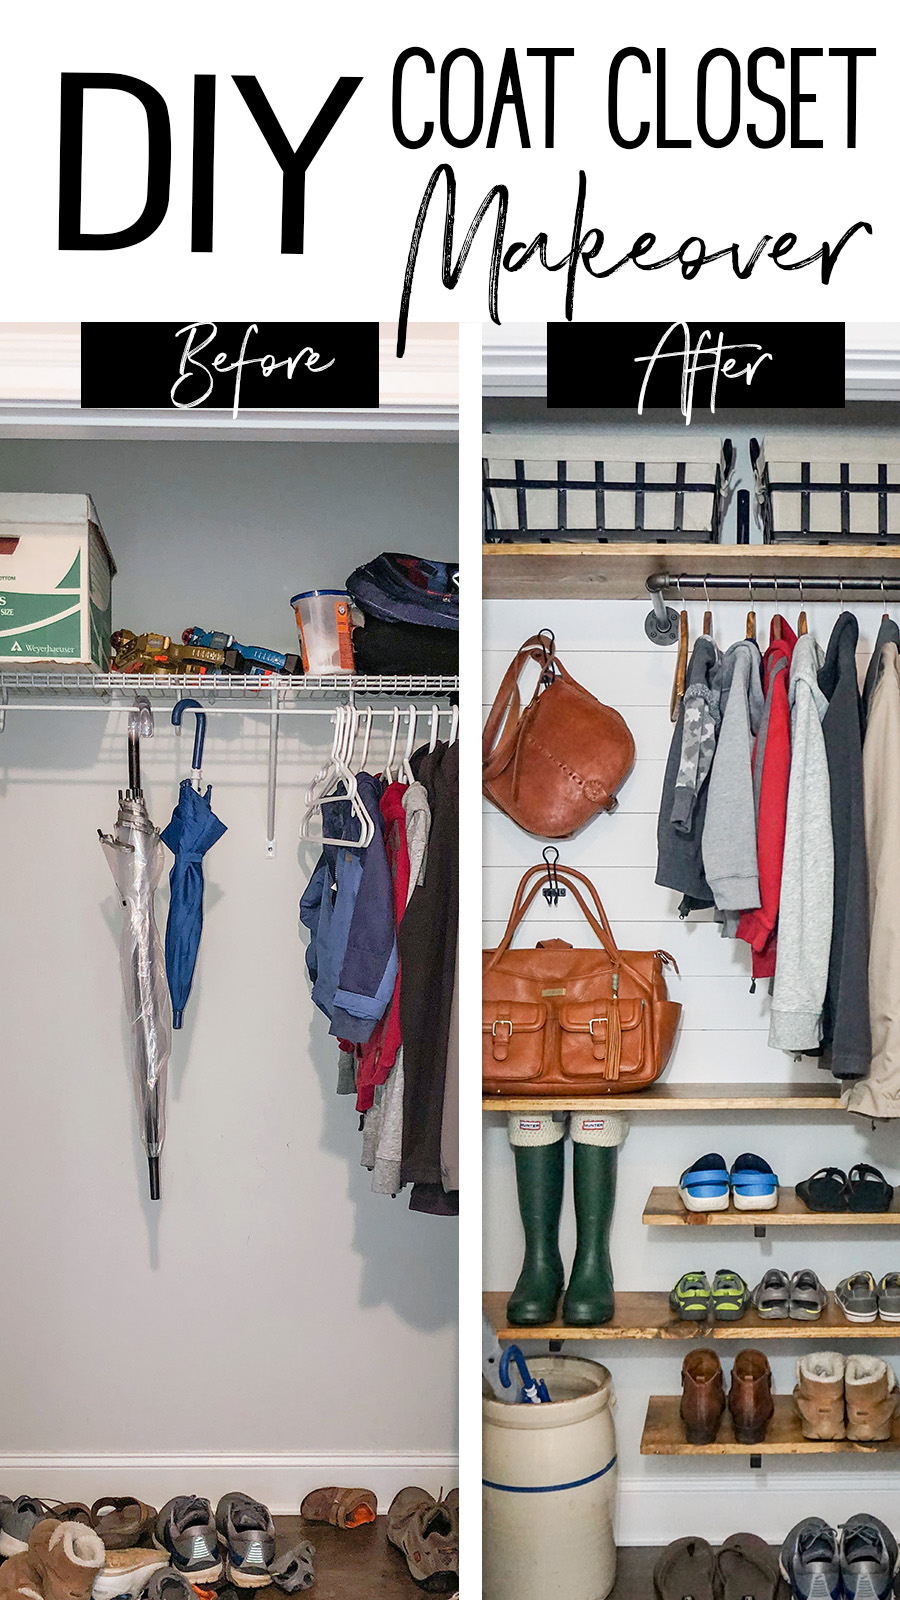
As you can see…this closet was a MESS. Besides that metal rack at the top, there was no organization. As many of you know, I am a very organized person, so every time I opened this door to get something out…I died a little inside! The shoes were a disaster. We are a family of 5, so this just wasn’t cutting it.
So I made a plan
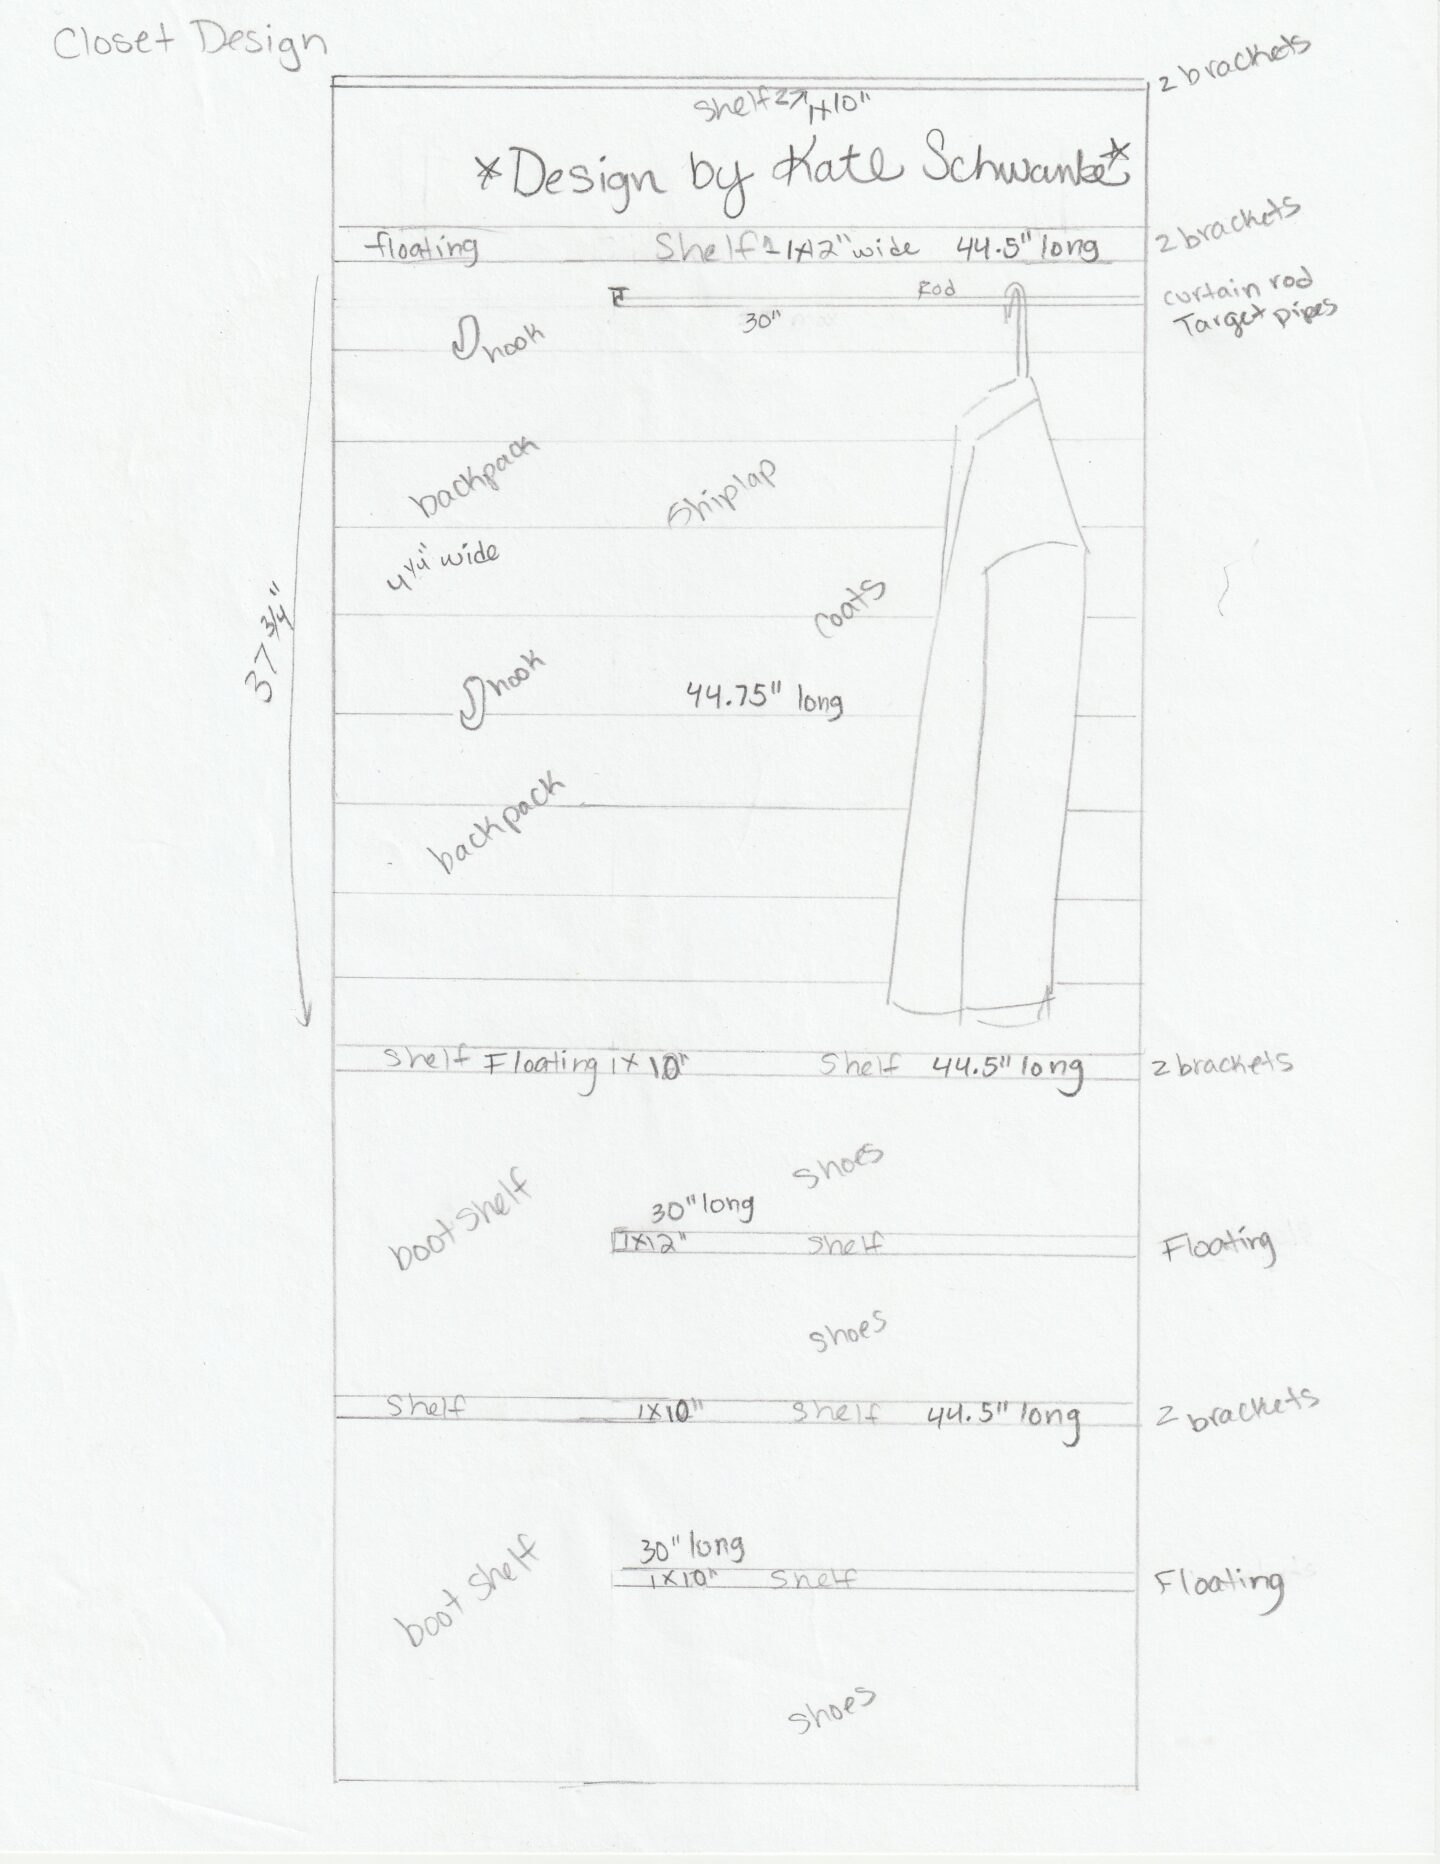
Like, literally drew up a plan. I designed my own “blueprint”, if you will, and tailored my design around our needs and also wants for this space. Now, this closet is not very big y’all. I’ll add in my design below, which also includes all of the measurements I took for the pieces I needed. My goal for this space was to maximize and utilize wall space as much as possible. Honestly, the outcome of this project really exceeded my expectations and I am thrilled with the results!
Here is what I used for this project
- Heavy-duty drywall anchors
- Dry Dex
- x9 strips of plywood (44.75” long x 4 1/4” wide)
- x1 long shelf (44.5” x 12” x 1”)
- x2 long shelves (44.5” x 10” x 1”)
- x2 short shelves (30” x 10” x 1”)
- Sample size Varathane Wood conditioner
- Sample size Varathane Early American wood stain
- Fine Mini Roller and Pan
- Gilden Eggshell White Paint
- Stud Finder
- Hammer and 1″ brad nails
- Clothing rod
- Wall hooks
- Floating shelf brackets
- Angled Brackets
- Antique Crock for Umbrellas
- Two Baskets
DIY faux shiplap & getting started on this project!
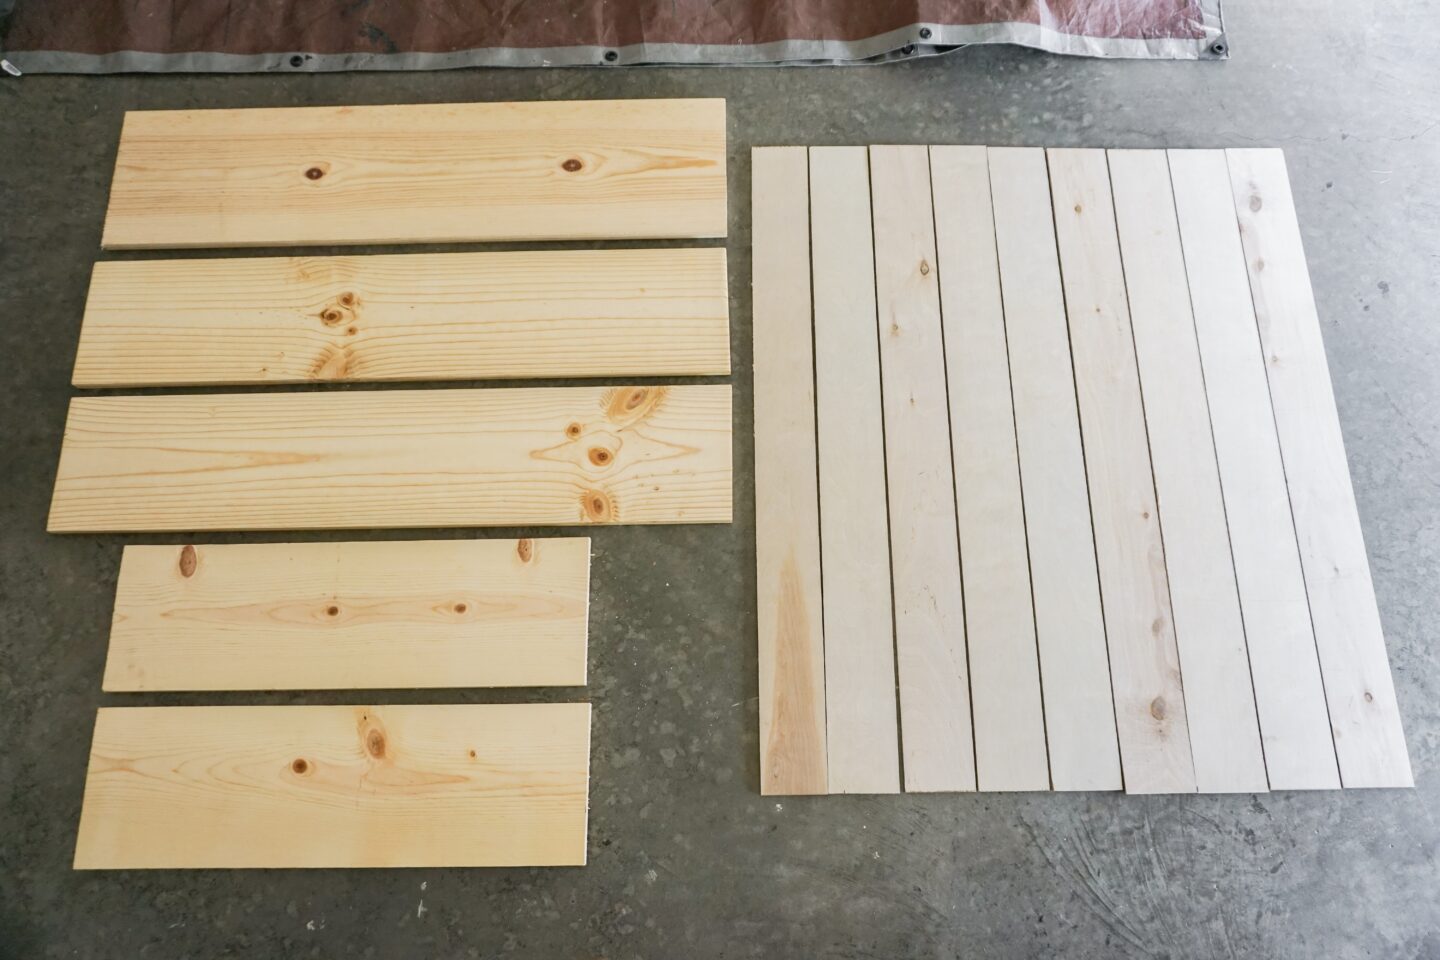
The first thing I needed for this project was to get all of my wood cut. Please keep in mind I did this project BY MYSELF with a toddler in tow. I headed over to Home Depot and tracked down all of the kinds of wood I needed, which included a 5mm 4’x8′ board of plywood, a 1’x10’x8 common board, a 1’x10’x6′ common board, and a 1’x12’x5′ common board. Then I had the nice man in the lumbar department cut all of my pieces for me…which took a little while because I had some crazy measurements and also had to have him cut 9 slats of wood for me out of that plywood board for the faux shiplap.
Let’s take another look at the closet empty now
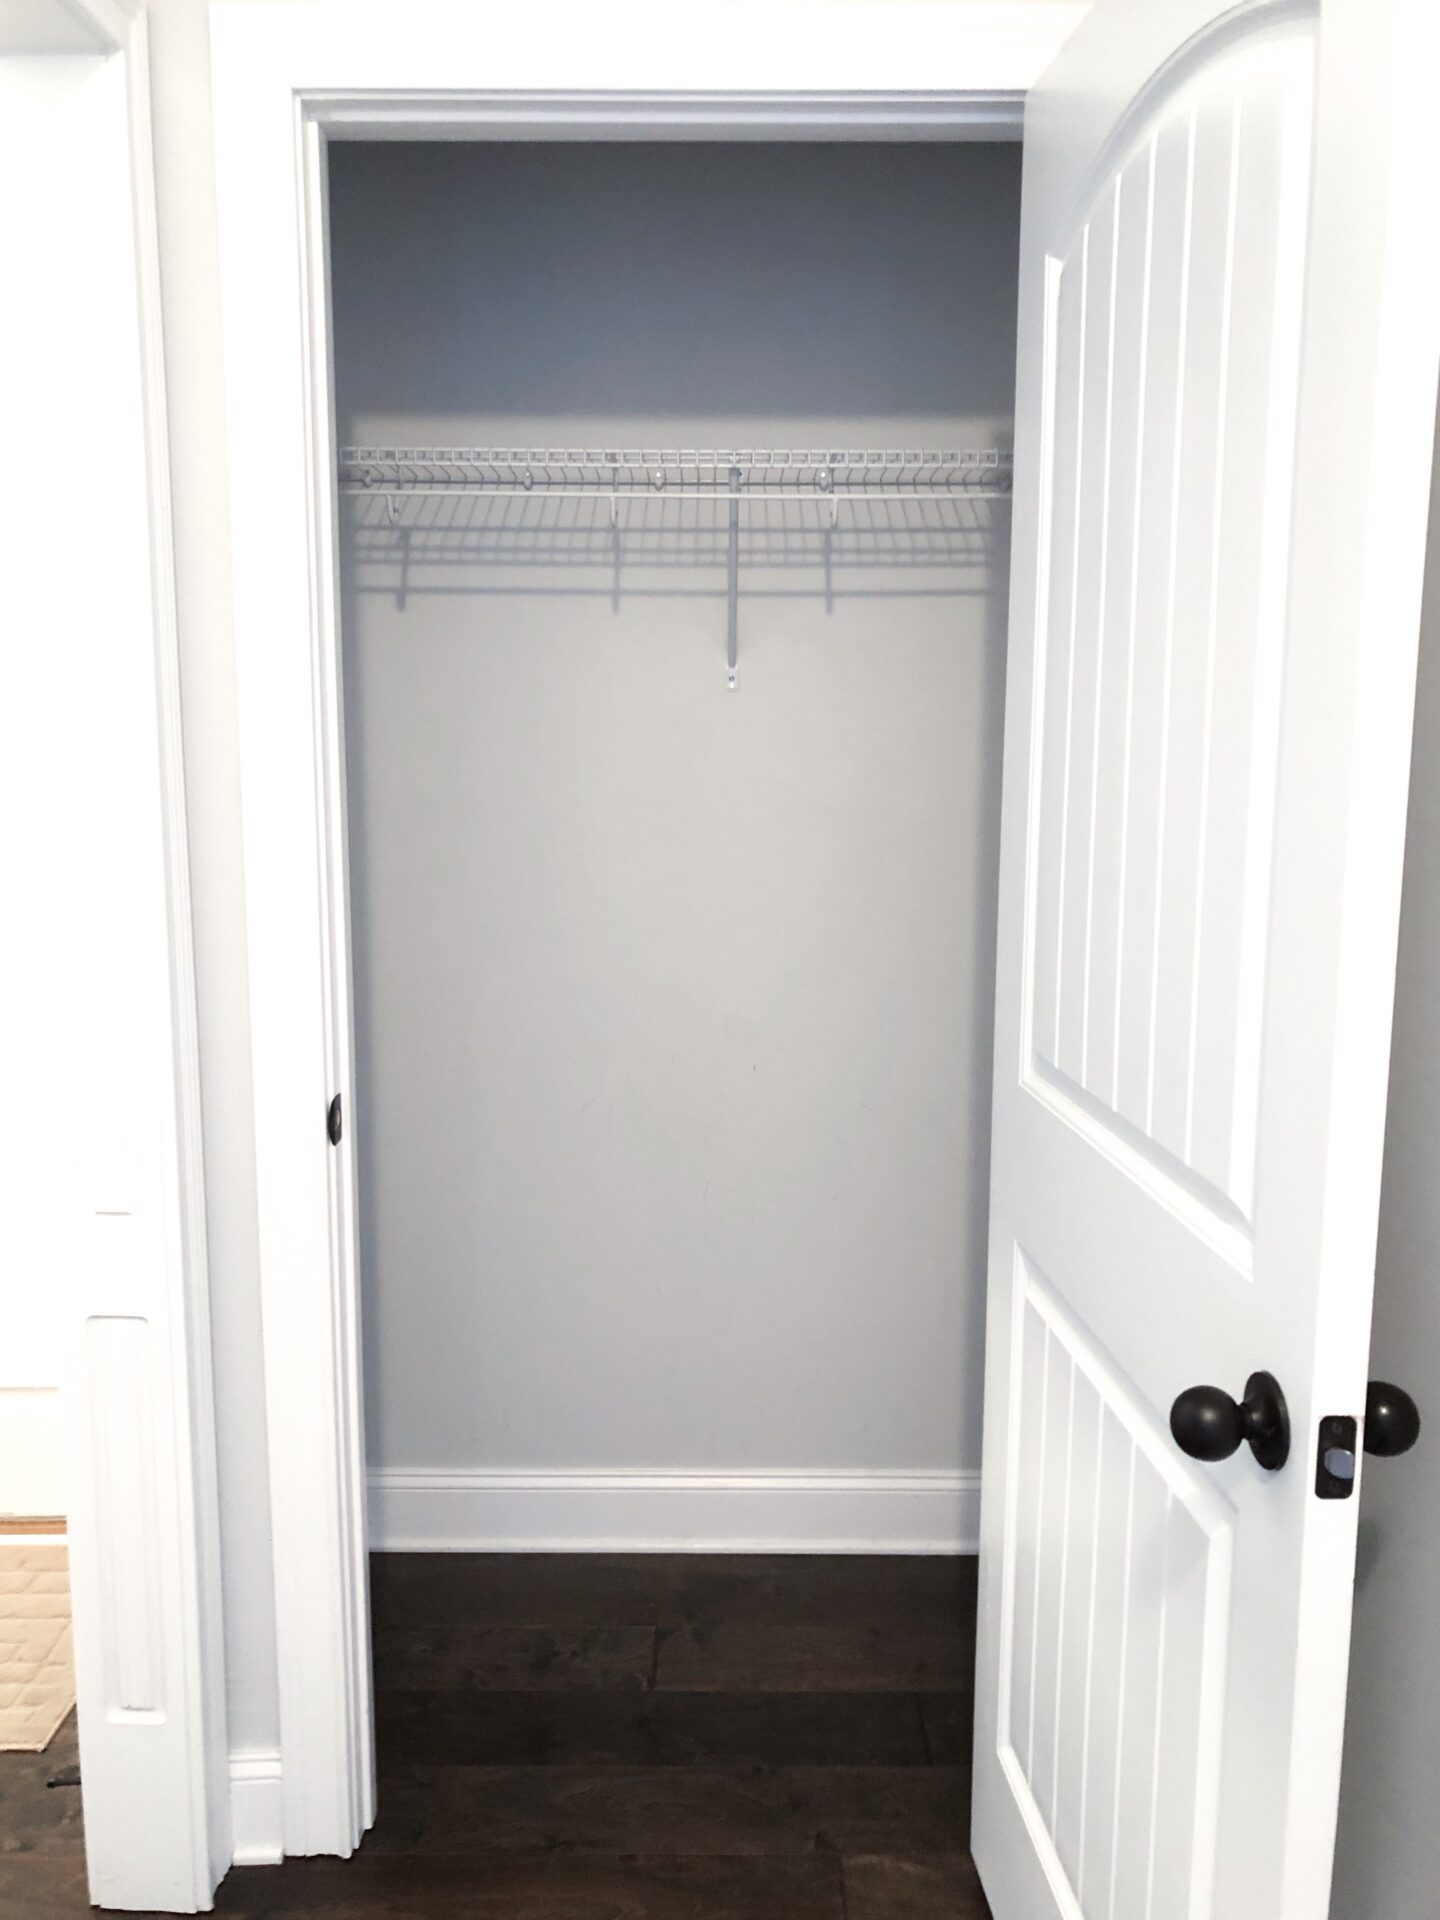
First things first:
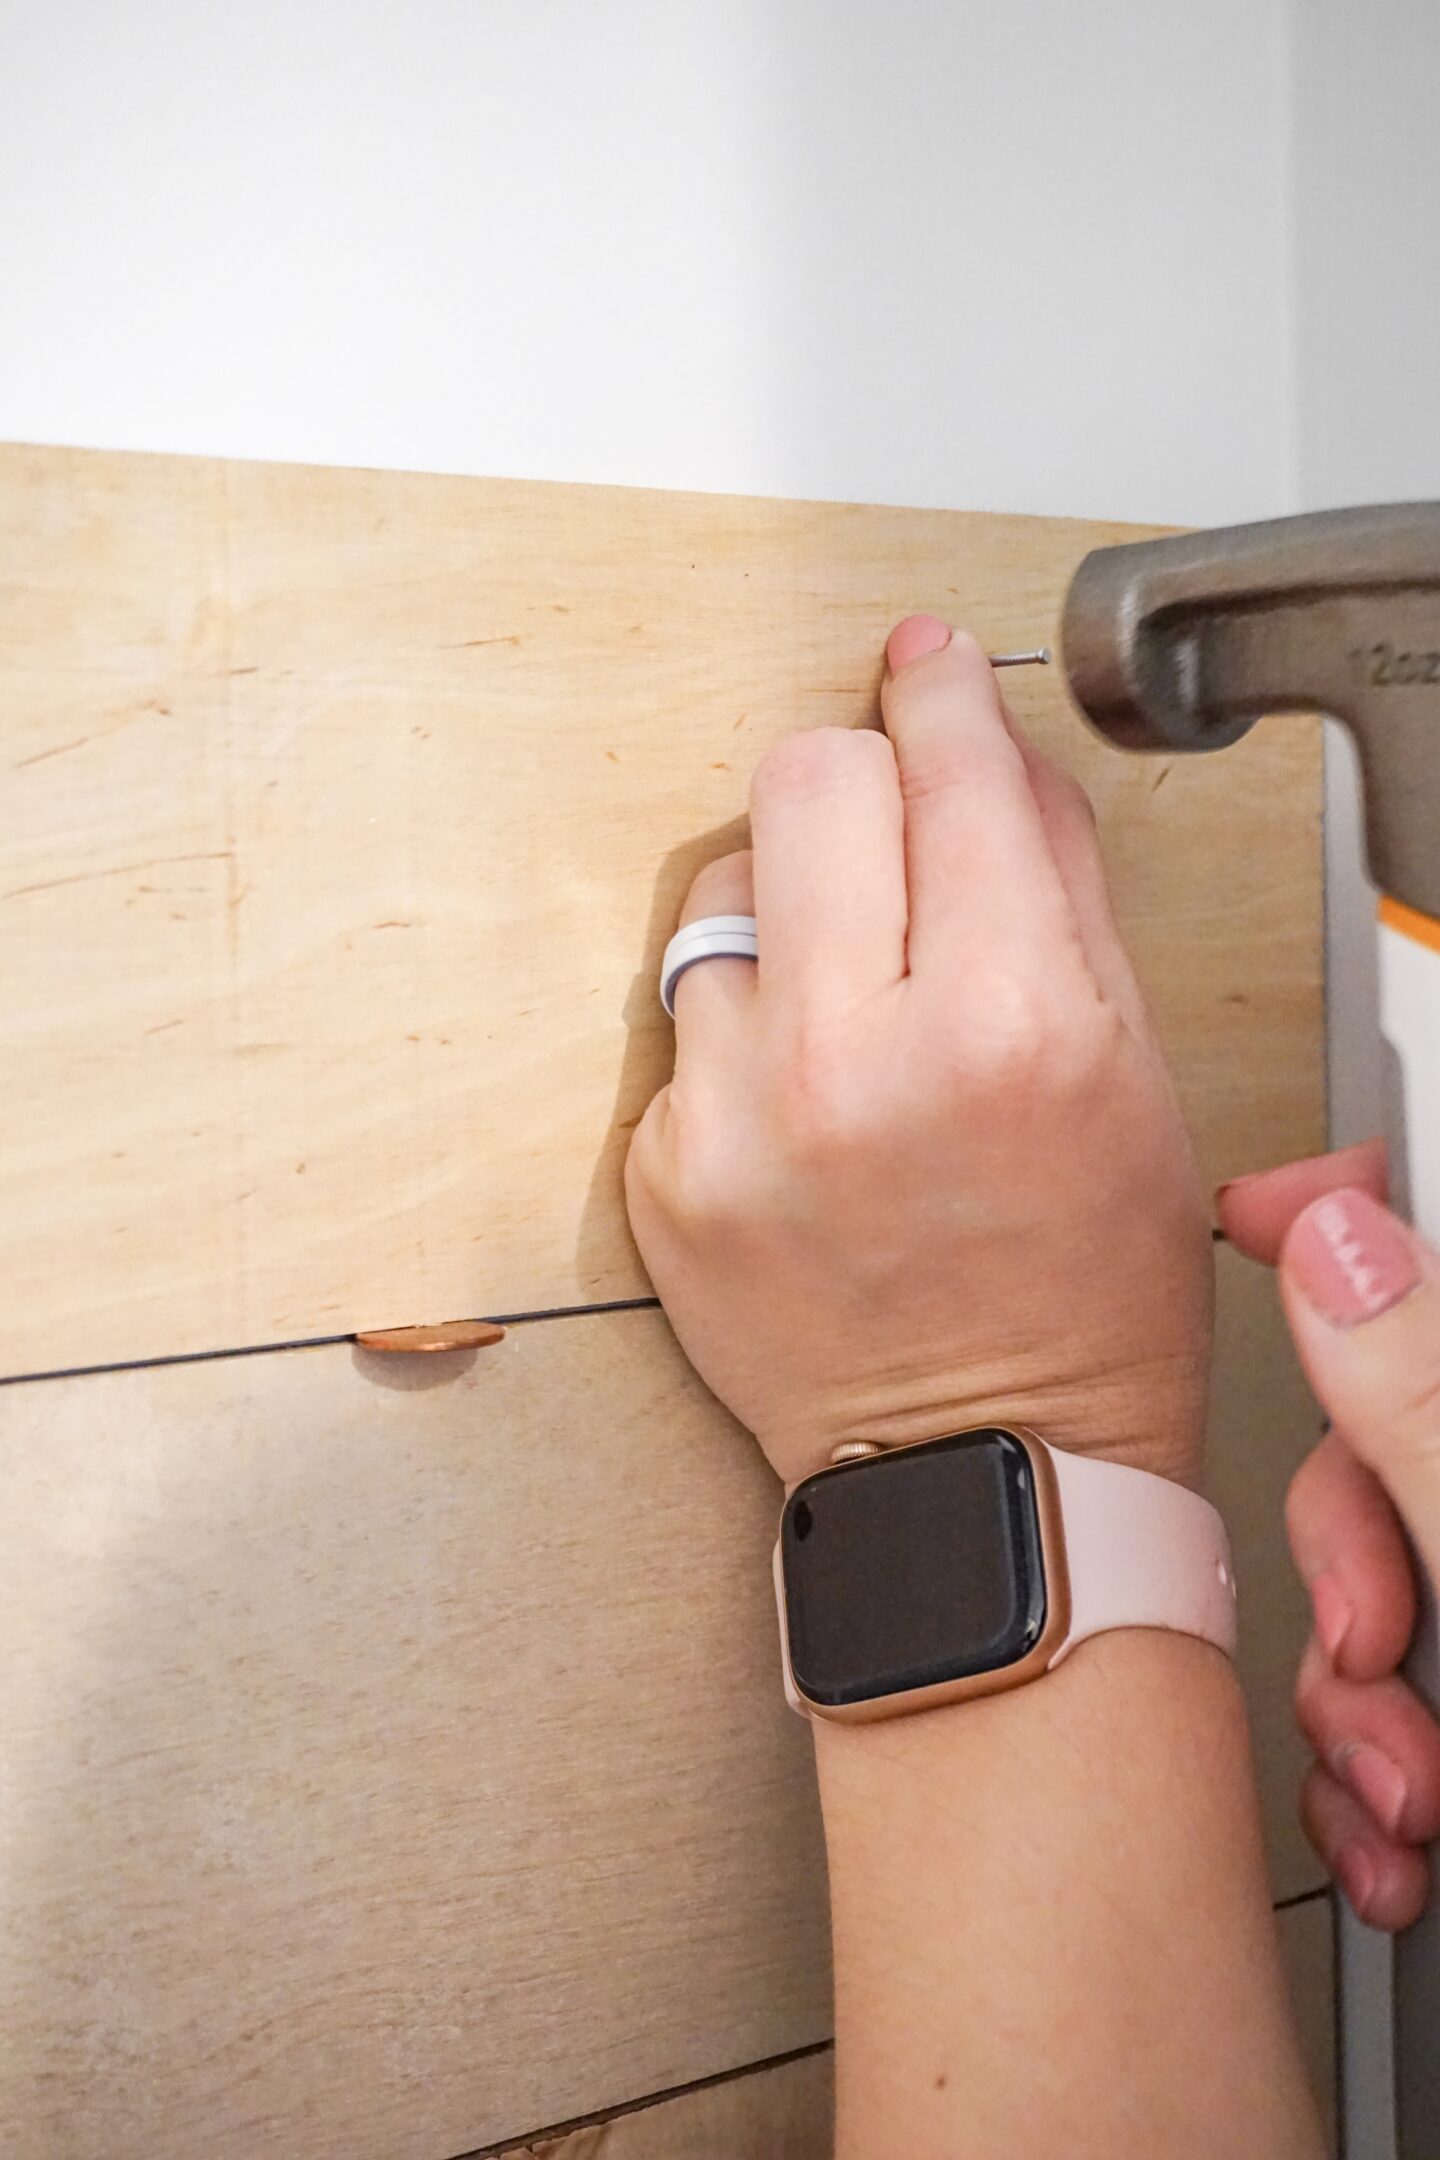
That wire rack had to GO…like yesterday. After that was removed, I filled the holes left behind by the rack and I went to work lining up my first pieces of plywood, making sure each one was level as well as being nailed into a stud. You can easily find studs with a stud finder (a MUST have for us DIYers). I also used a penny as a spacer on my boards to give it that “shiplap” look. I felt that the penny gave a nice amount of spacing for this project.
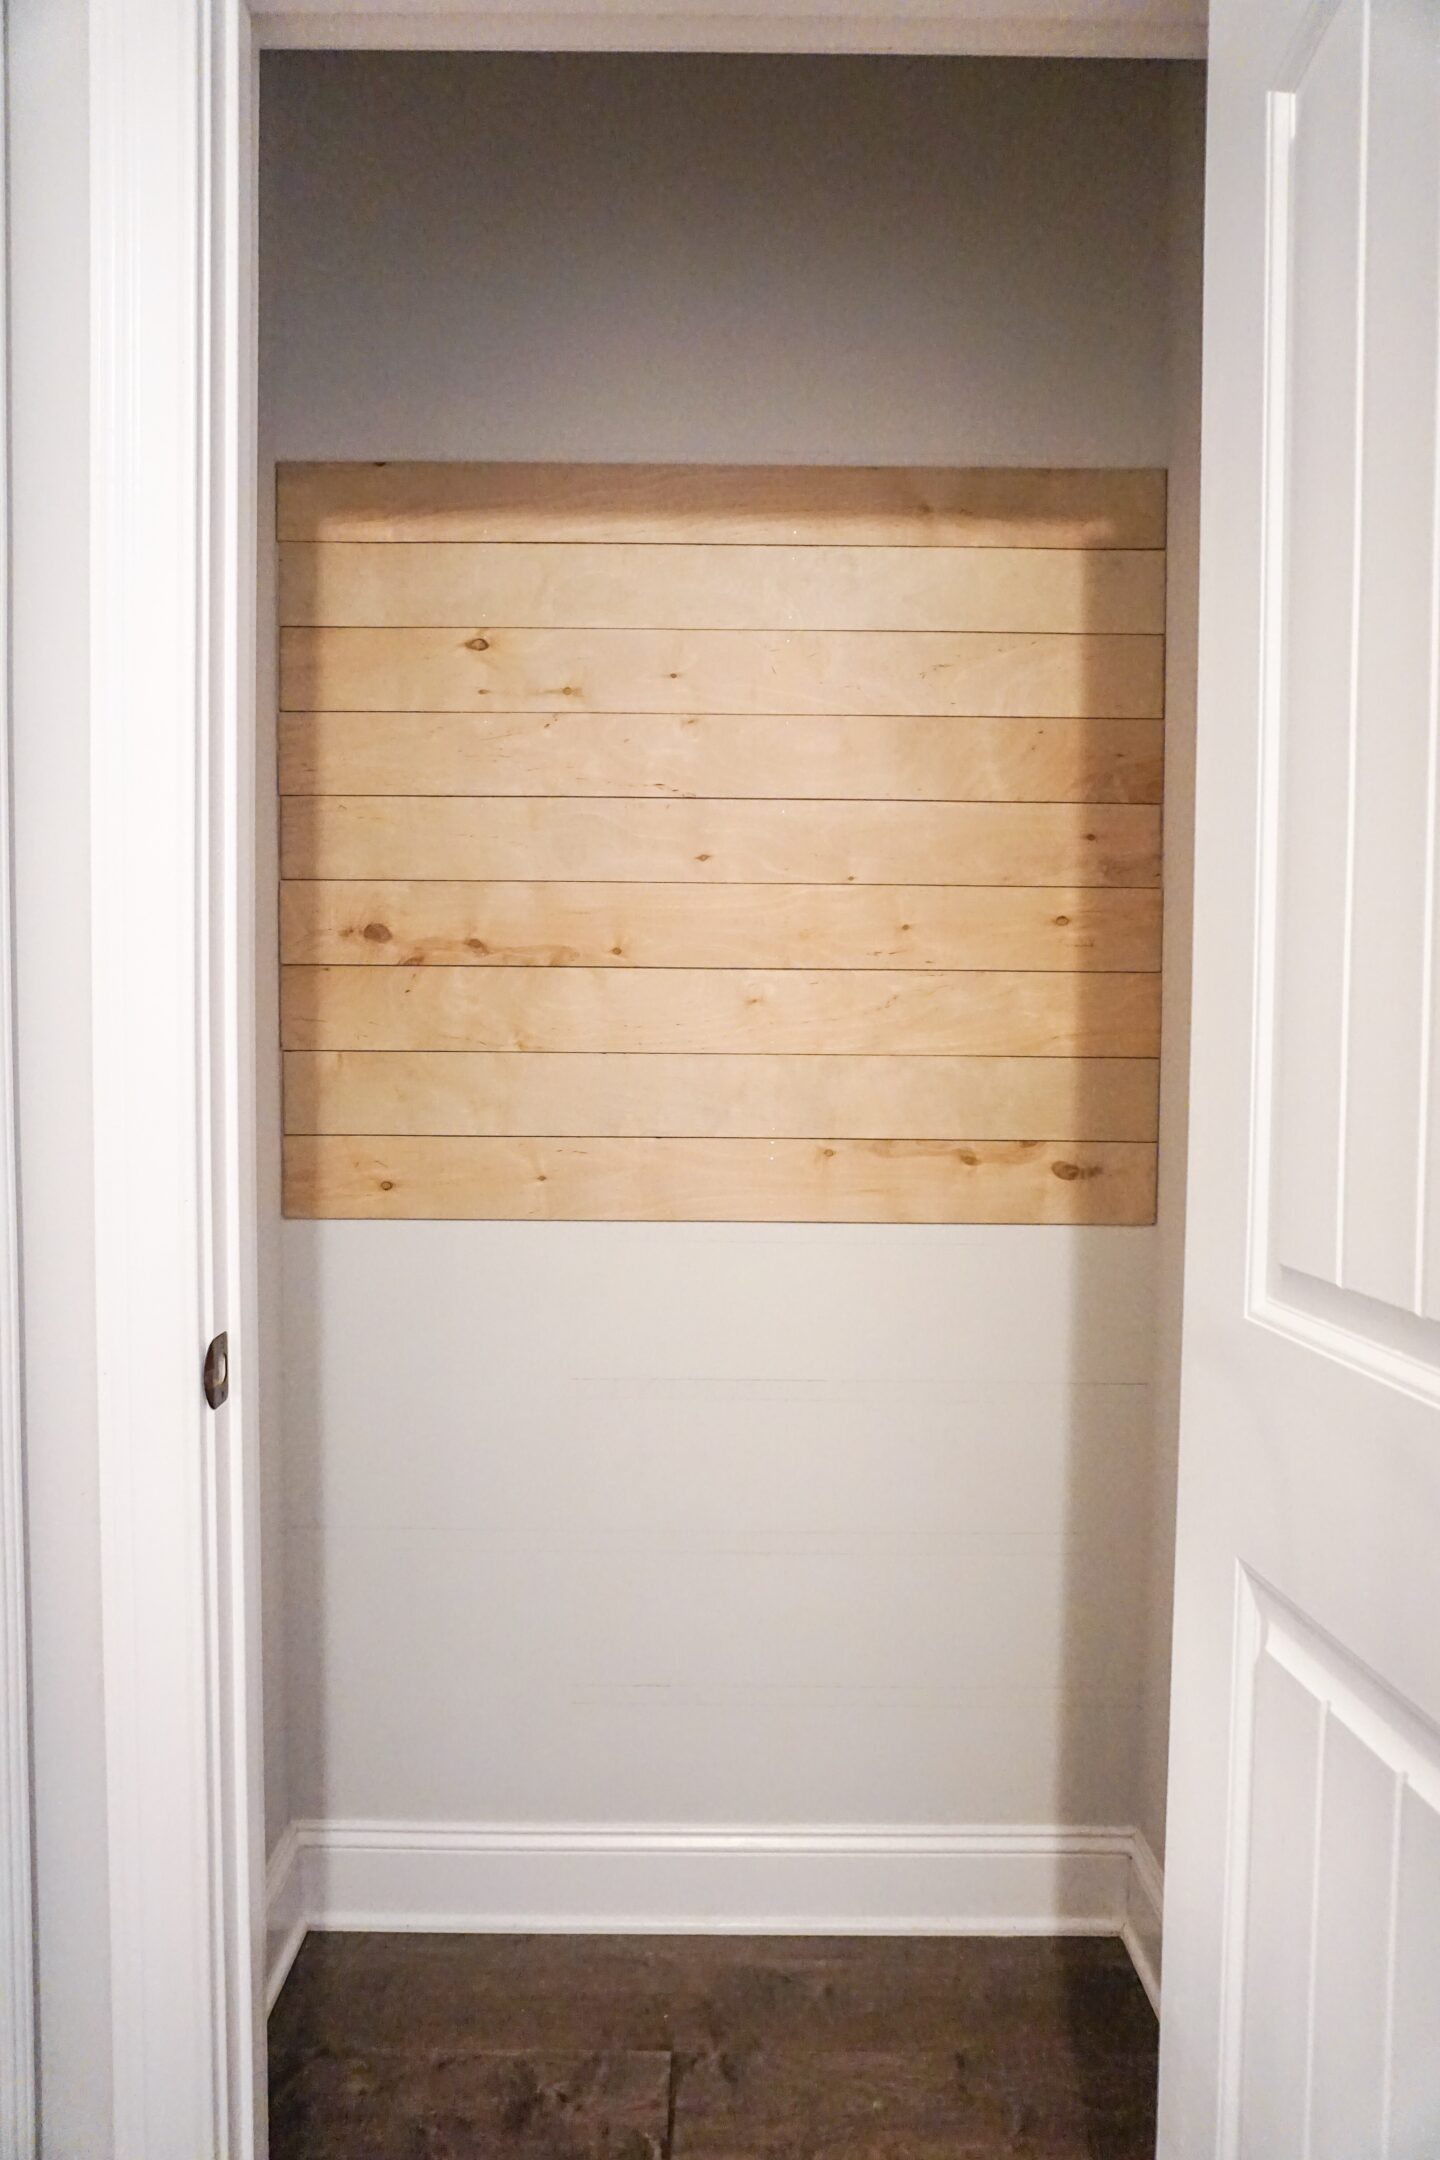
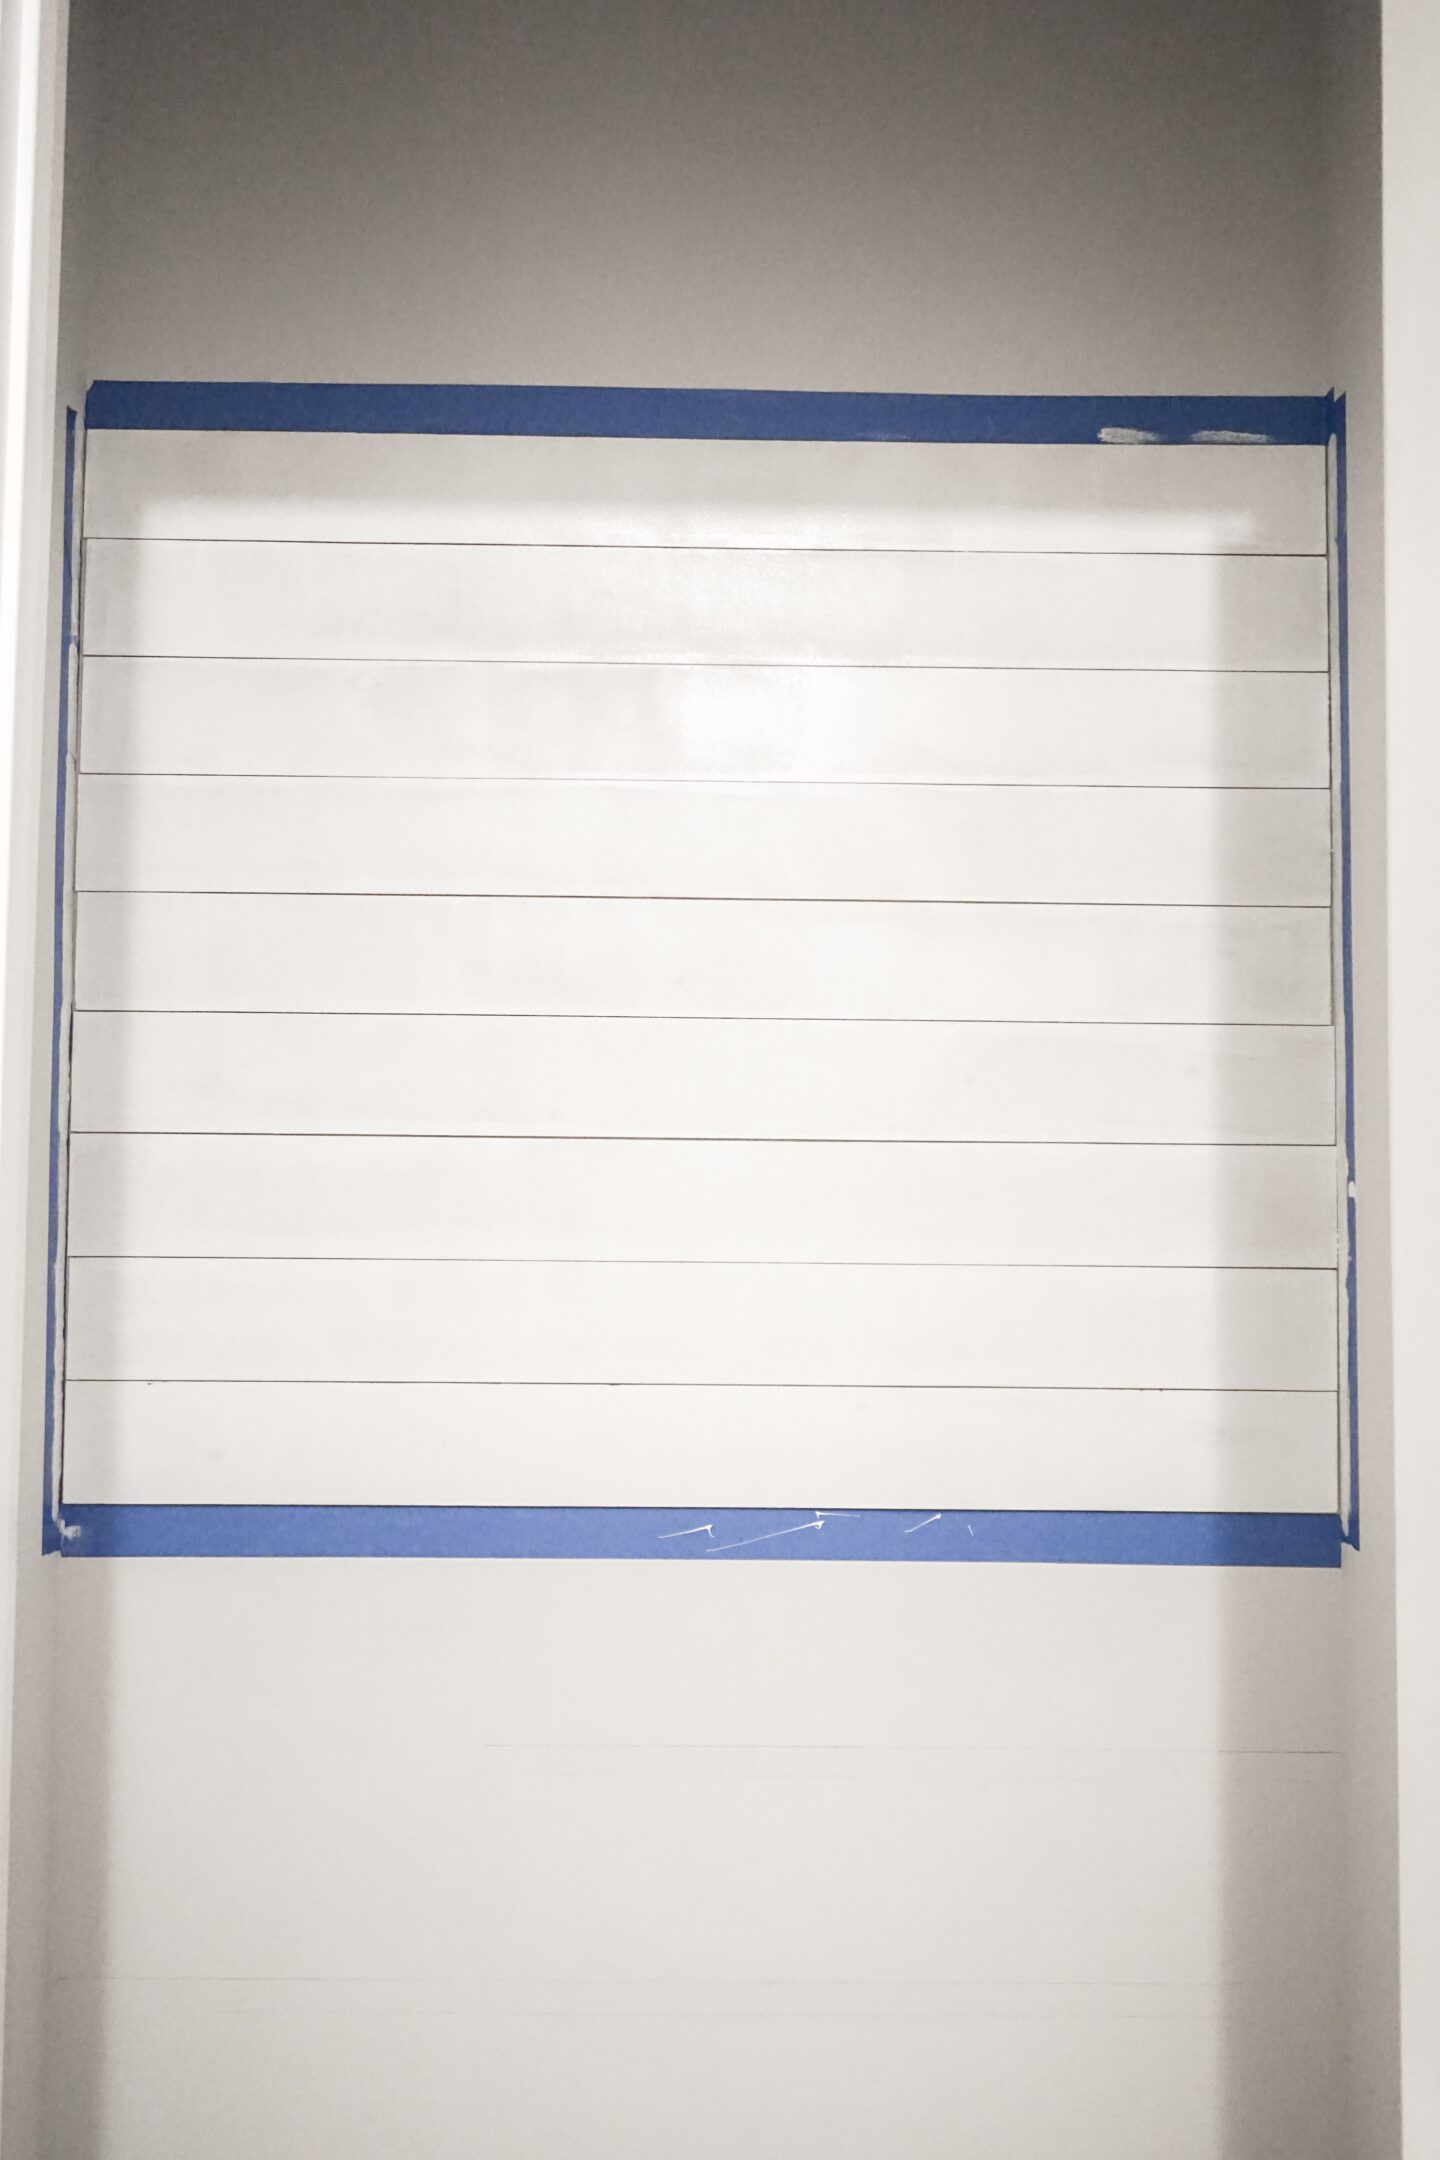
At this point, let’s just say I was SUPER excited to see my closets transformation coming along so wonderfully! I was eager to get to the rest of the steps to make this space exactly how I had envisioned it. My next step was to sink in my nails a bit more, fill the holes, sand, and get started with painting my boards. Before I could paint though, I needed to make sure I used my painter’s tape to protect the walls.
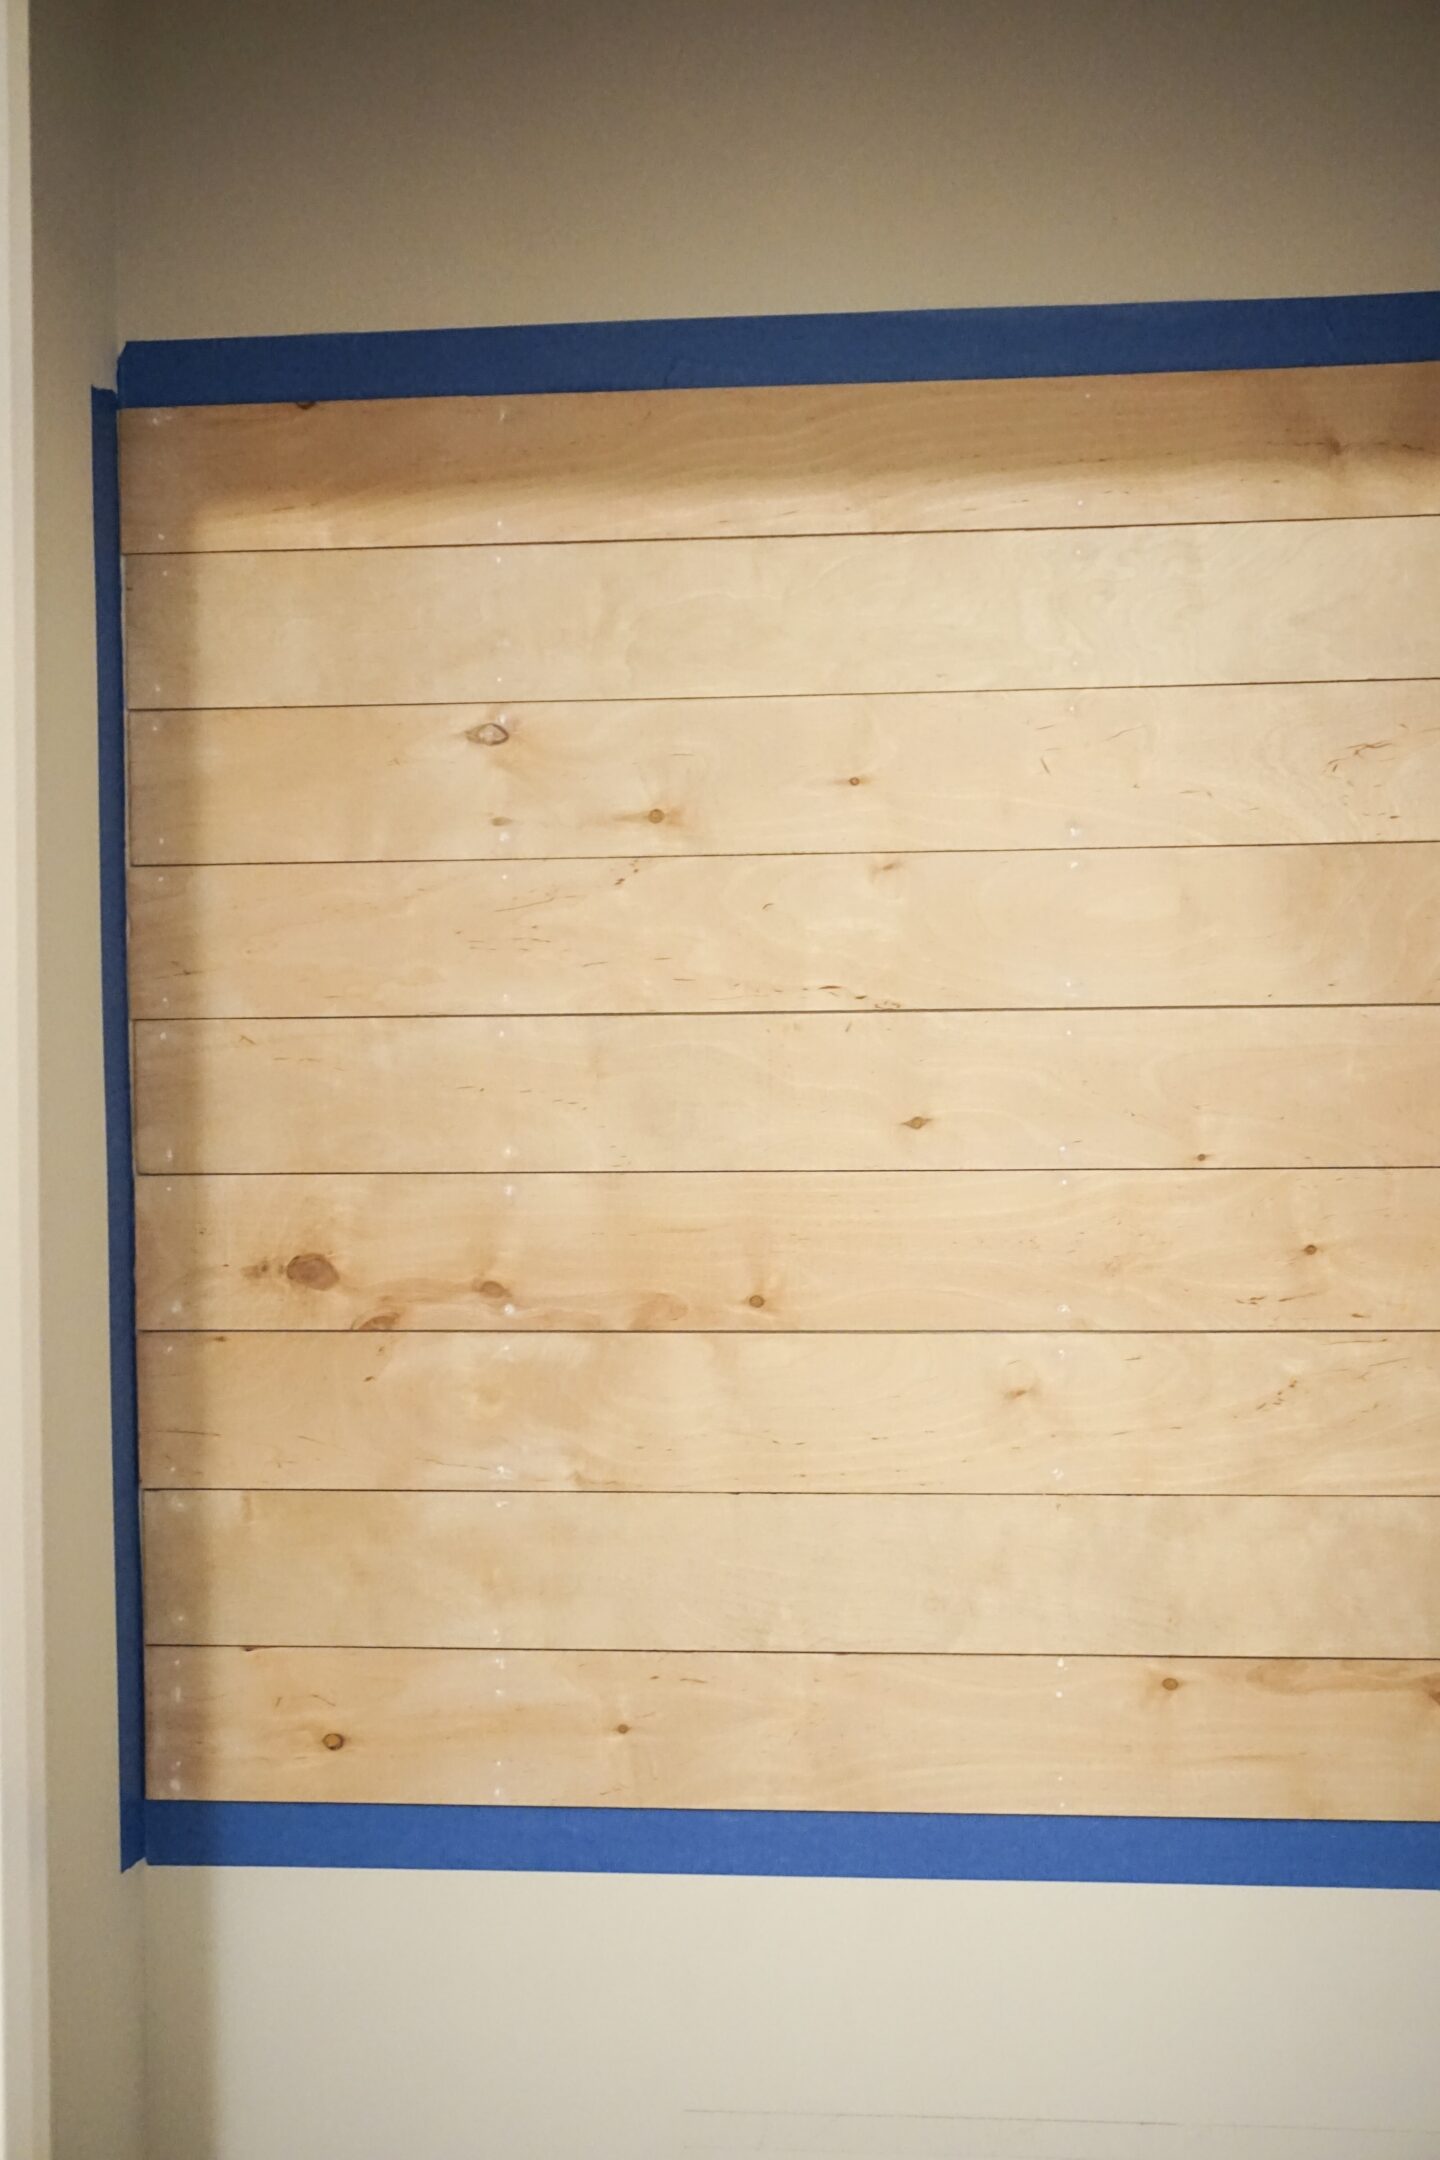
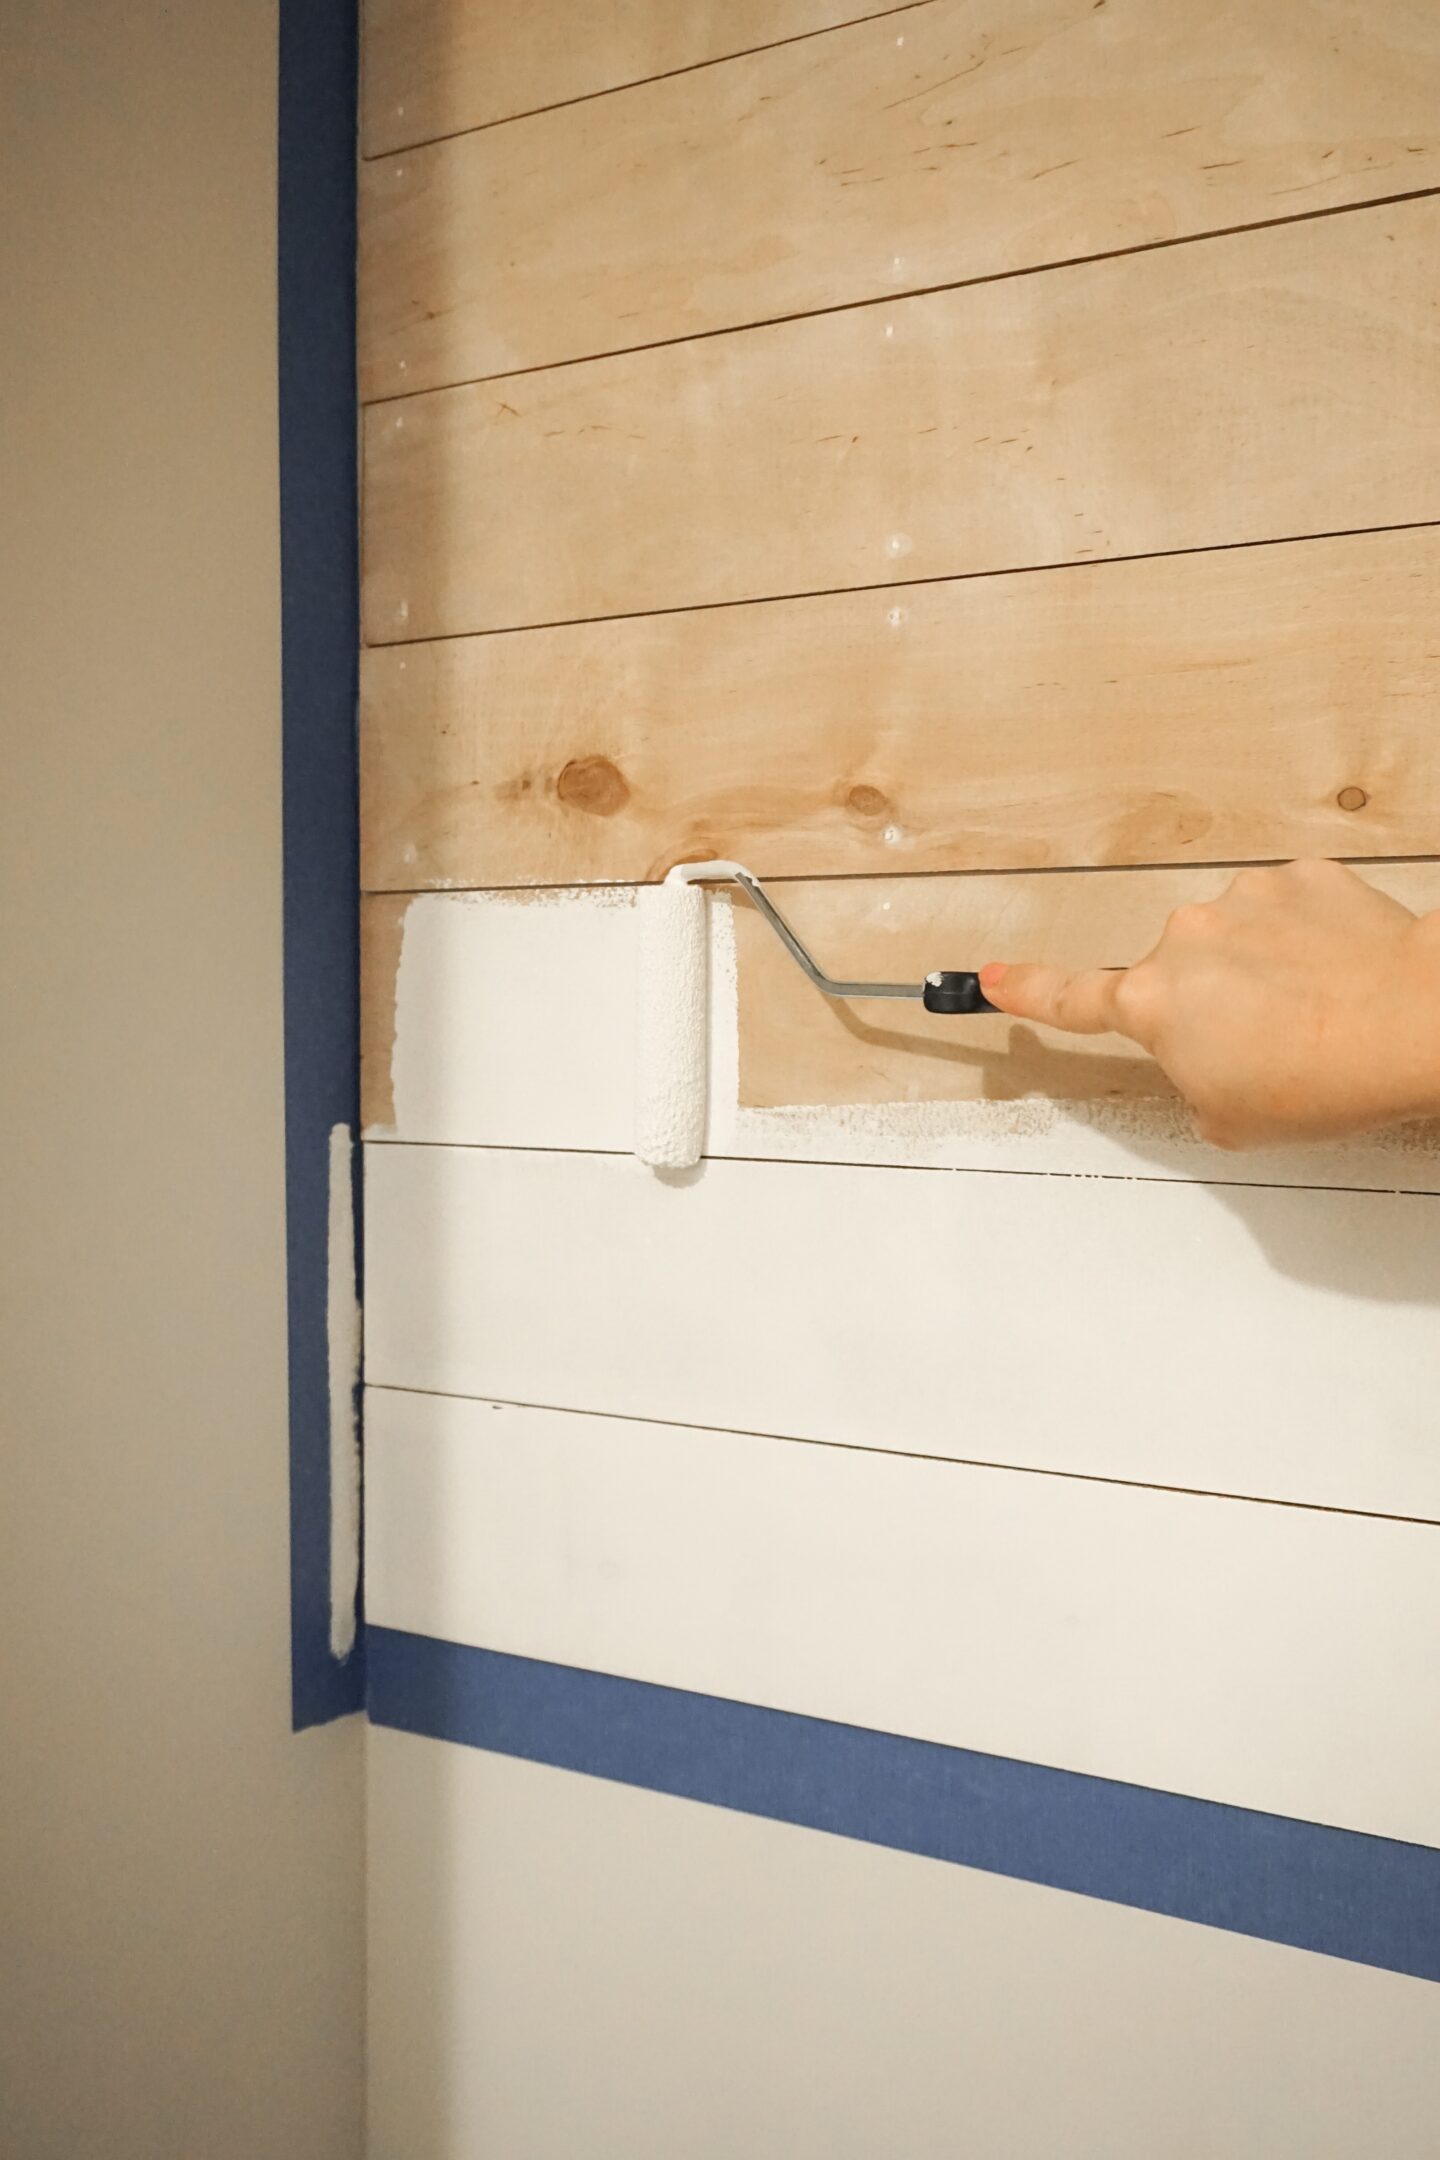
I used a fine and short paint roller for a nice smooth finish along with my white eggshell paint. I rolled on two coats and called it a day!
While I waited for the shiplap wall to dry, I made use of that time to work on staining my wood boards for the shelves. In total, I had 5 shelves I wanted to hang: 3 long shelves and 2 short. My favorite stain color to use for my home is Early American by Varathane. I just love the color for farmhouse style homes! Before I stained all of my boards, I made sure to also use the Varathane Wood Conditioner. This is a MUST before you stain porous or softwood as it makes the finish much more even. I’ll talk about that a little more down below. After my stain had fully dried, I used two coats of Satin Polycrylic to seal them and give them that gorgeous sheen.
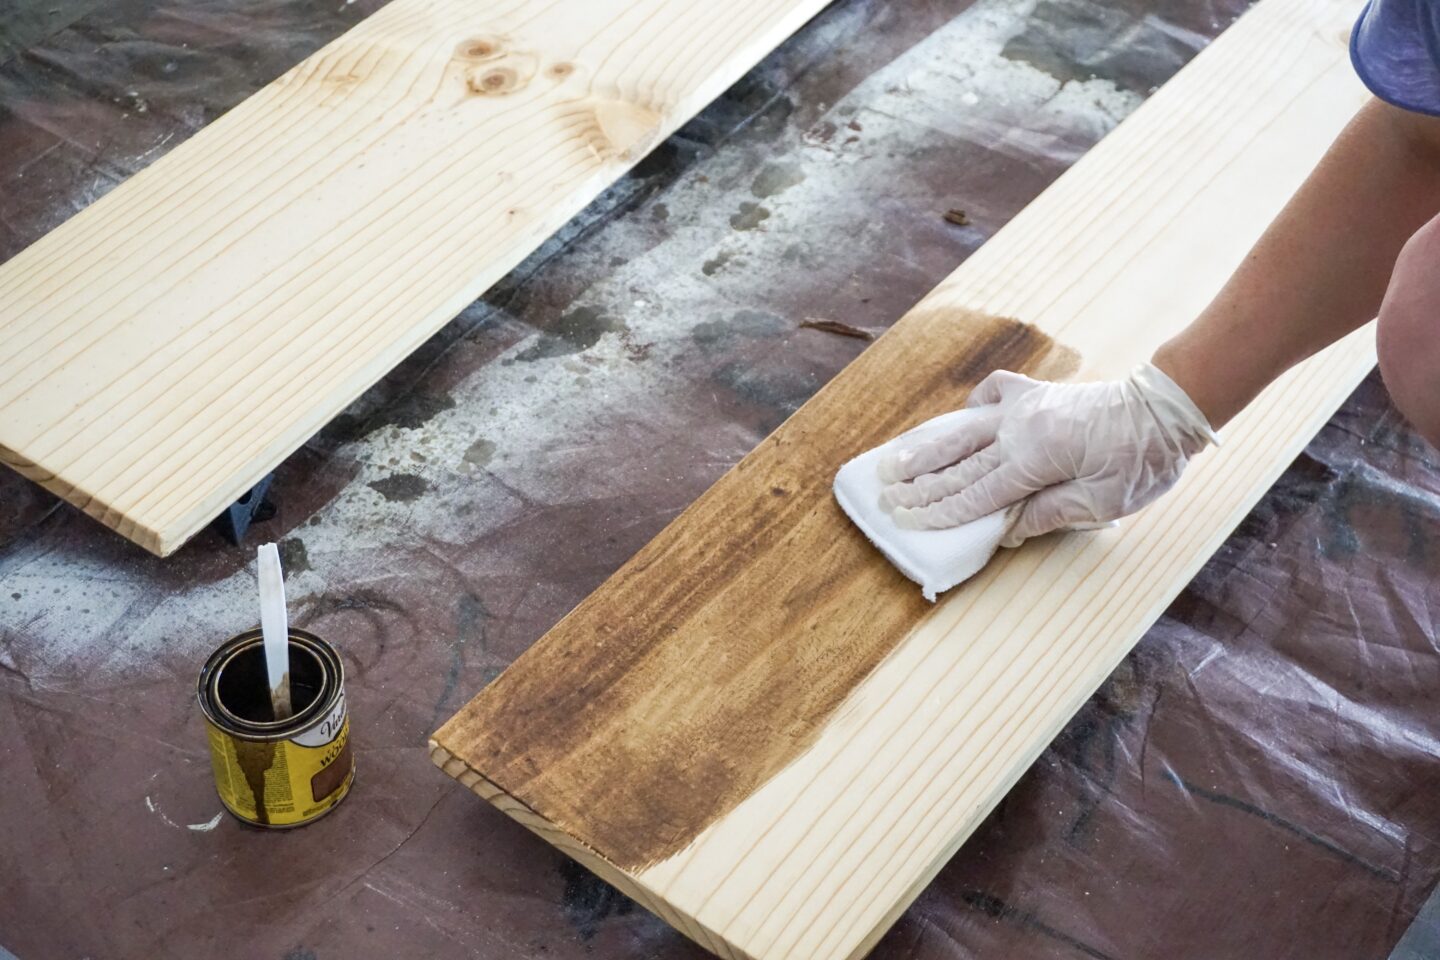
Let’s talk about the importance of conditioning your wood prior to staining
Remember I mentioned how important that Wood Conditioner is? Here is a good example below of what happens when you don’t use it! I conditioned the bottom of this board but not the top because this is my top shelf. You can see the under part of the shelf when it will be hung, but you won’t be able to see the top. As you can see the wood looks quite blotchy.
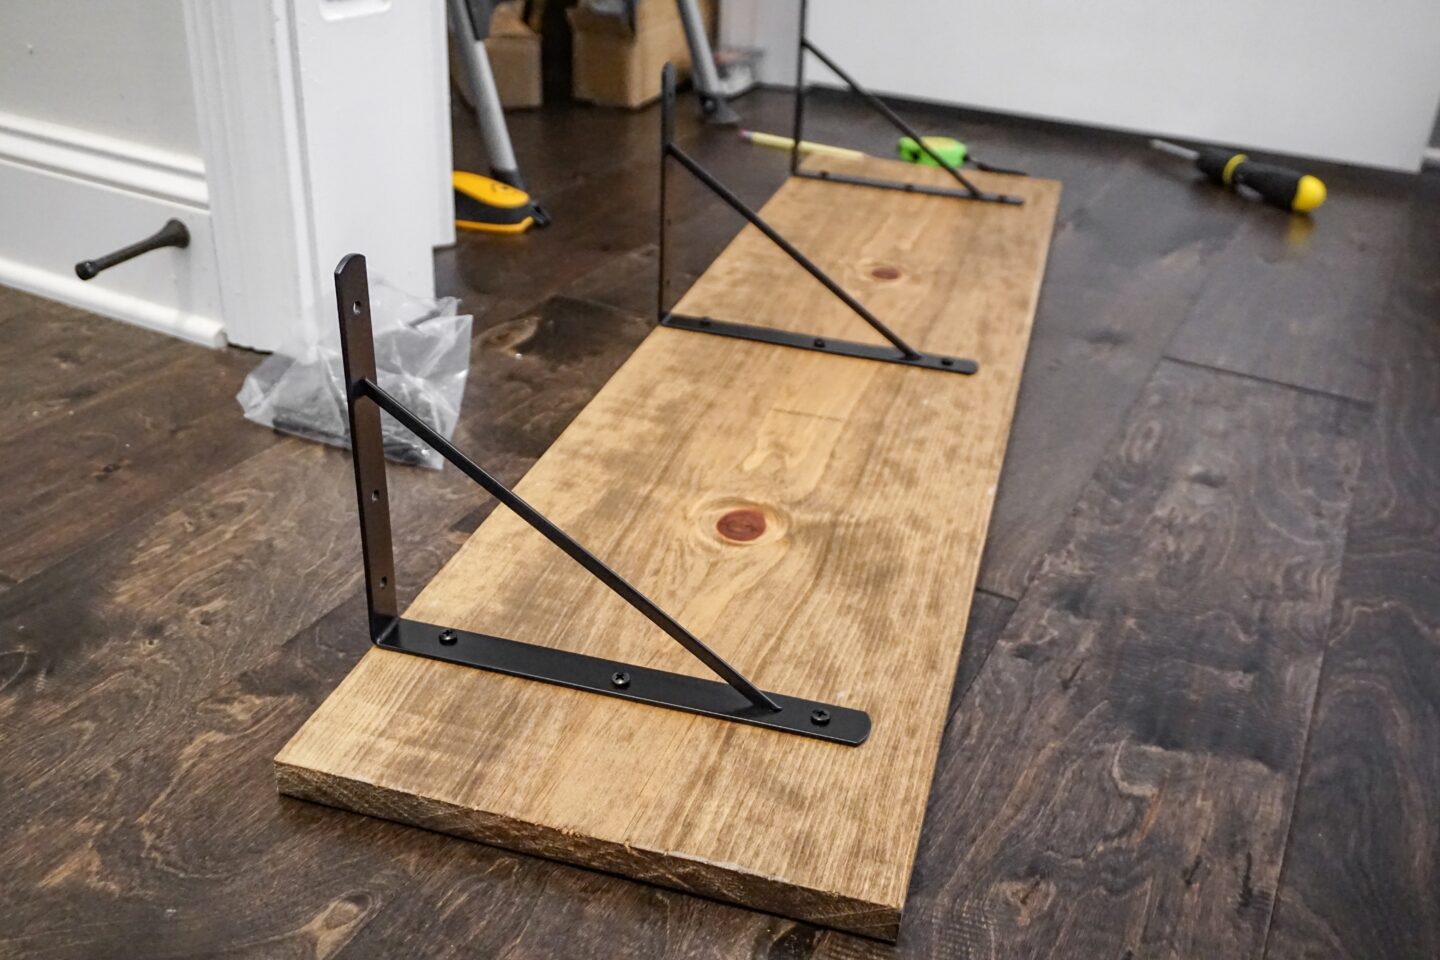
Aside from that, my next step was to add on my top brackets. now, I searched high and low to find the type of brackets I was after without paying an arm and a leg. I needed top brackets that would not interfere with the look I was after. I wanted to make sure my top shelf was flush with the top of the faux shiplap. Using these brackets (which are super heavy duty), I knew I would get the look I wanted. These are 10″ brackets on a 12″ wide board.
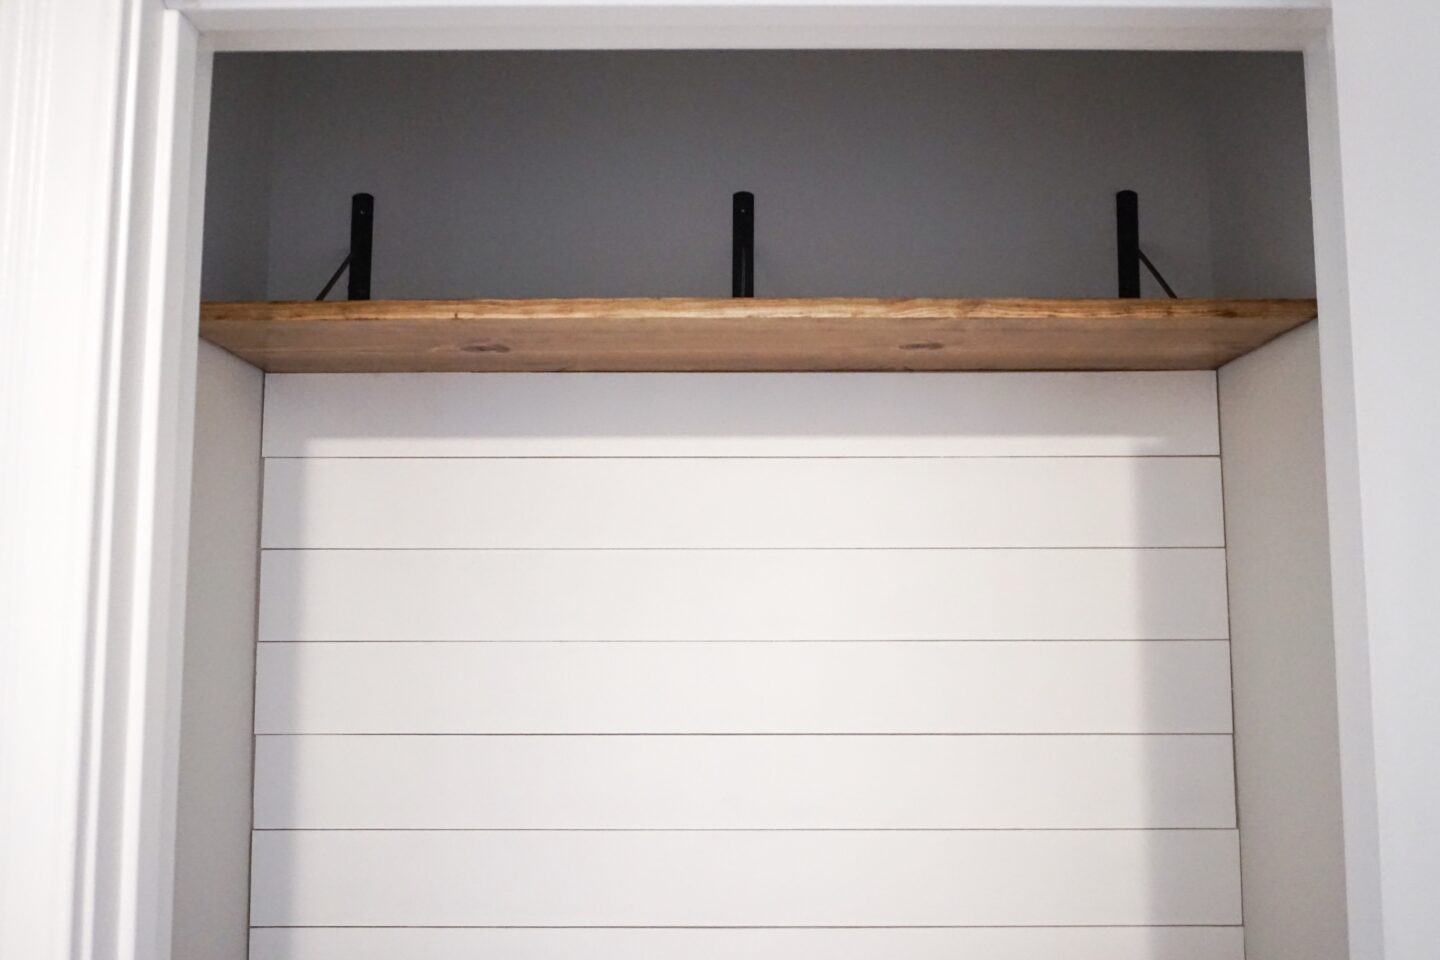
Hanging this shelf by myself was definitely a not an easy task, but as I said, I am a super determined person when it comes to these types of things lol! I am sure some of you are asking yourselves “Why didn’t she ask for help?” My husband was away for training (Army) while I worked on this project, so I wanted to surprise him with it when he got home!
Moving on to the details that make this space a bit extra
I had to wait a little while before I could hang the other 4 shelves because I was waiting for my floating shelf brackets to arrive in the mail as well as my clothing rod. In the meantime, I decided to tackle a side project that I felt would really make this space extra special: custom stained wooden hangers.

I won’t lie, I stole these from my 2-year-olds closet so I could use them haha! Truth be told, we never used them in there anyway, so this would give them purpose. Staining these was a piece of cake. I didn’t bother with conditioning them because they were such small pieces of wood it wouldn’t have mattered.
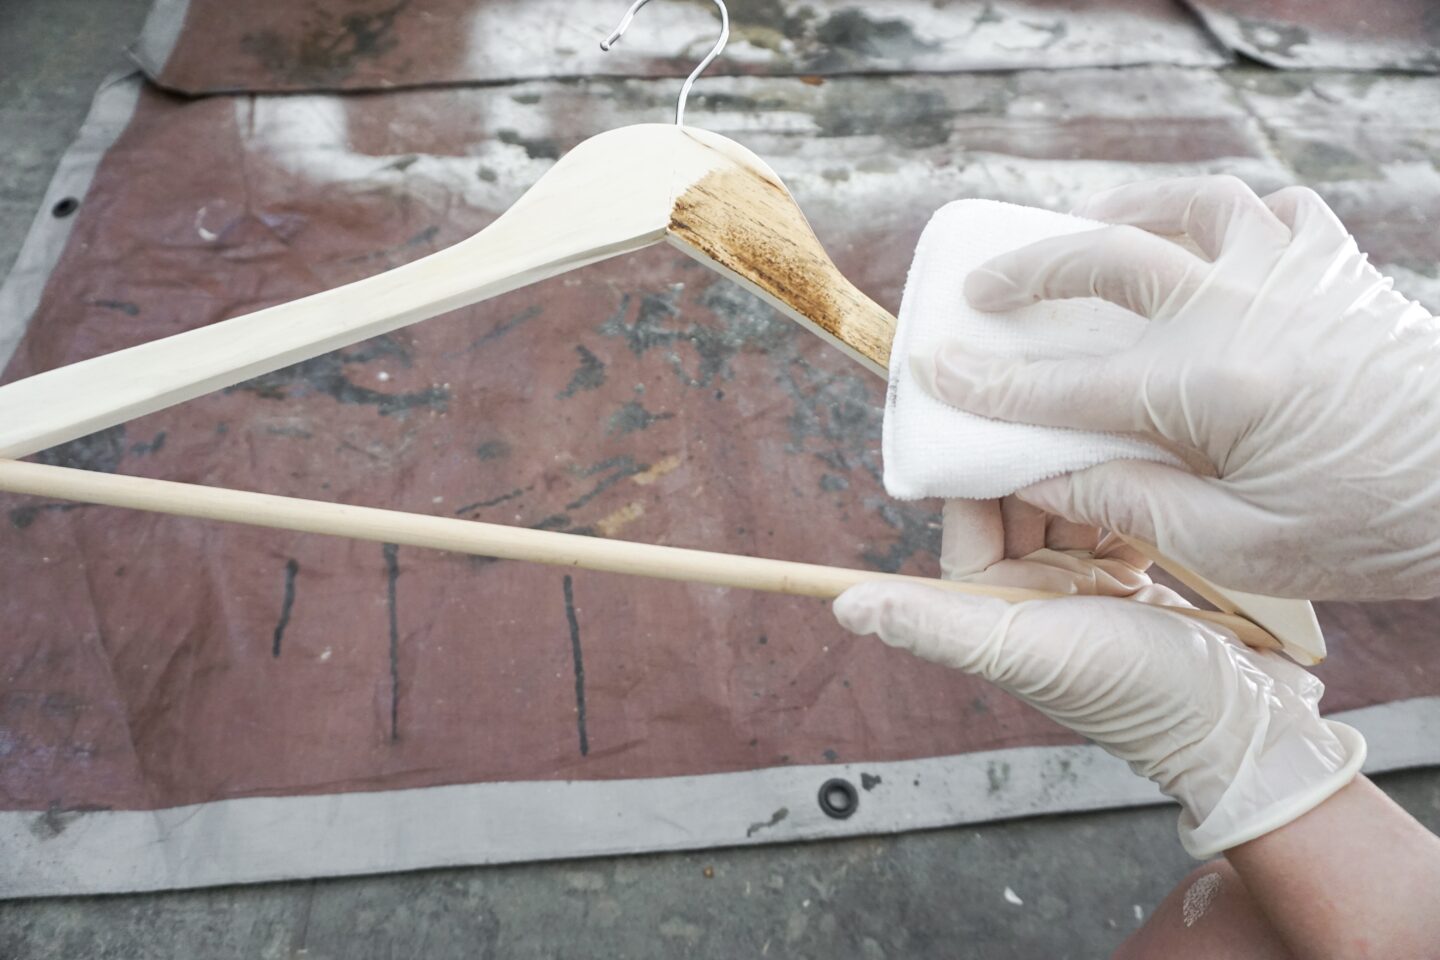
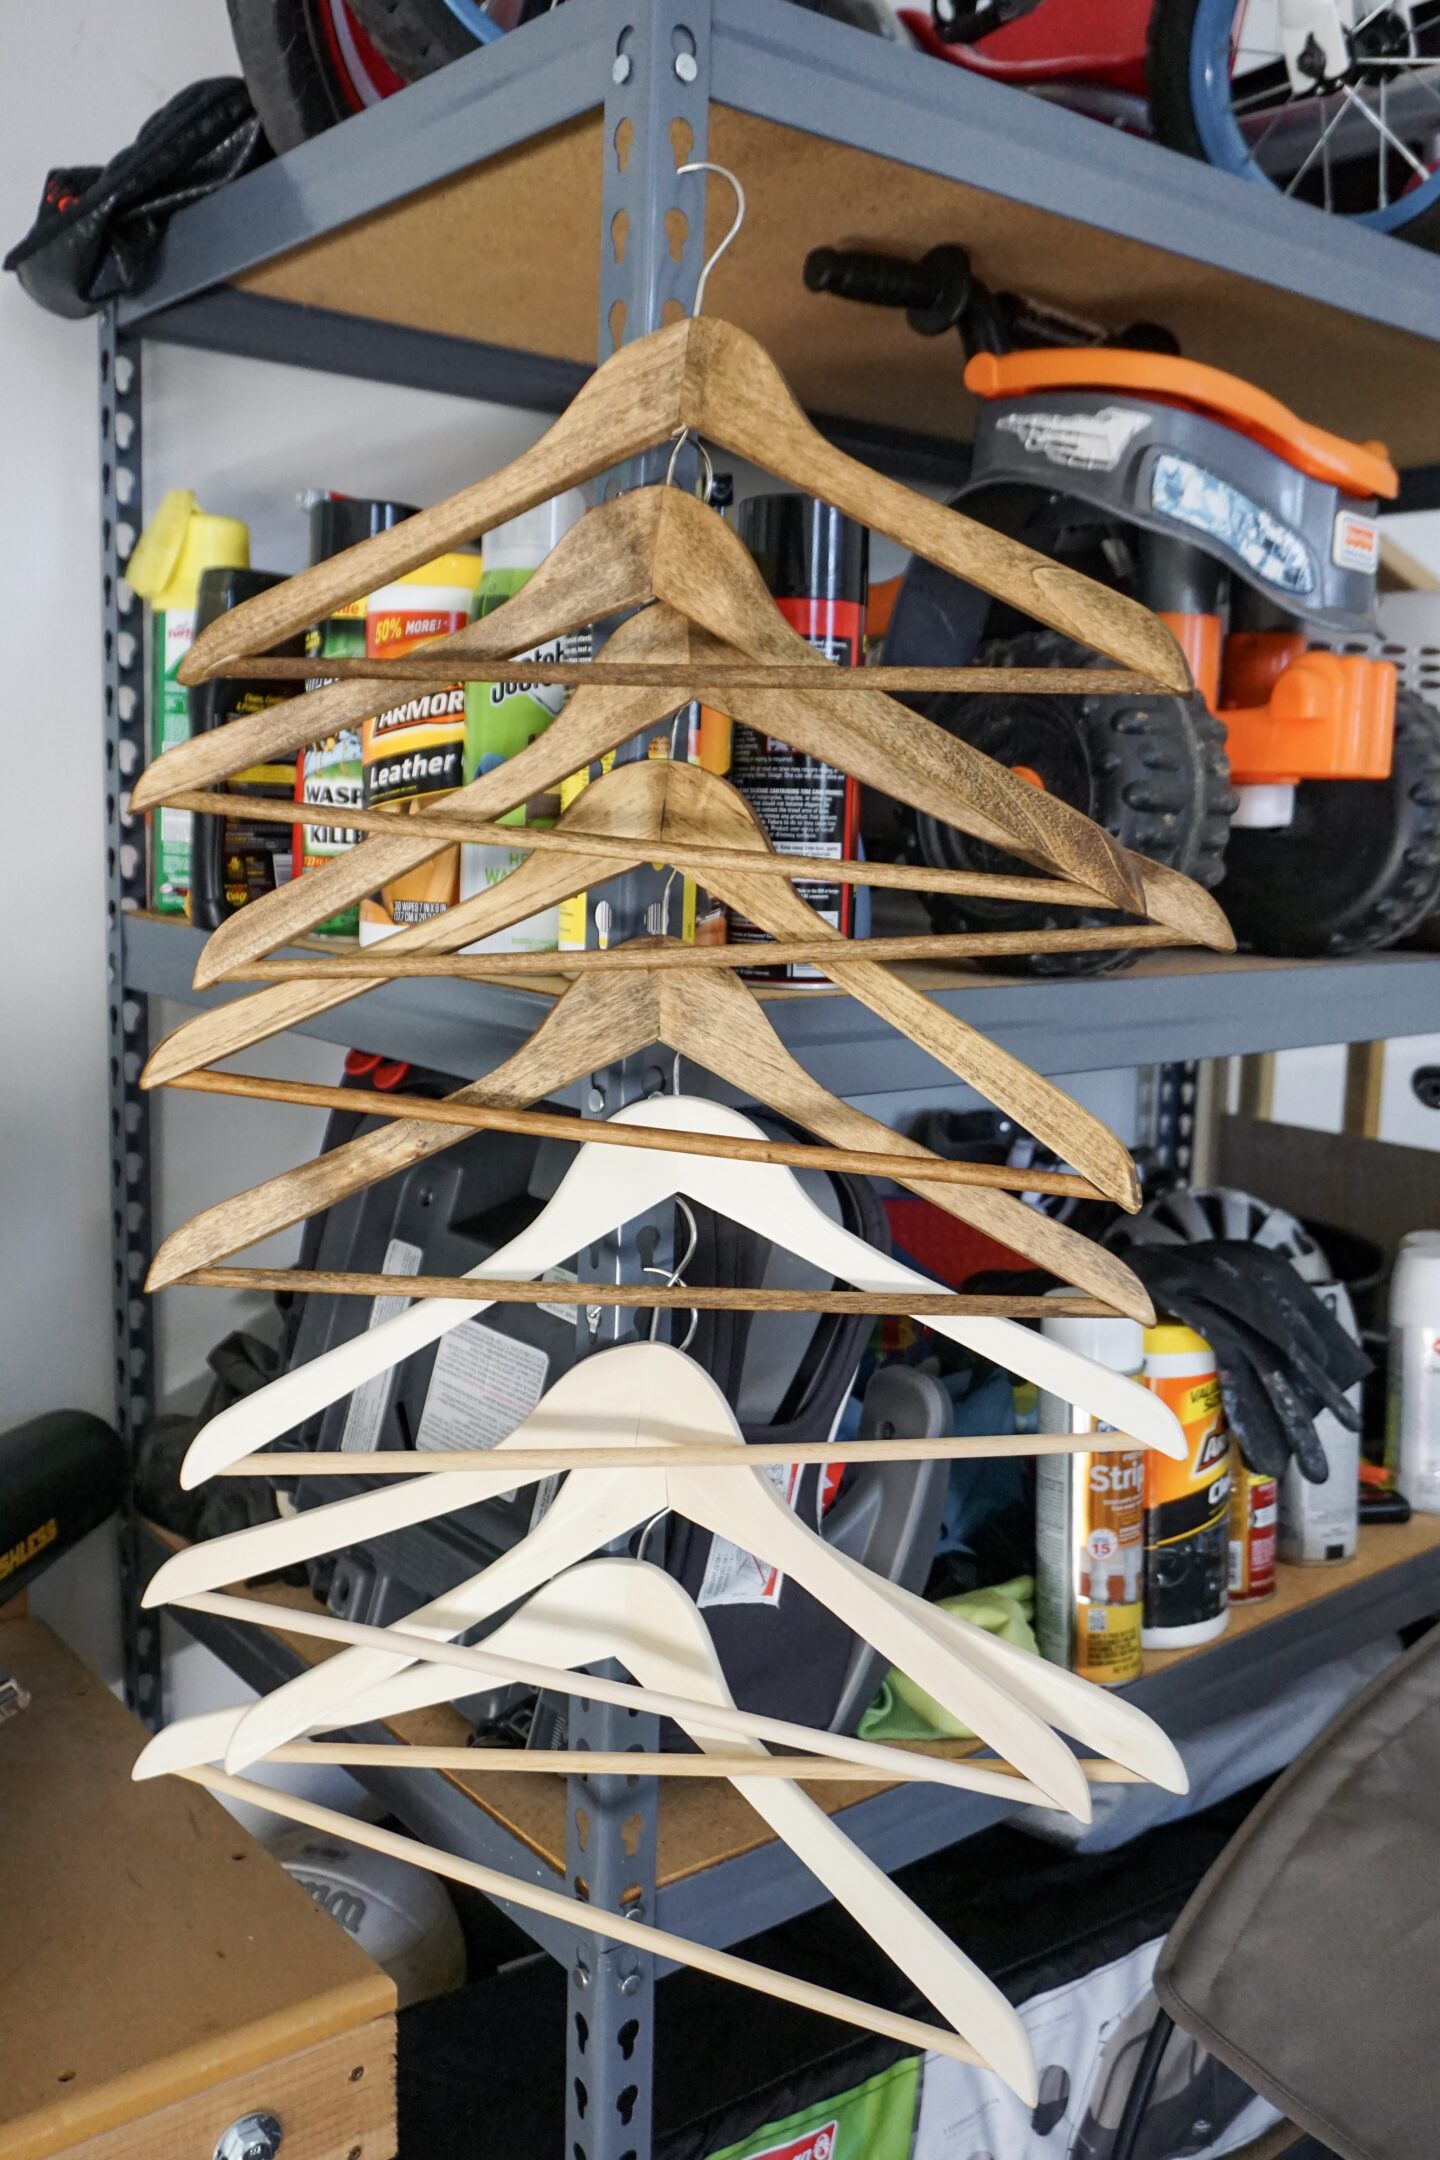
After the hangers had dried for 24 hours, I then sprayed them with a coat of polyurethane to seal them, let them dry, and then they were done! If you want to buy some unfinished wood hangers, Amazon sells them here! You can also find them at Walmart.
Let there be shelves!
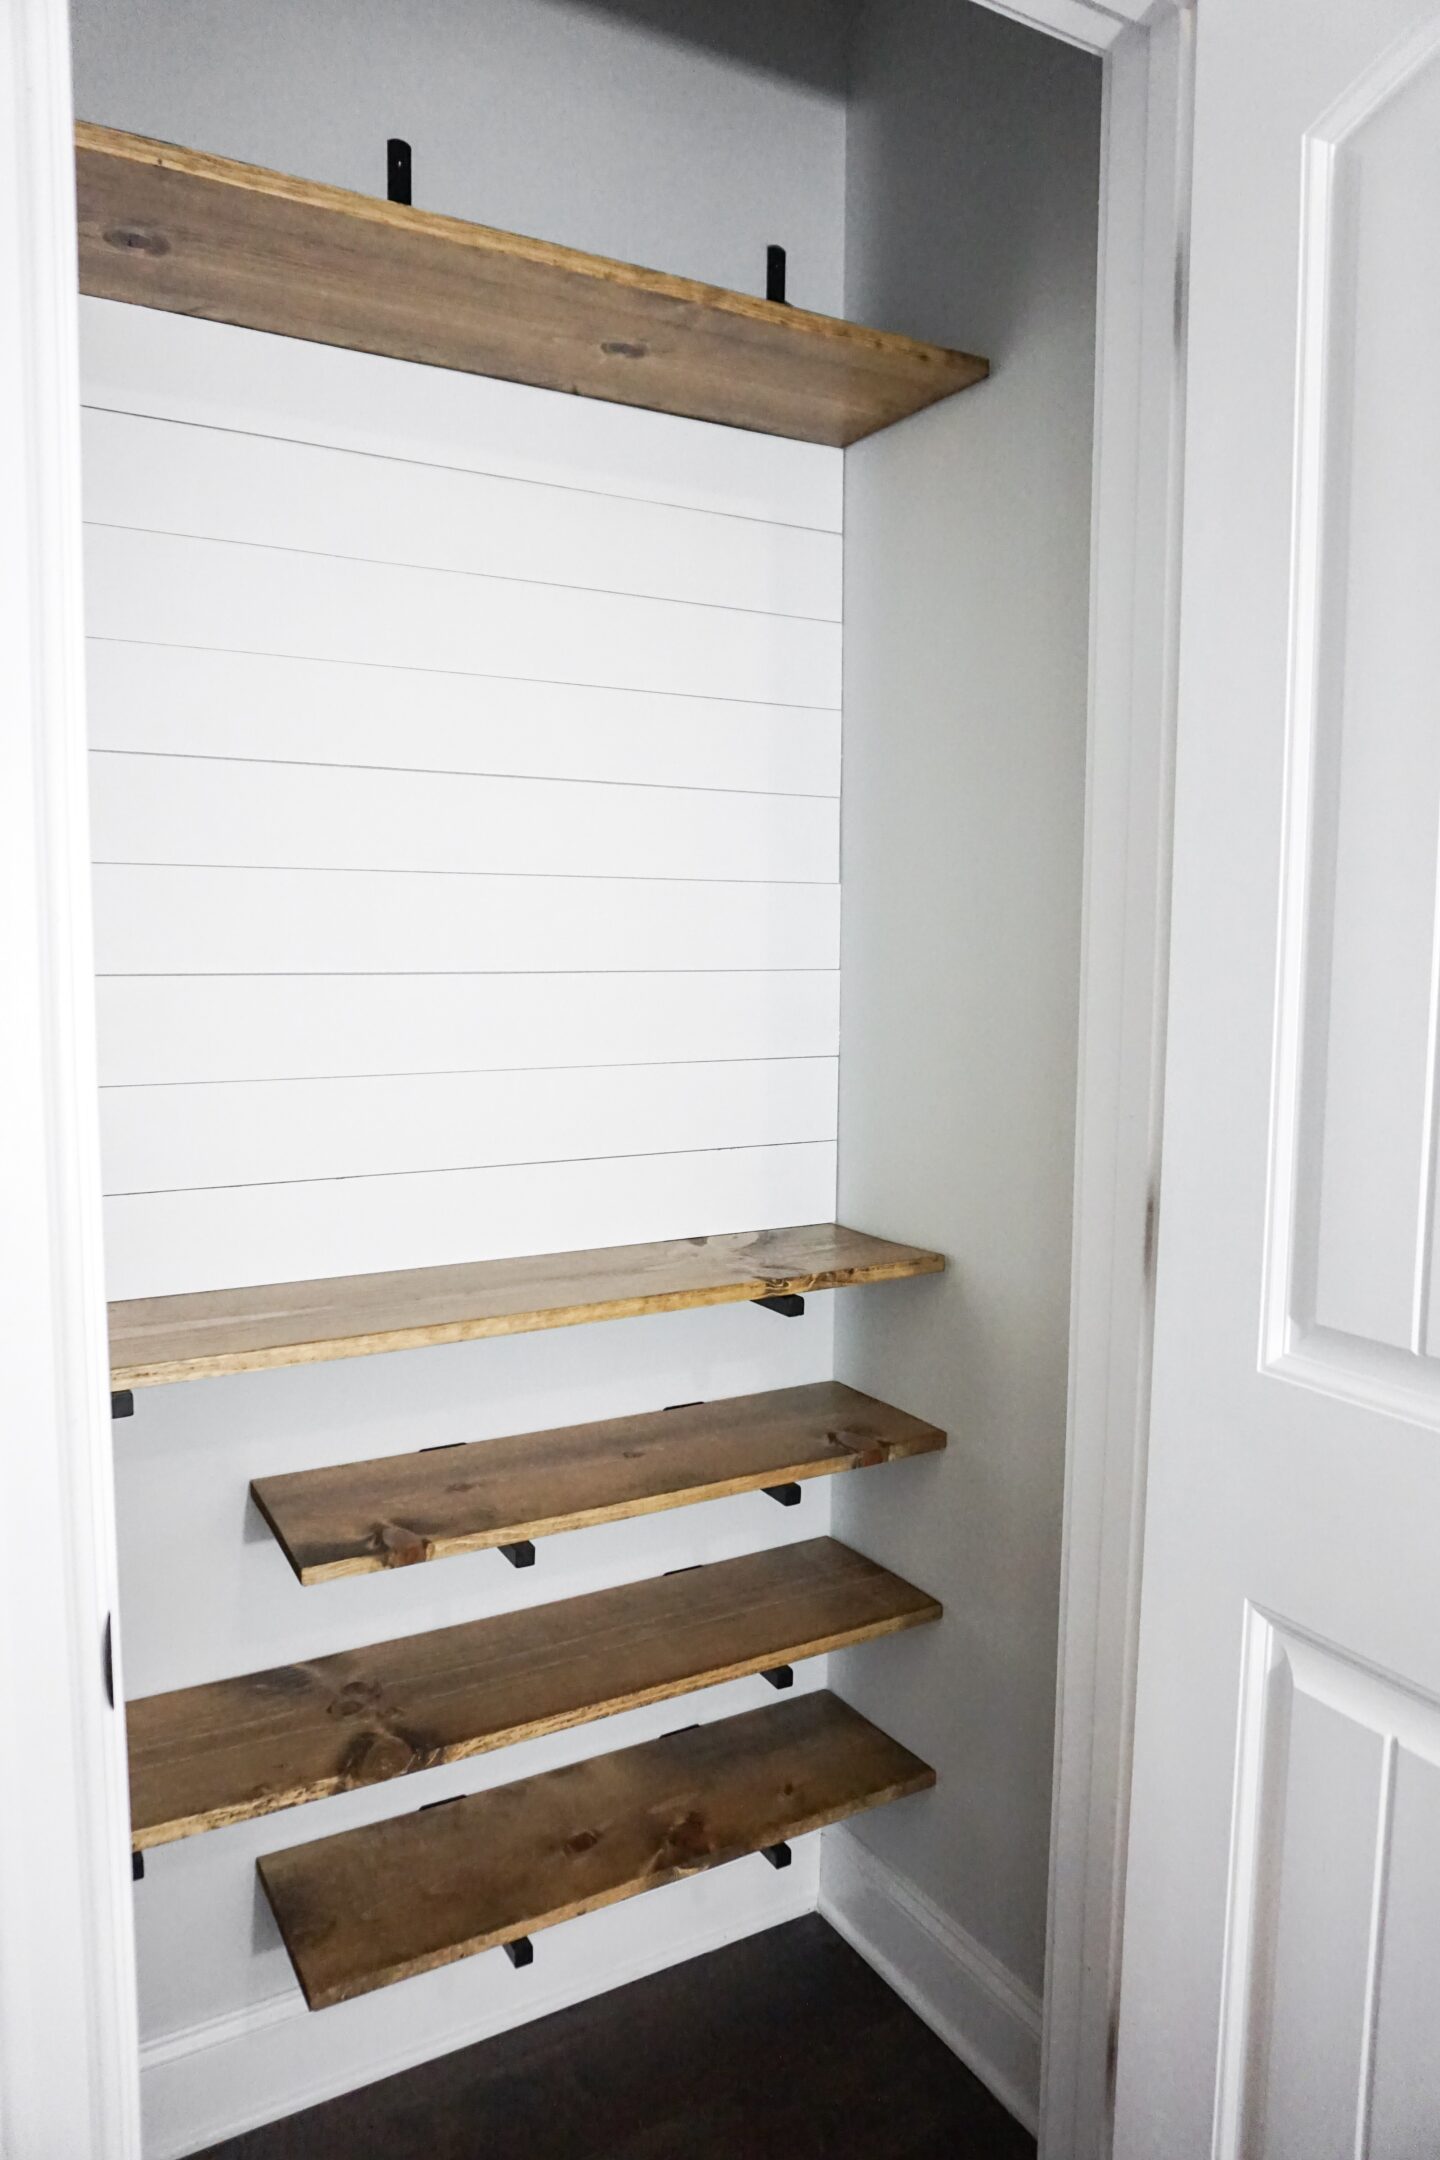
Now that my side project was complete, it was time to finally hang the lower shelves! These are the brackets I ordered for the shelves. And I love them! They are exactly what I wanted for this space. You can find them on Amazon here. They come in a pack of four, so I was able to do two shelves at a time.
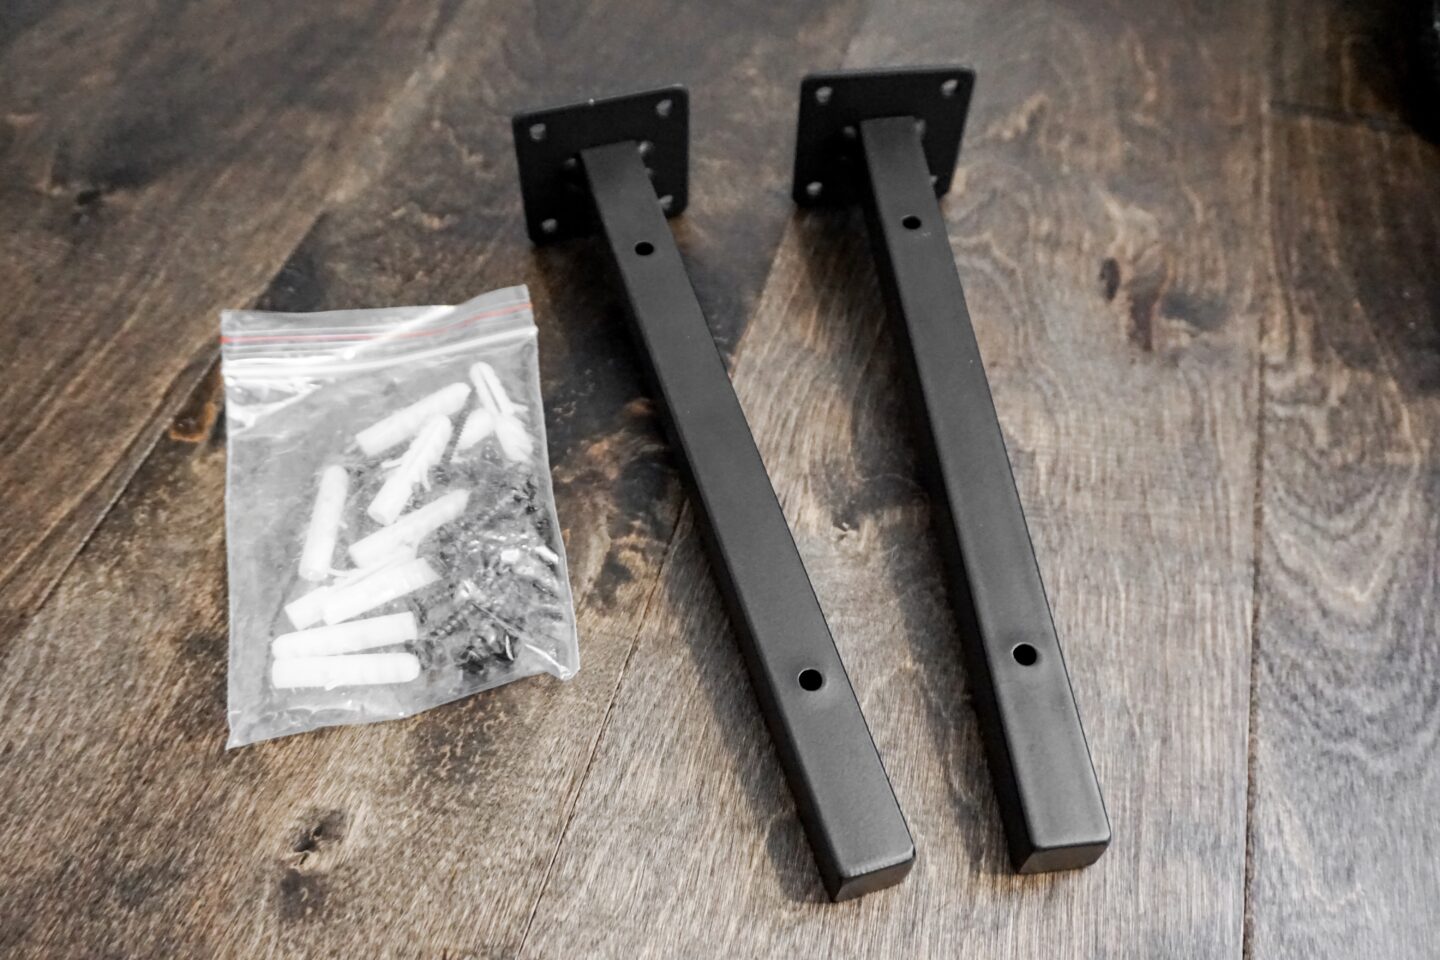
The lower shelves in my design are made up of two long shelves and two short shelves. I wanted to make sure there would be room on the left side for things like boots and a holder for our umbrellas.
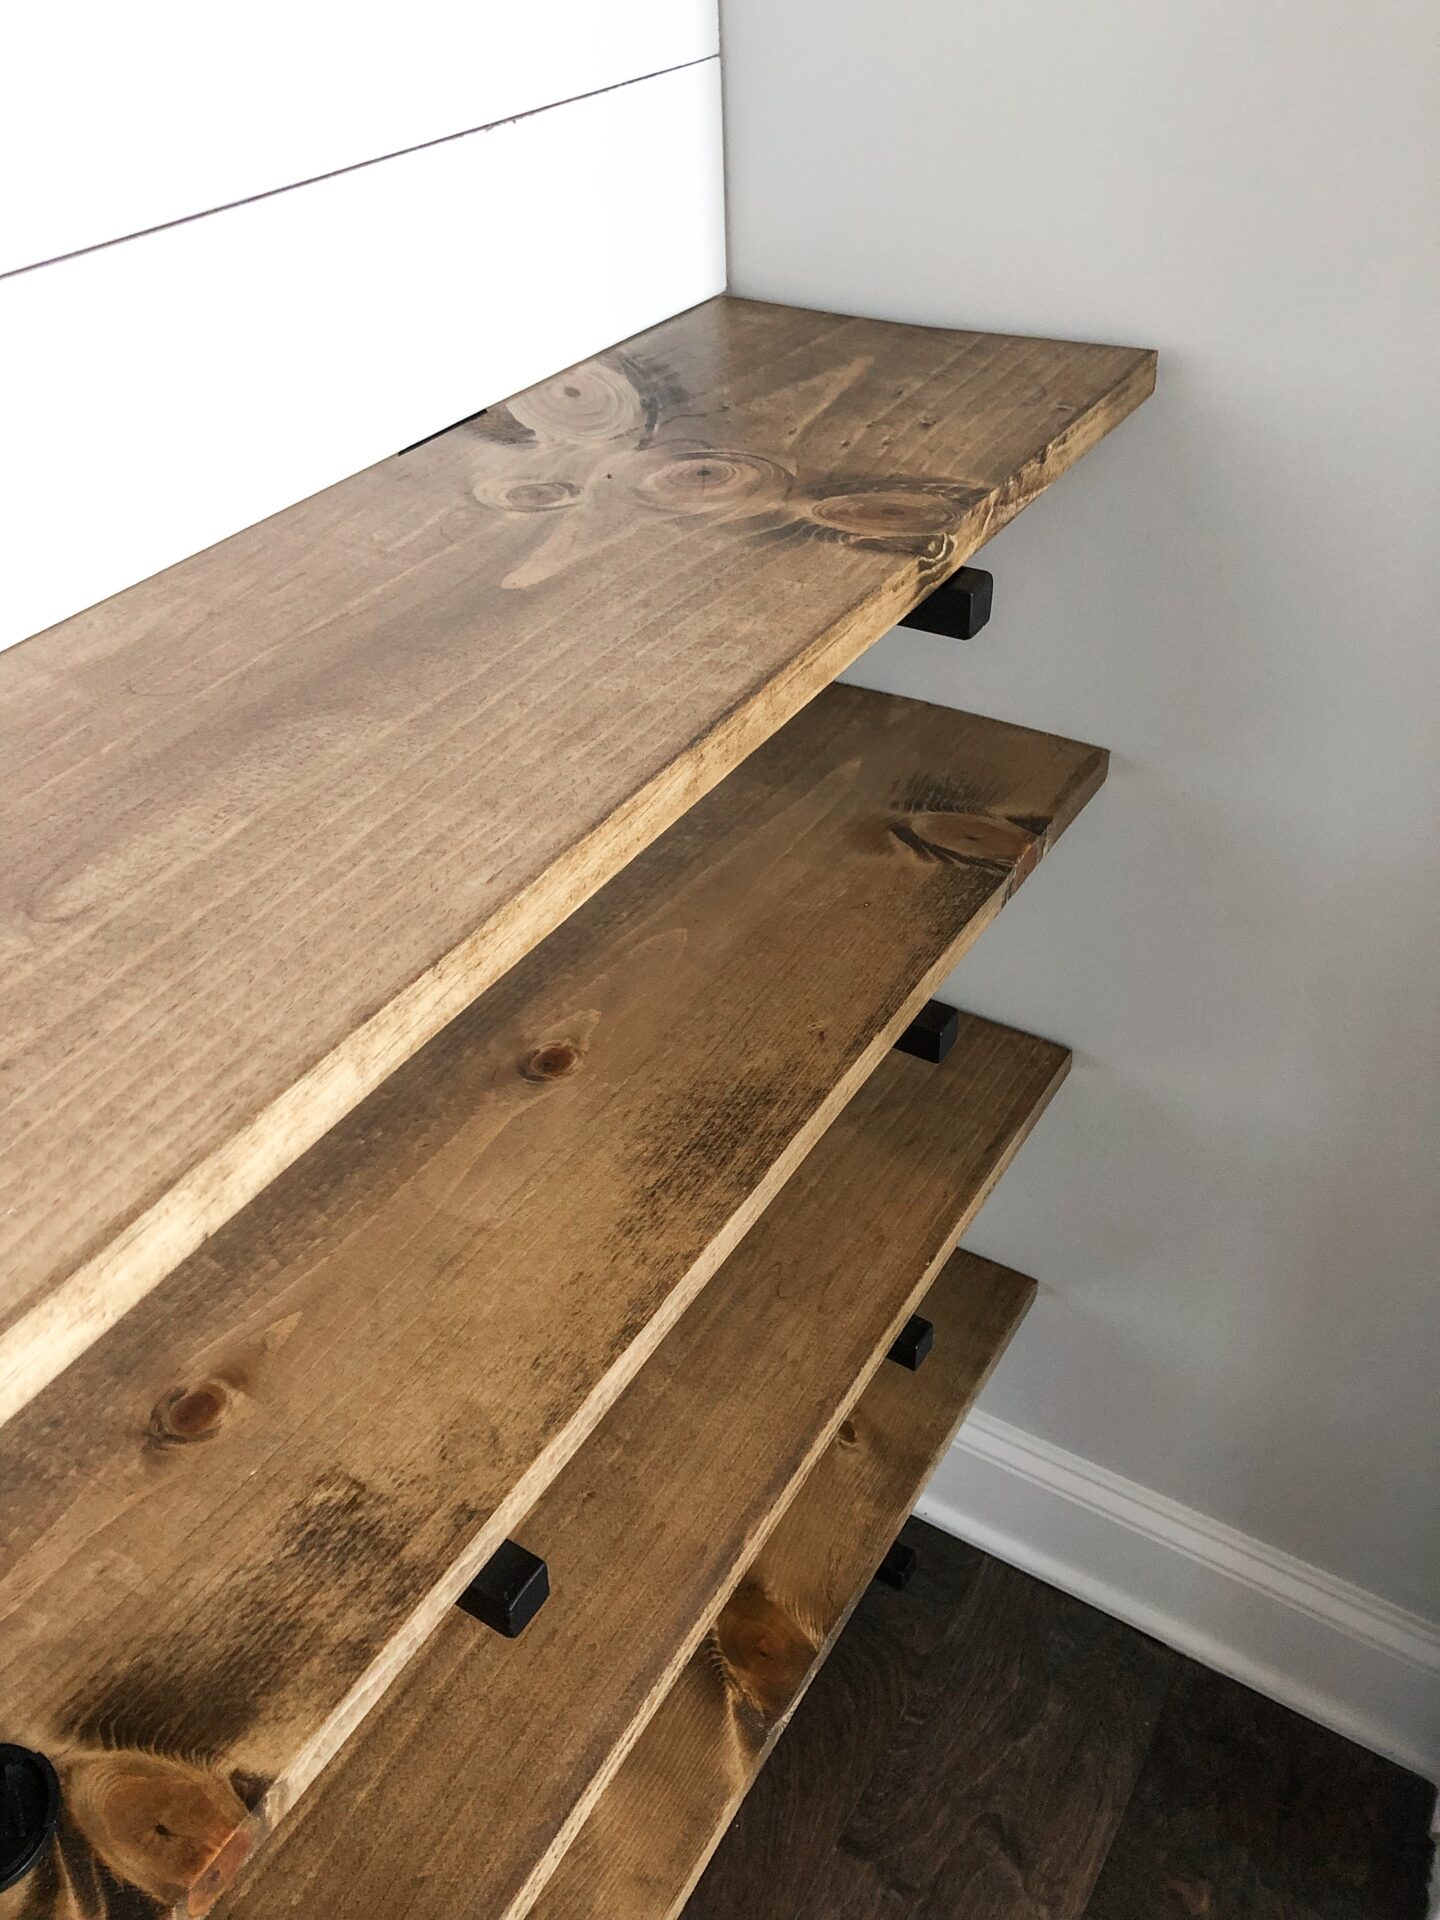
I am just dying over that wood stain, you guys! And take a look at the progress picture below! Sorry, my lighting wasn’t the best for these photos. This hallway is very dark and we don’t have a light in the coat closet.
It’s all in the details
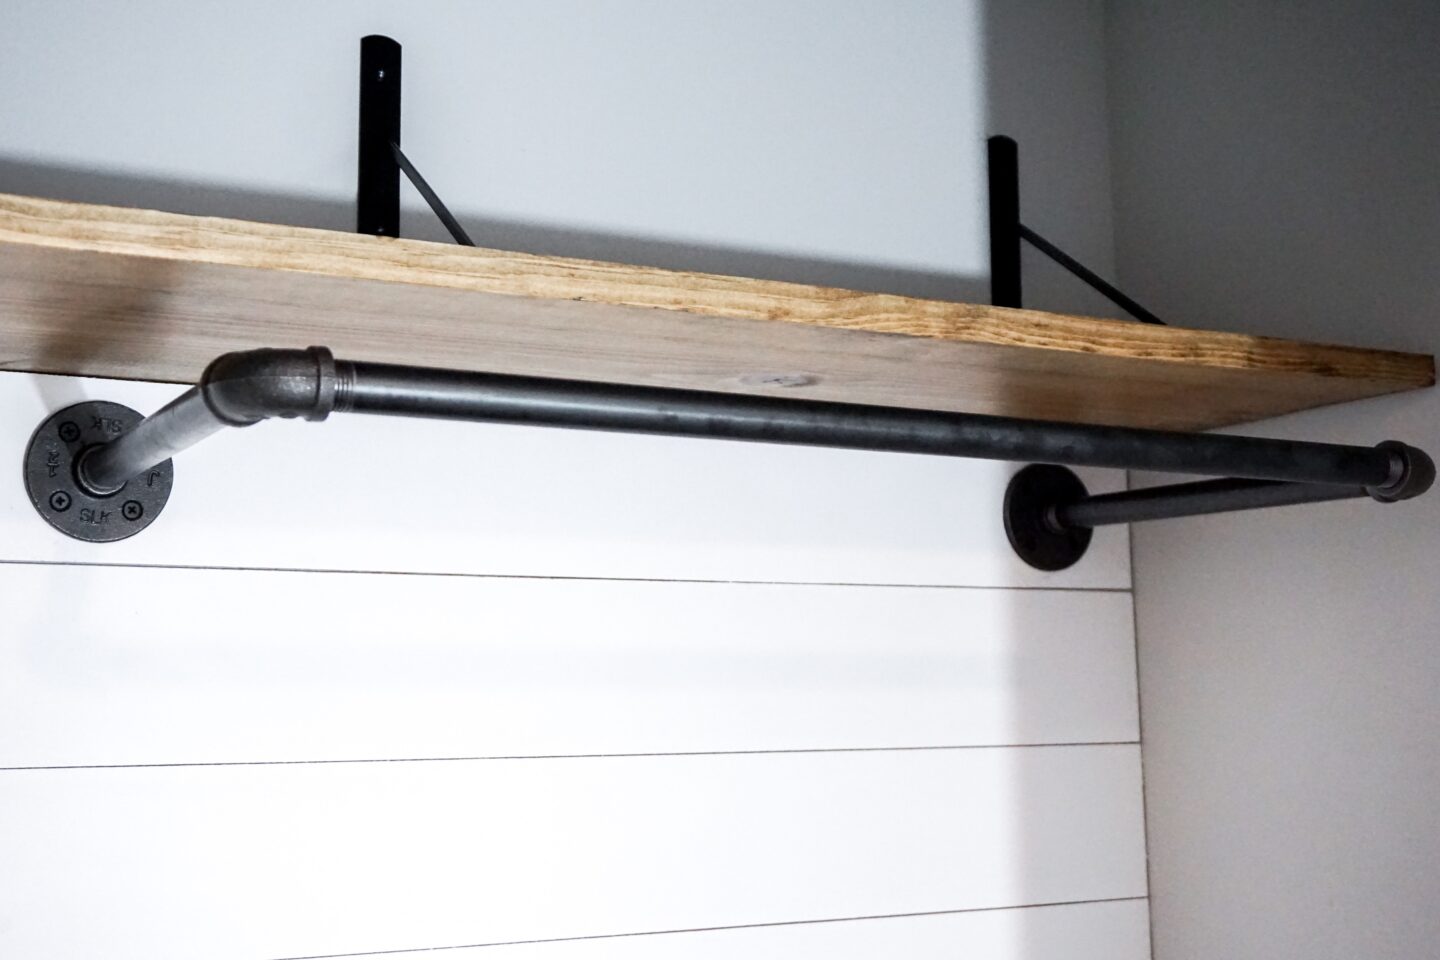
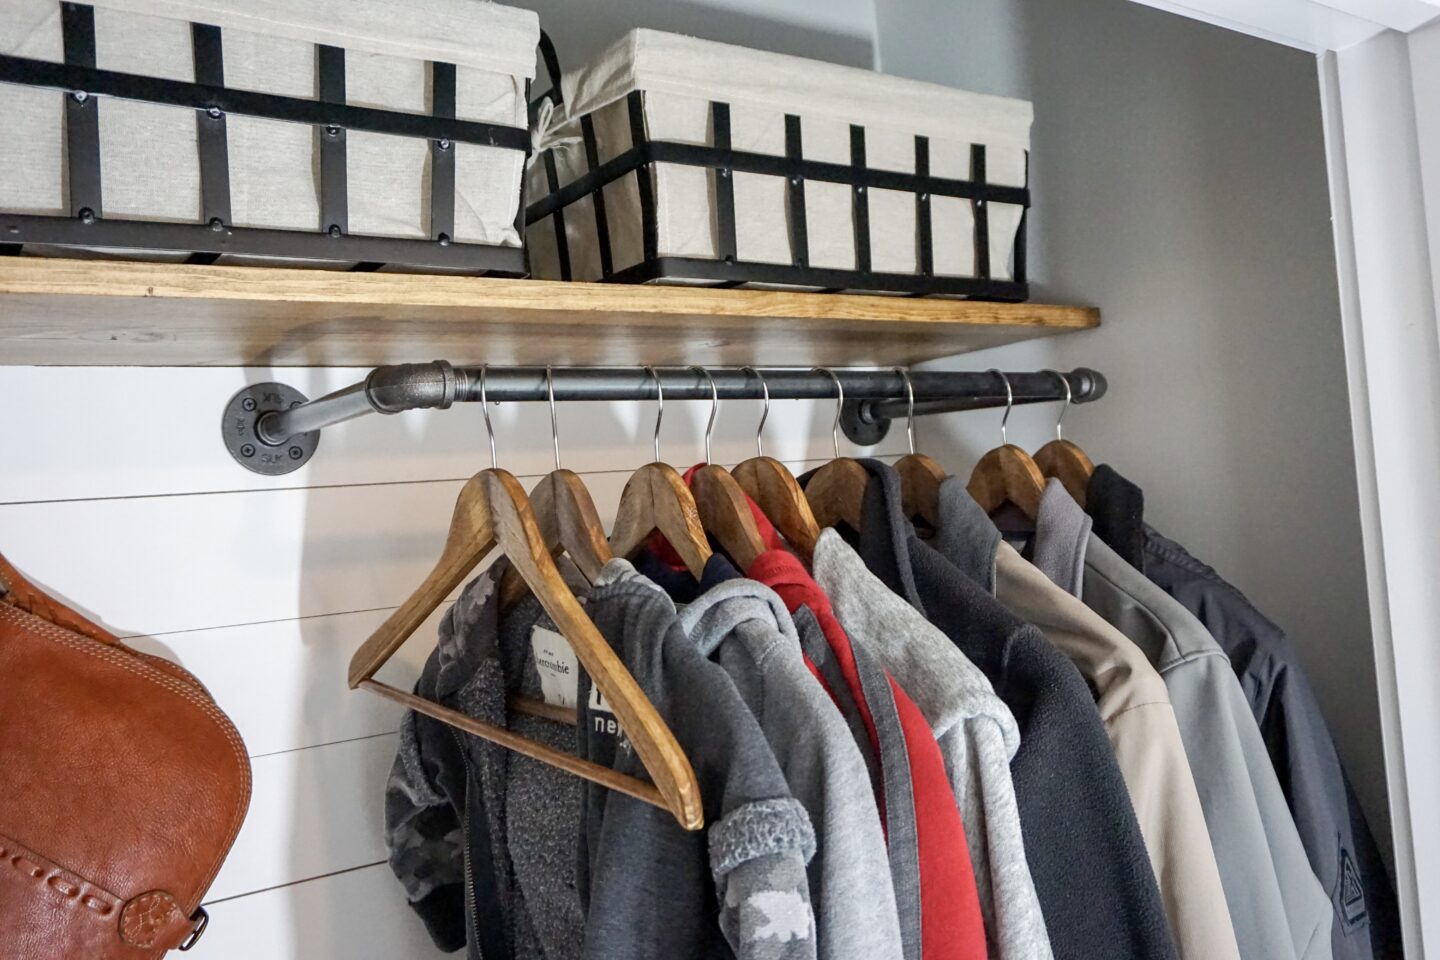
My next step after installing the shelves was to install my new clothing rod. This rod…I won’t lie, it was a little bit of a pain to deal with. Don’t get me wrong, it is gorgeous and functional! However, it required a little extra TLC and was difficult to hang up. I had to wash and dry the pieces prior to using them, not to mention I also had to SEAL them. So, just keep that in mind if you purchase it. Besides that, I HIGHLY recommend it because it really is a fabulous piece and very well made. You can purchase this rod here on Amazon.

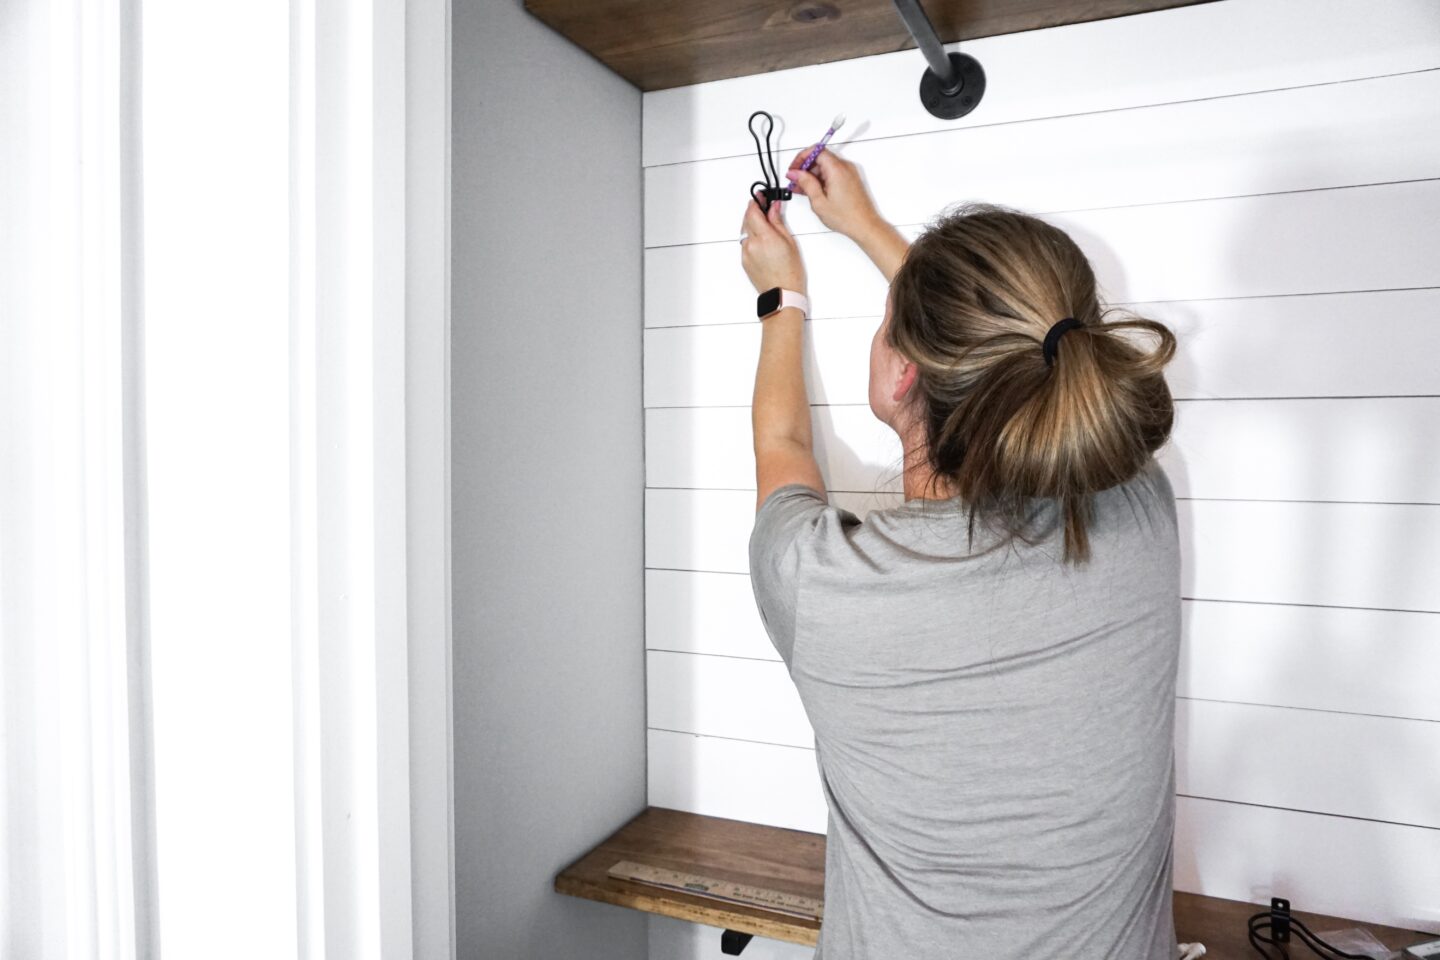
After I hung the rod, it was time to hang my hooks! At this point, I was starting to see the light at the end of the tunnel and couldn’t believe how closely my project resembled my design! I was doing so many happy dances lol! If you love these hooks, I will link you to them here! I got them from Home Depot. Check them out below!
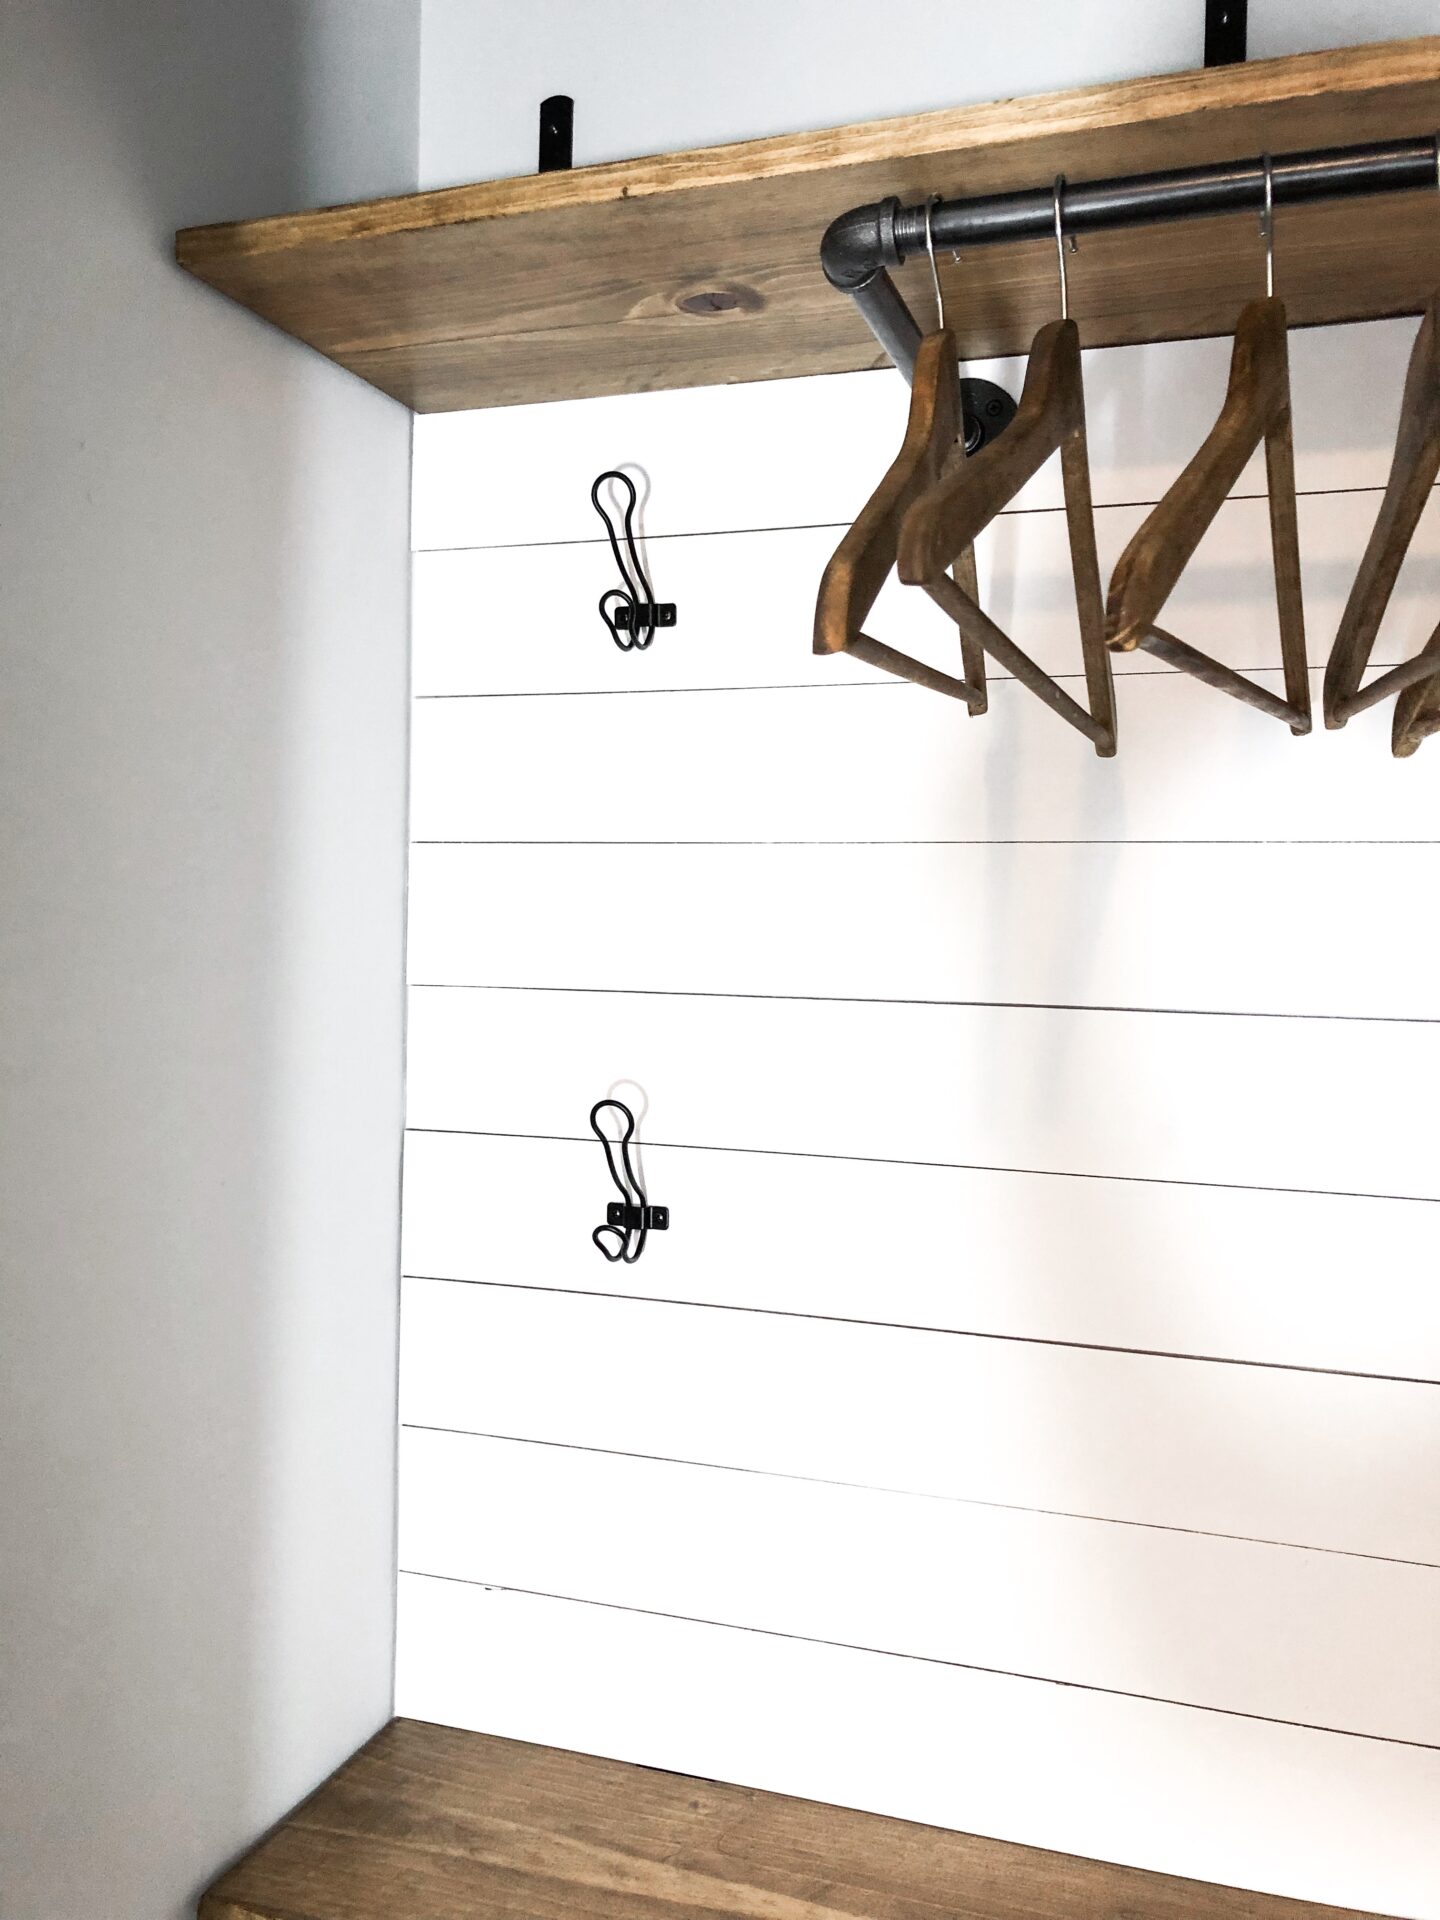
Uh oh…I just gave you a sneak peek at what I did next! Hint: something is hanging on my coat rack! Ahhh it’s so pretty! Take a look below at my custom stained hangers. I think they turned out perfectly!
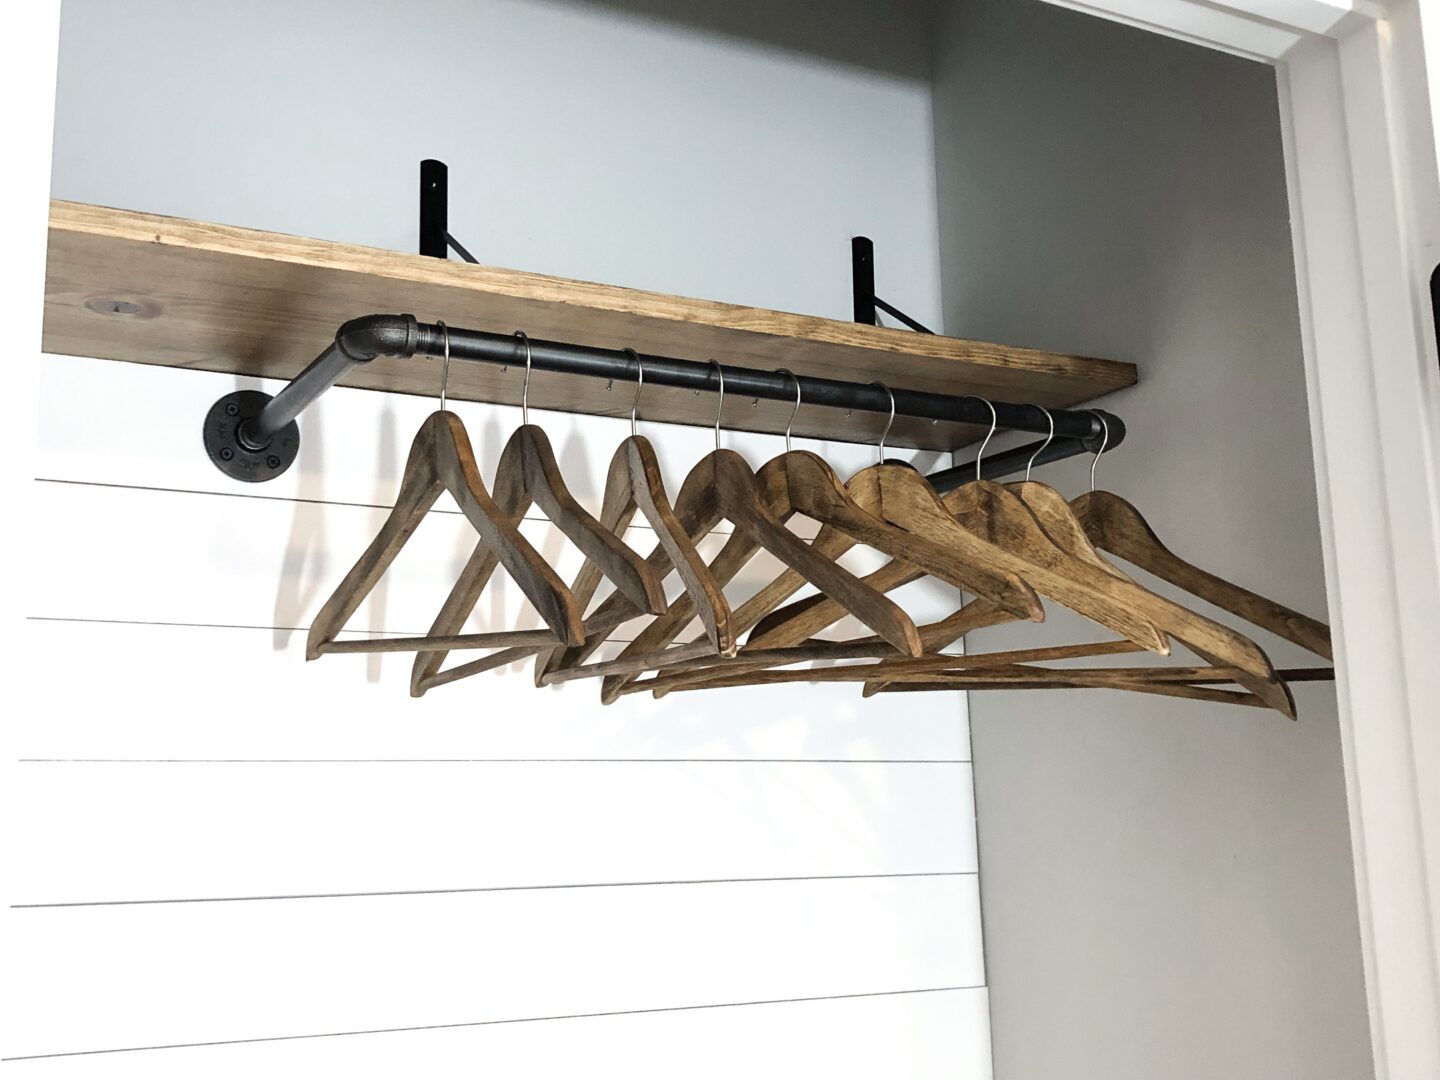
The light at the end of the tunnel
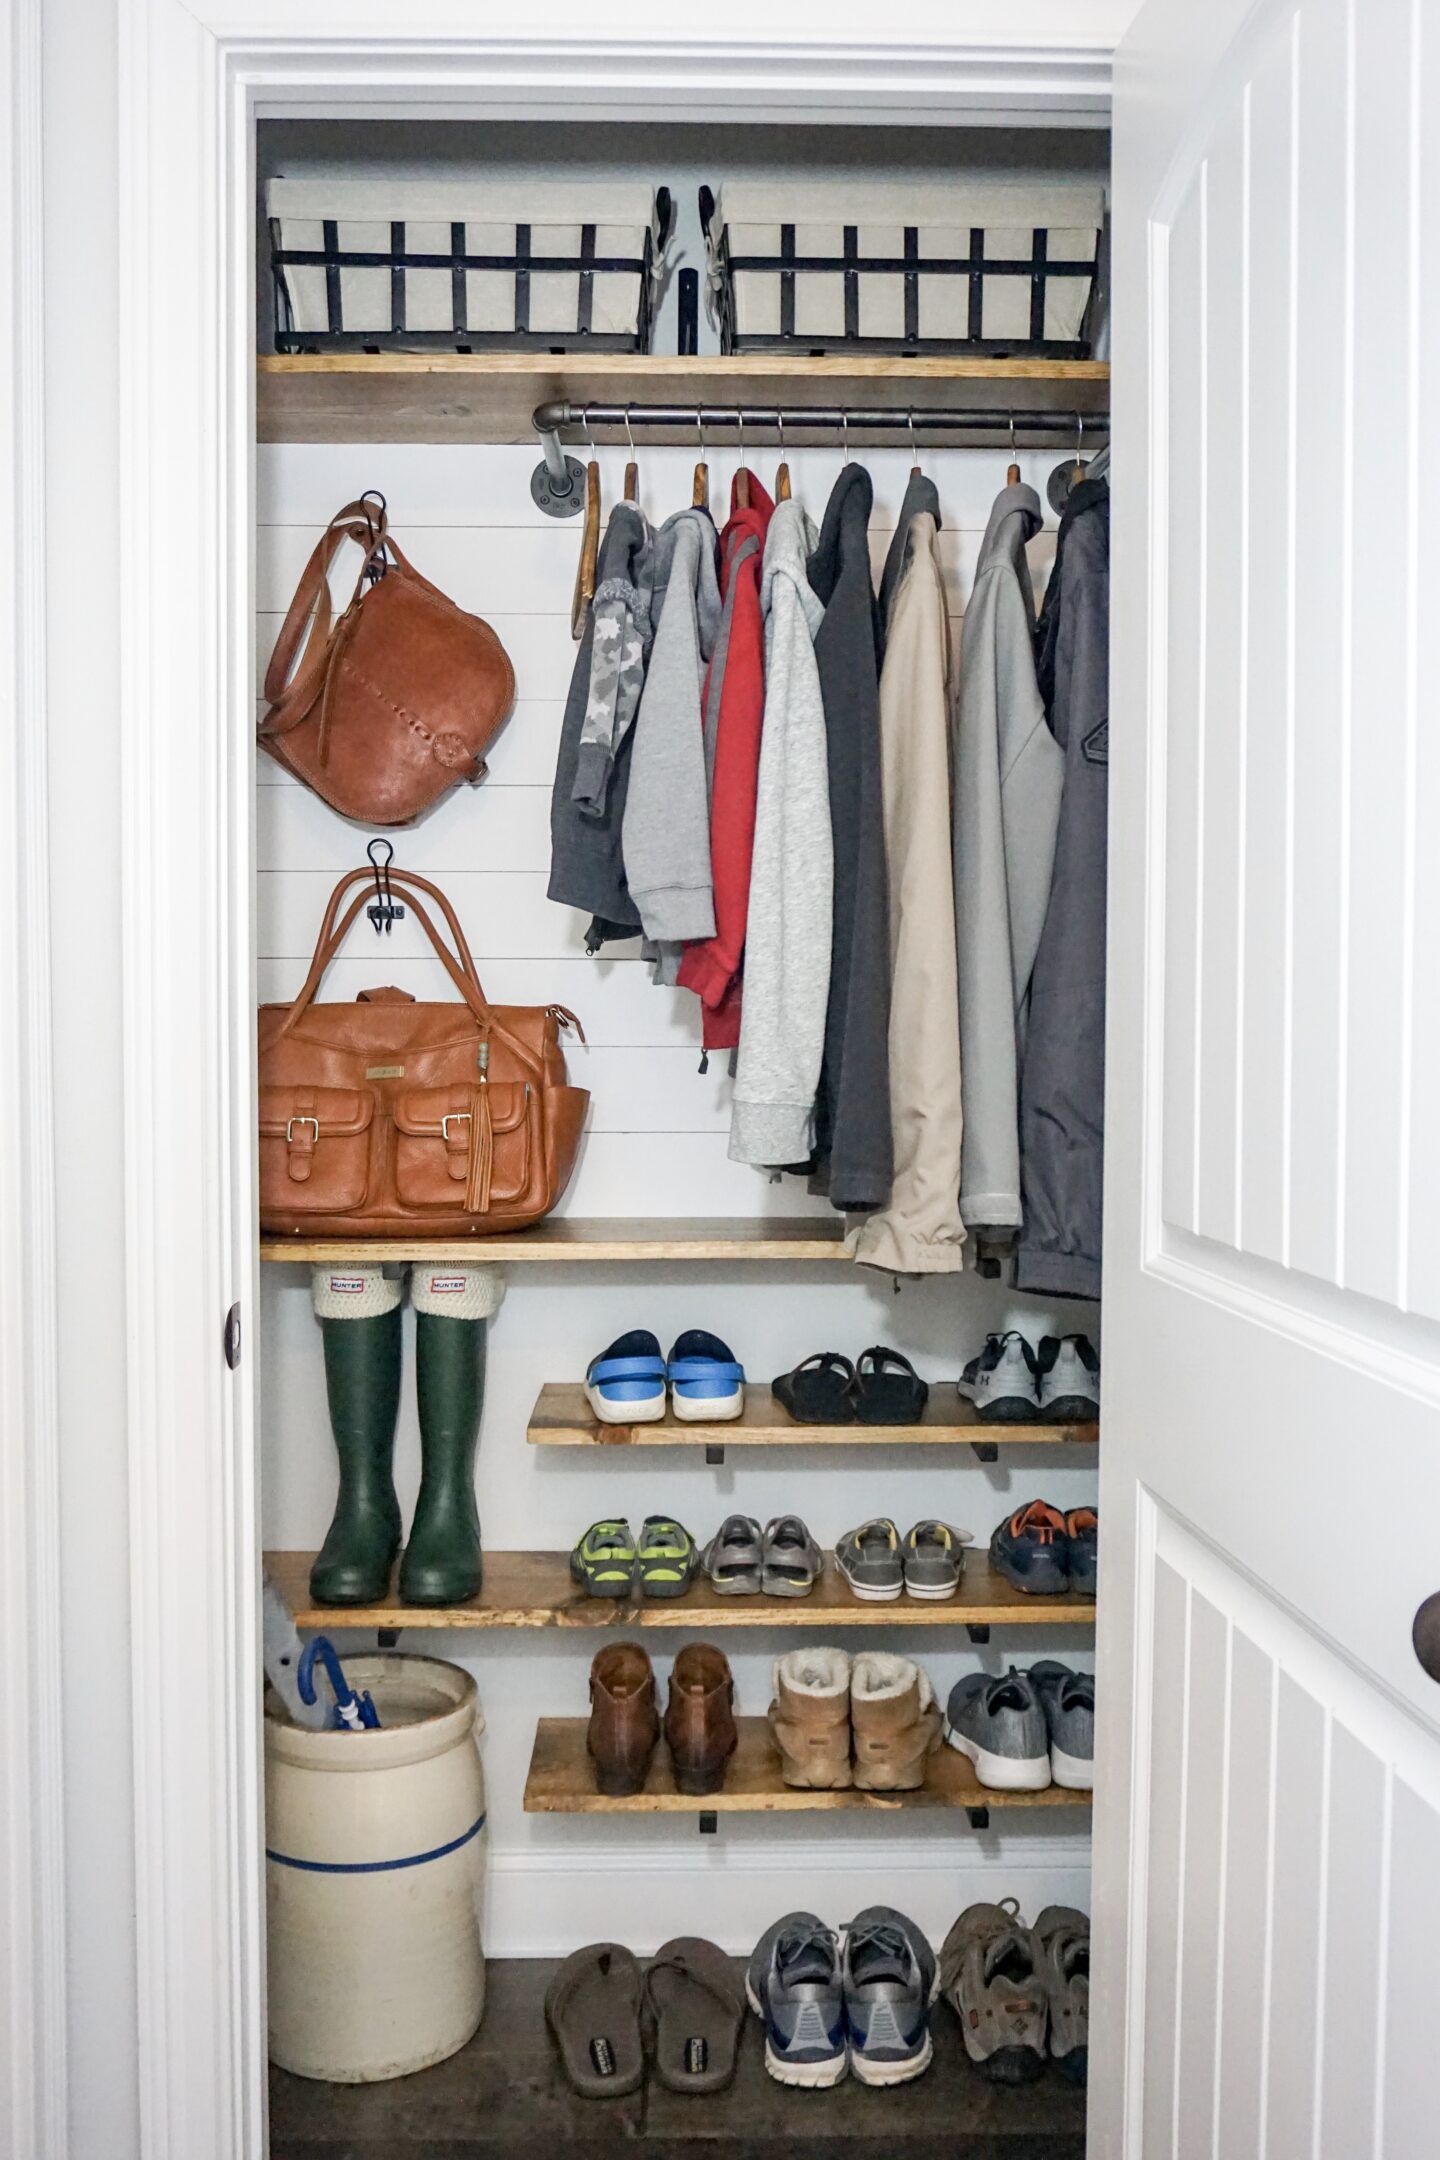
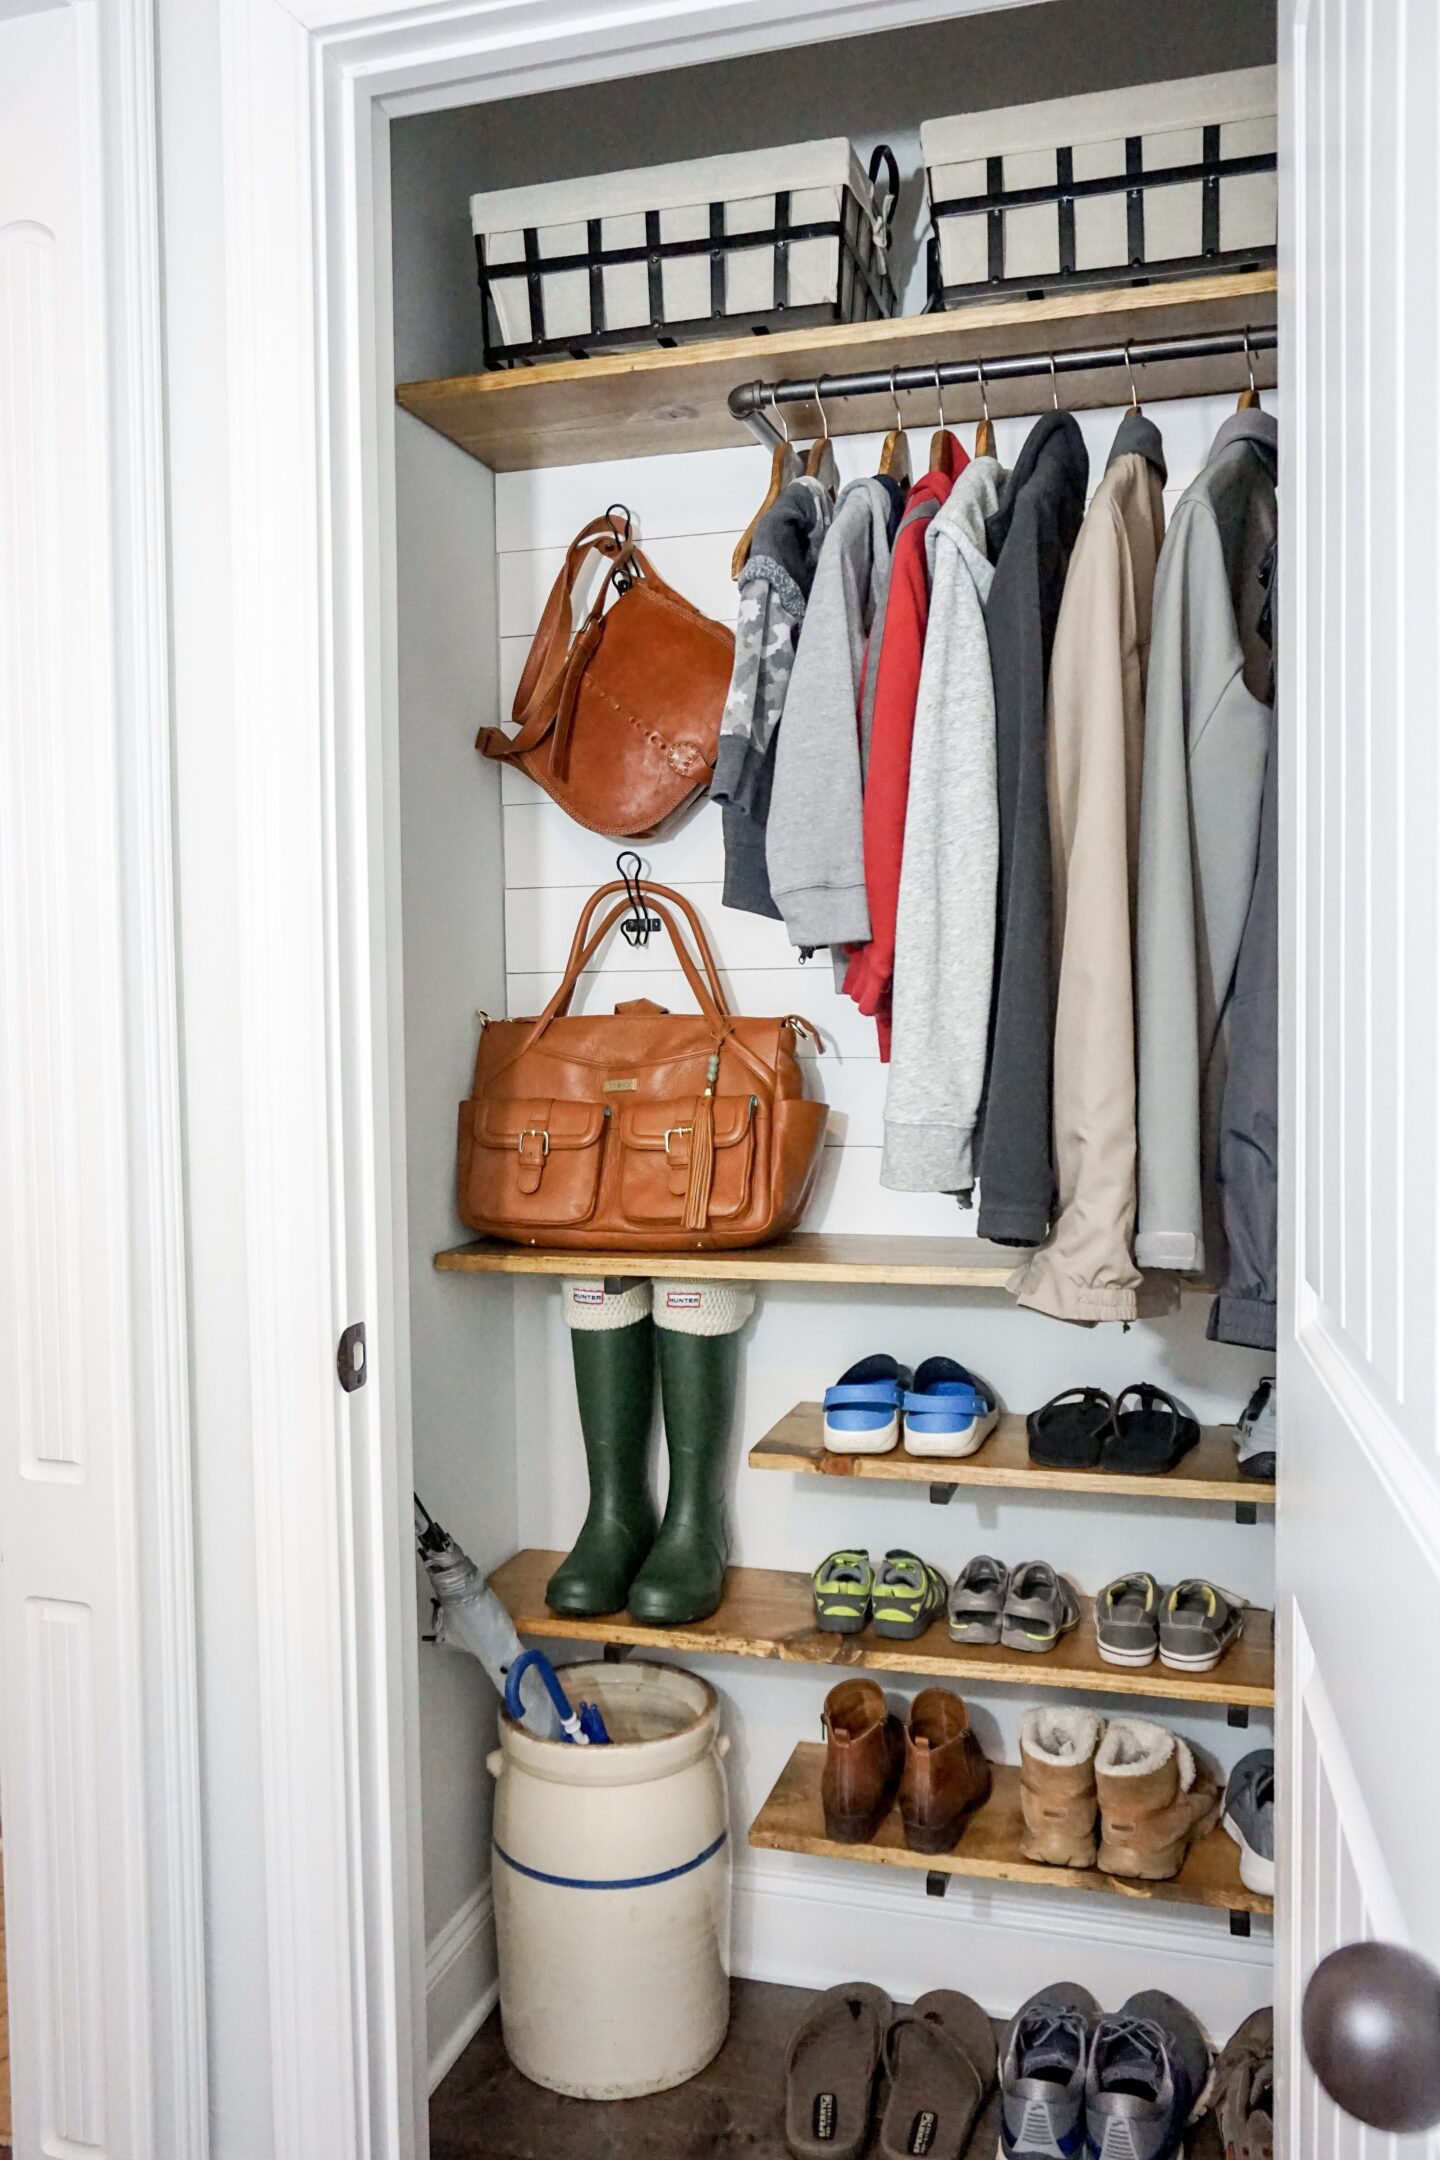
Once all of those finishing touches went in, I was basically DONE! I took a step back and thought to myself: I can’t believe I did this all by myself. This is the biggest most complicated project I have ever done, but I am so so happy with how it turned out! The before and afters are night and day.
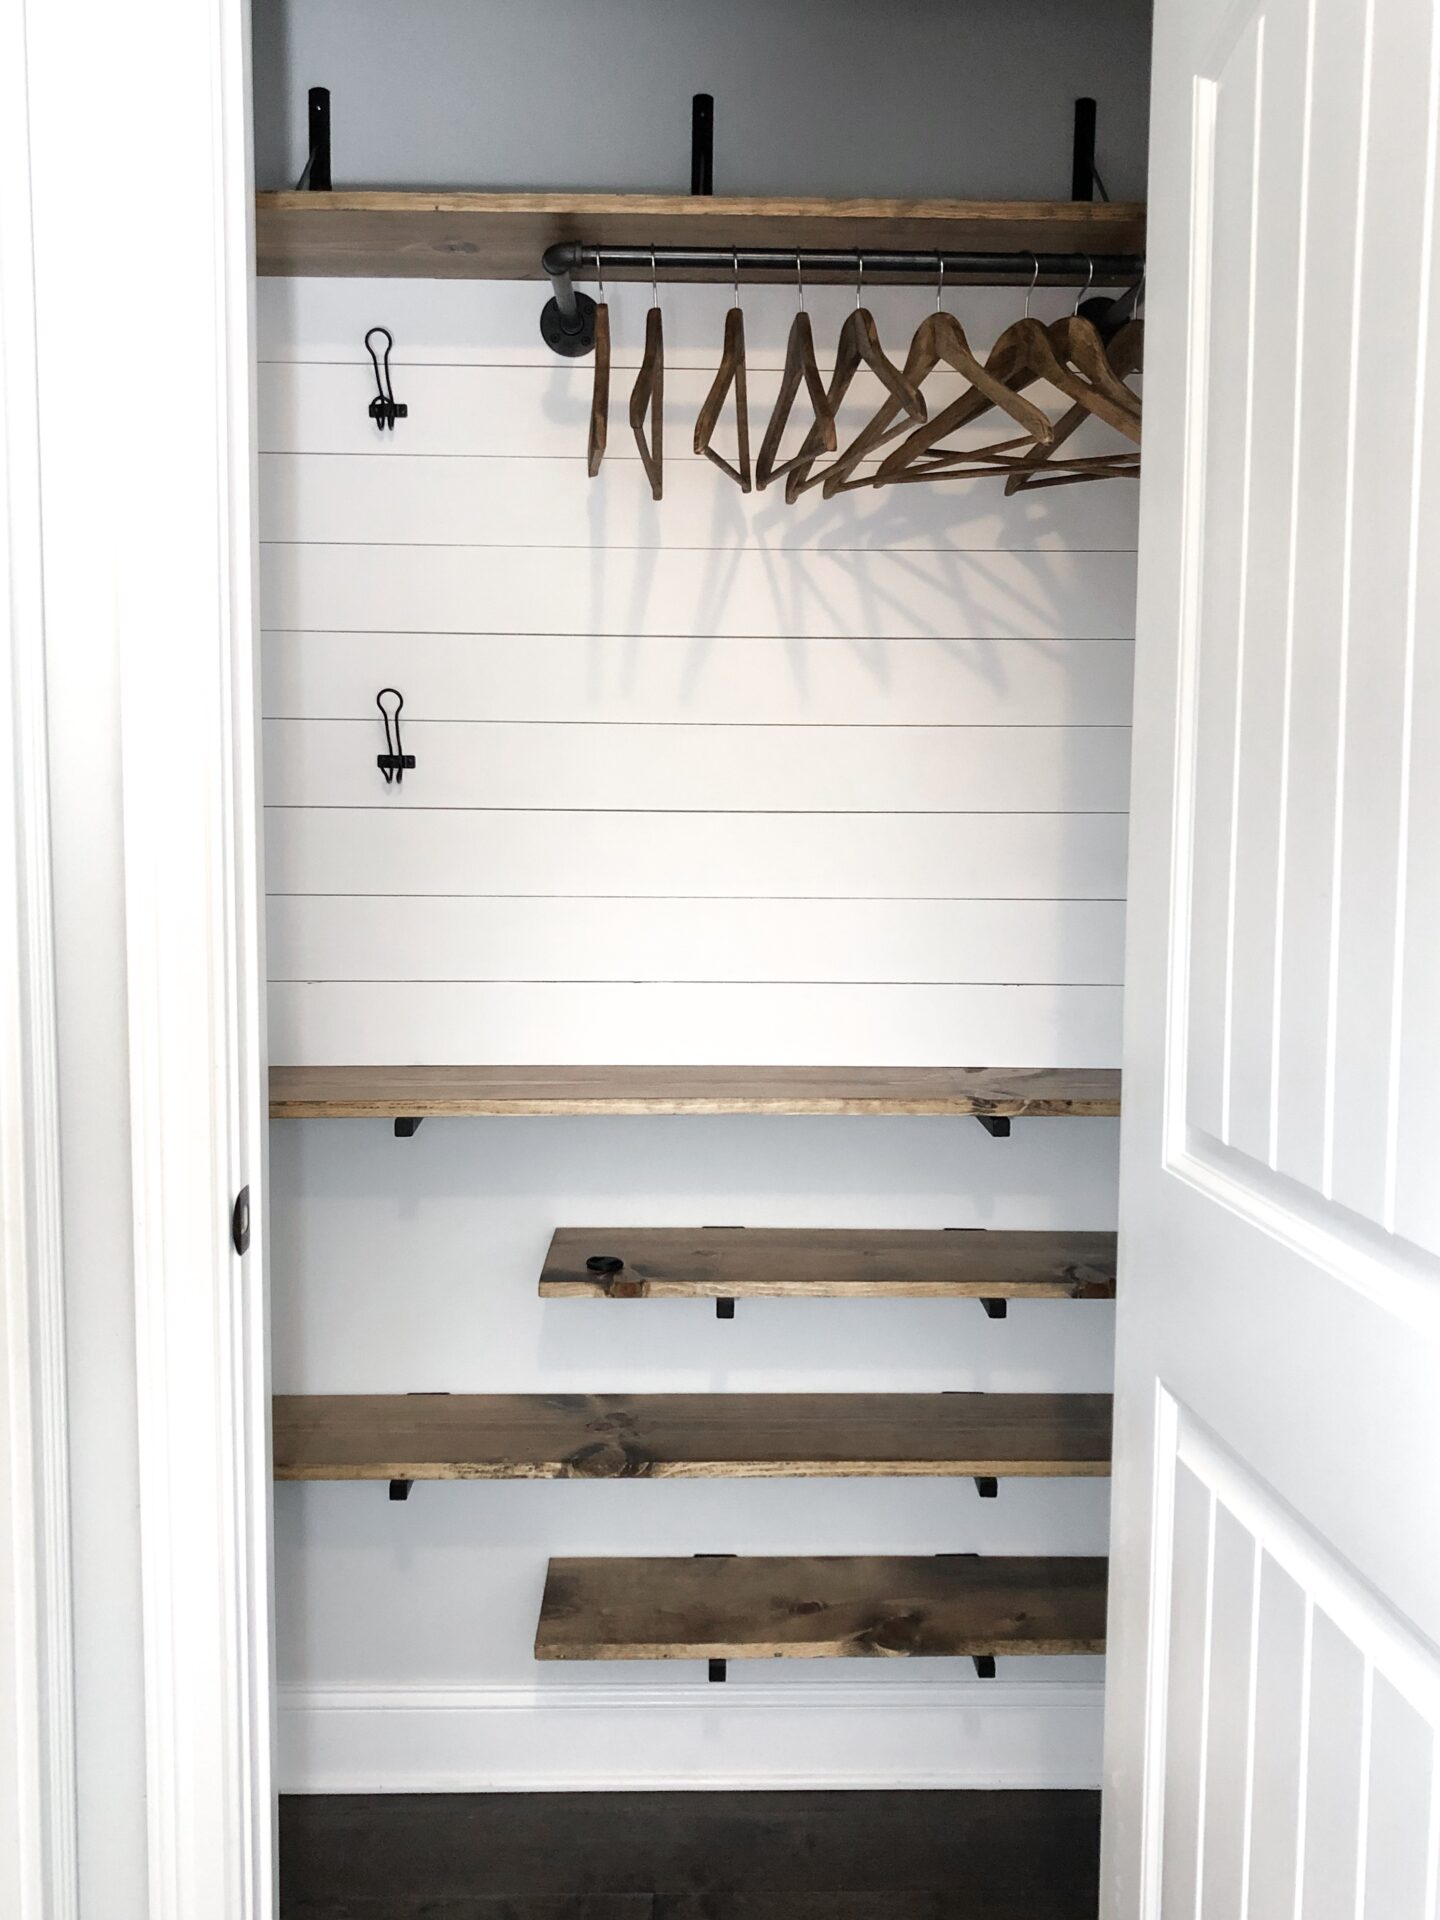
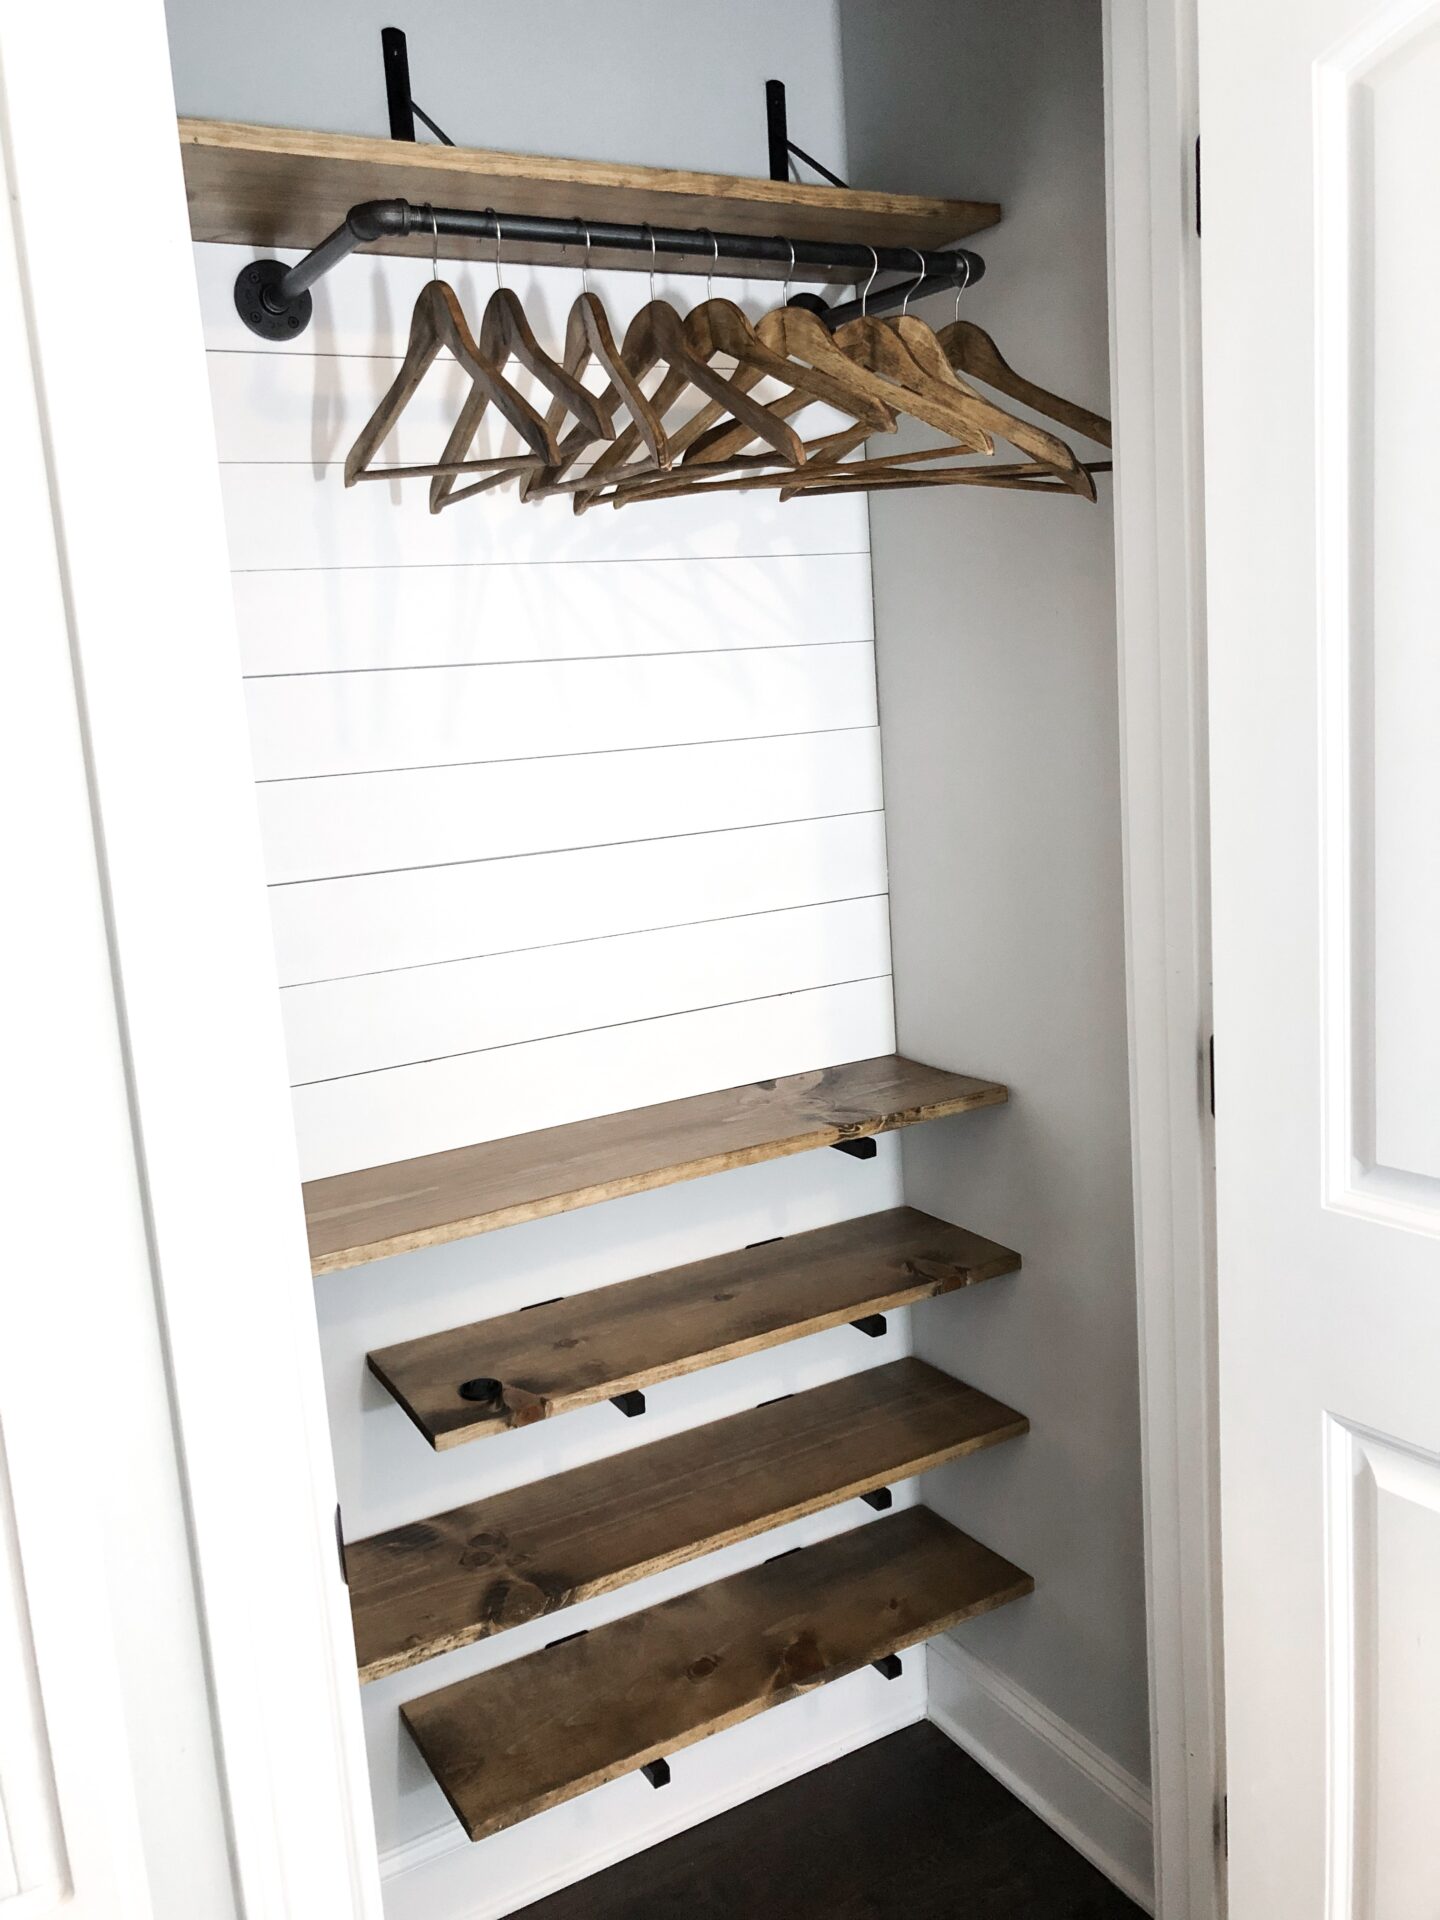
Plenty of space for coats, boots, shoes, bags, hats…you name it! So much more space my family and I could utilize and feel organized. As finished as this closet looks now, I still felt like it wasn’t quite done!
Something’s missing…
I decided I needed two baskets for up on that top shelf, as well as an umbrella holder. Now that the closet was almost complete, I had a good idea in mind for what style I wanted the baskets to be and I knew exactly what I wanted to use as my umbrella holder.
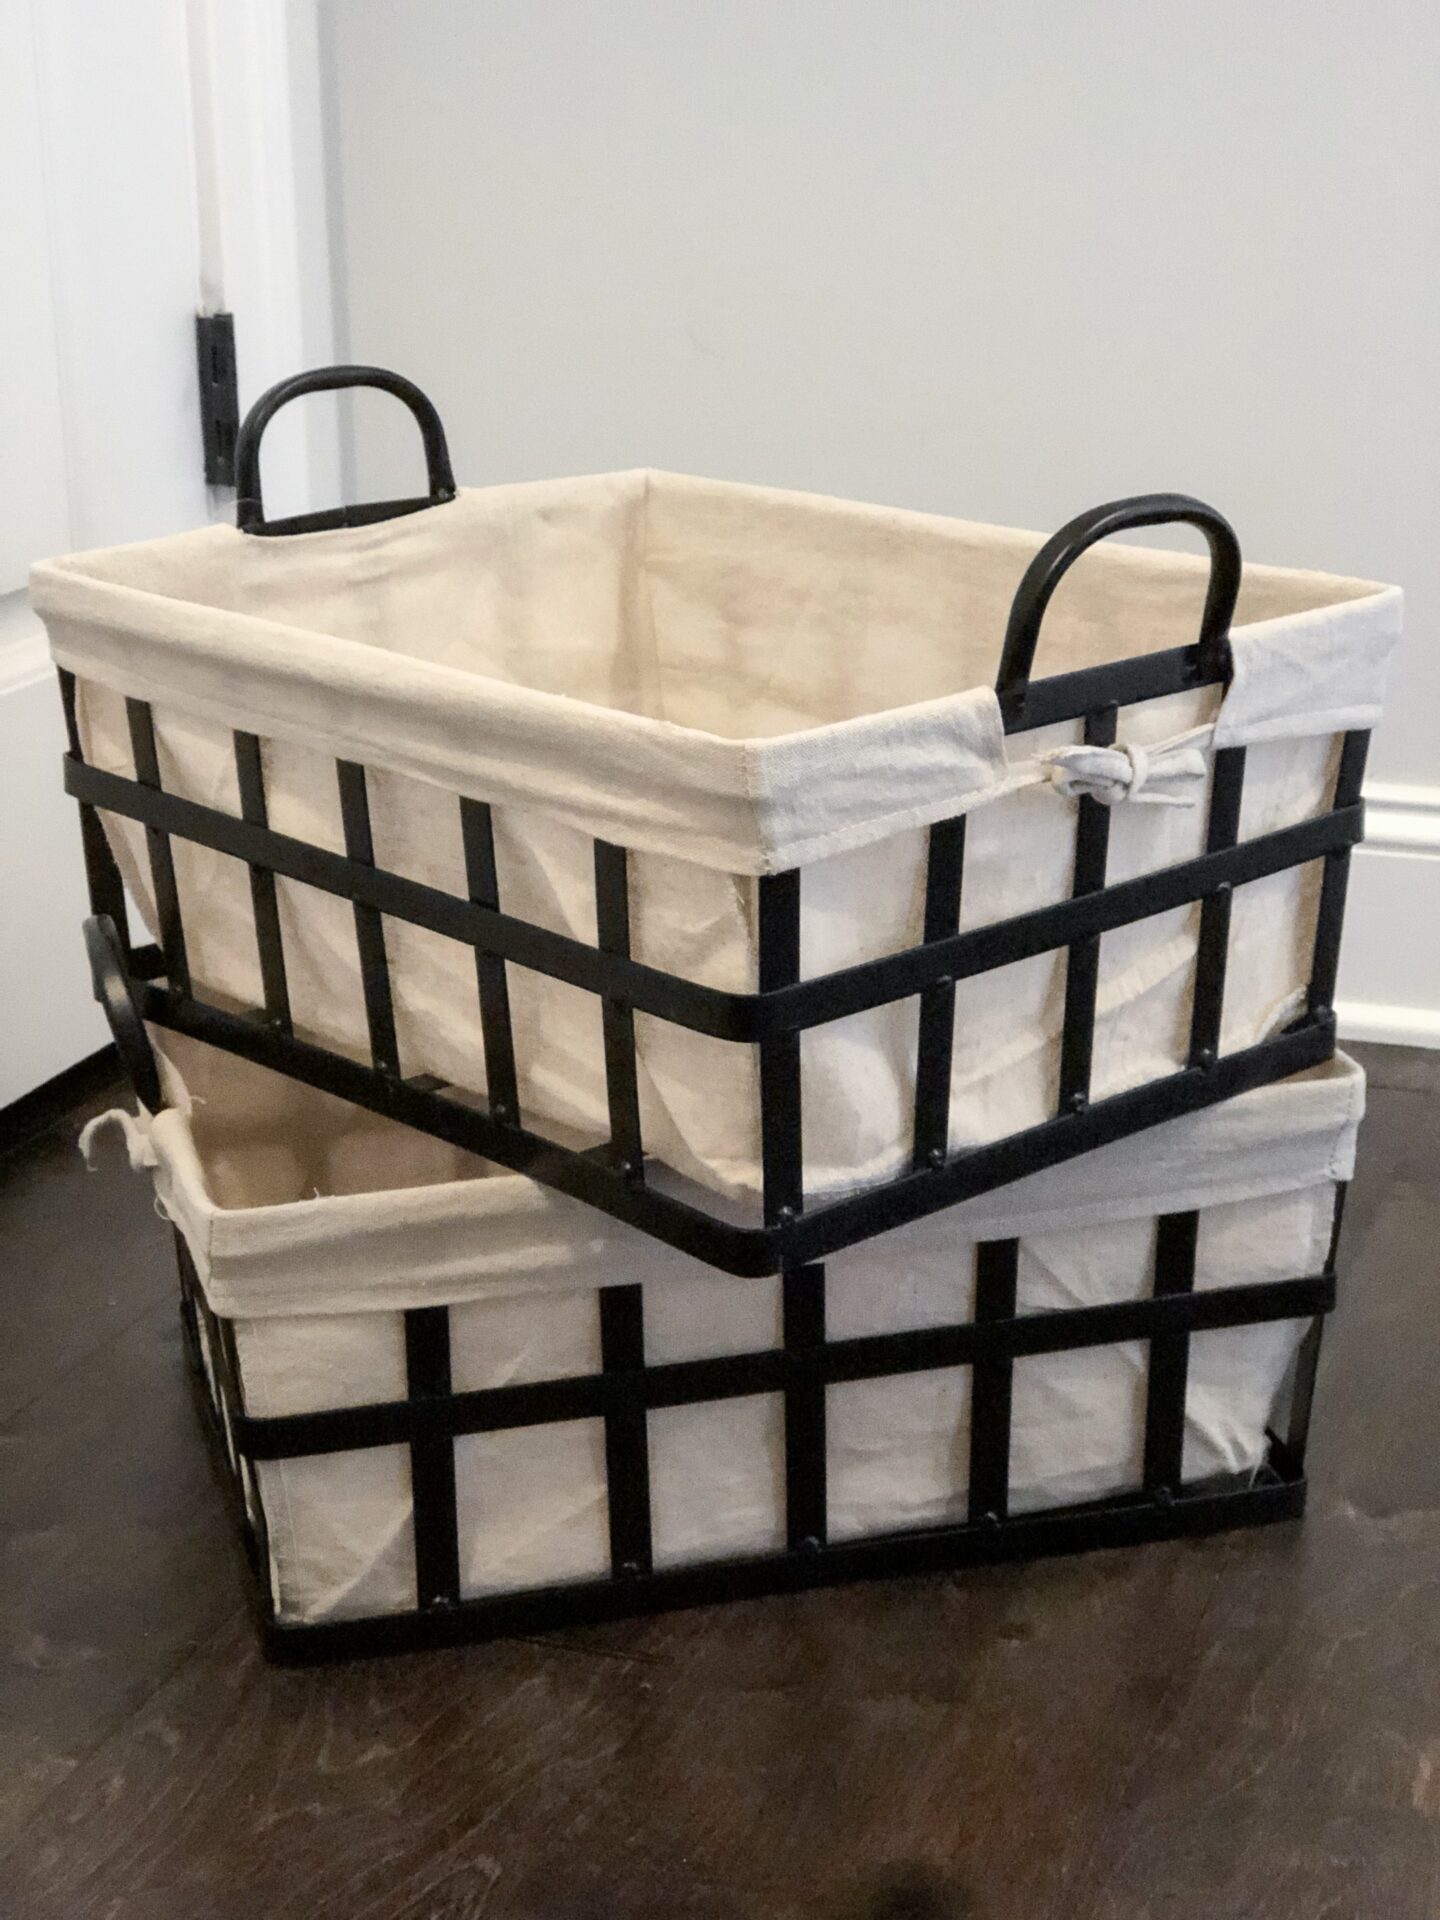
After LOTS of shopping and returning things, I found these super cute baskets in the exact style and dimensions I needed! I found these at the At Home store at $14.99 apiece, which I thought was a great deal for the quality they are. You can find them here! The one linked is their larger size, but there are about 4 different sizes to choose from in the store.
The finished product!
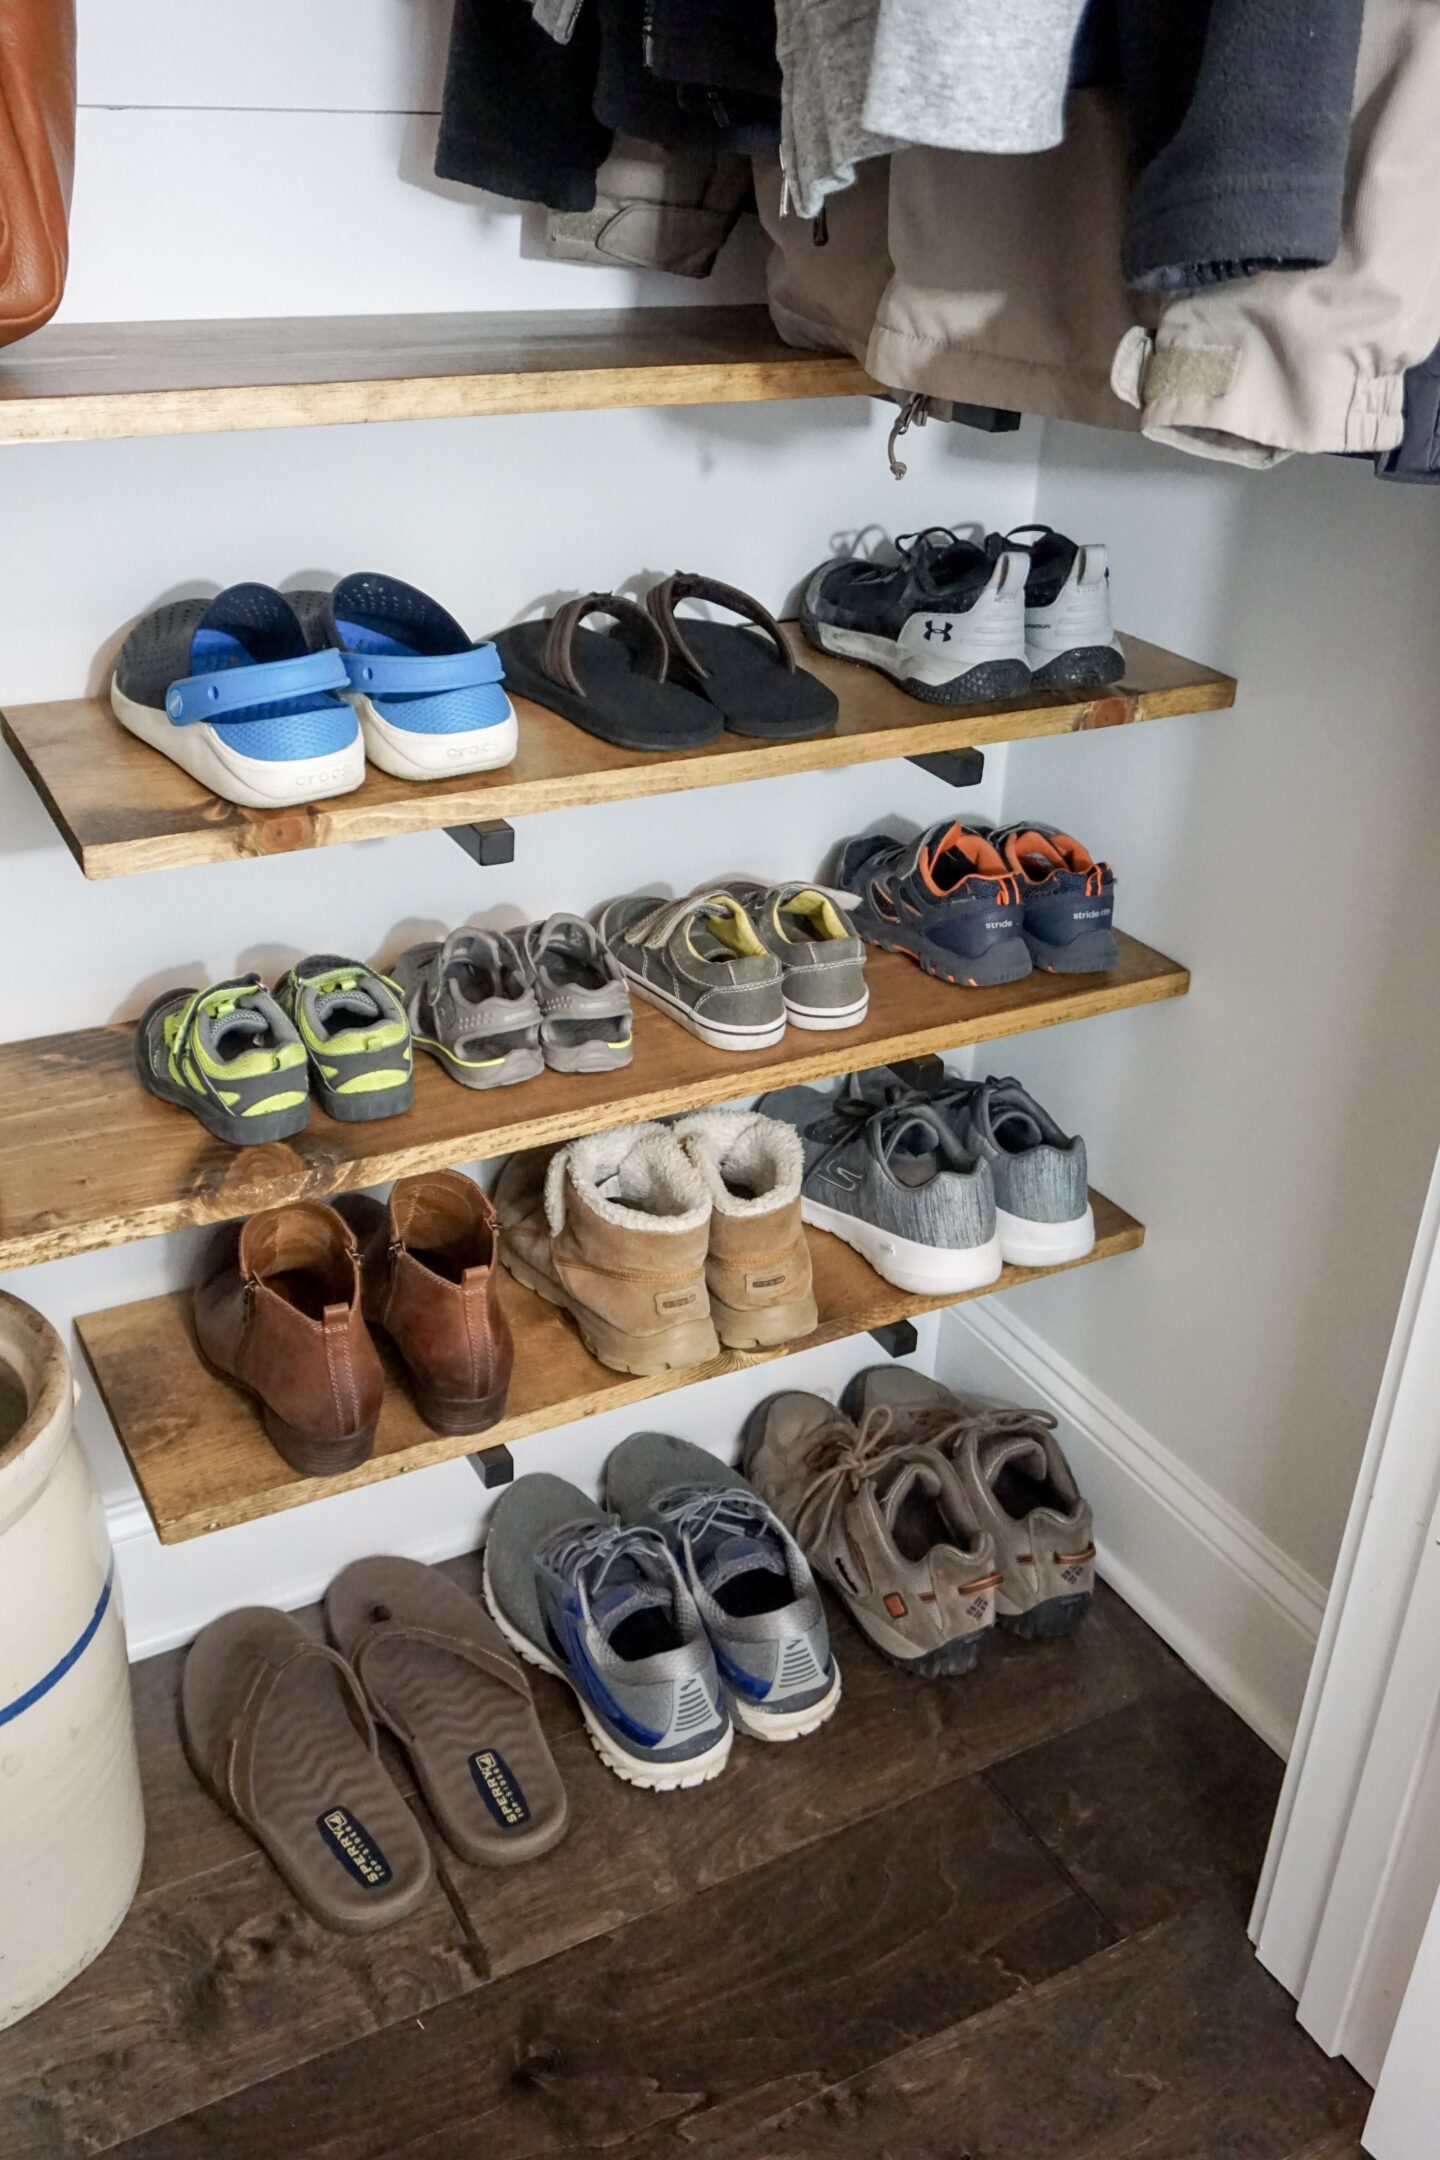
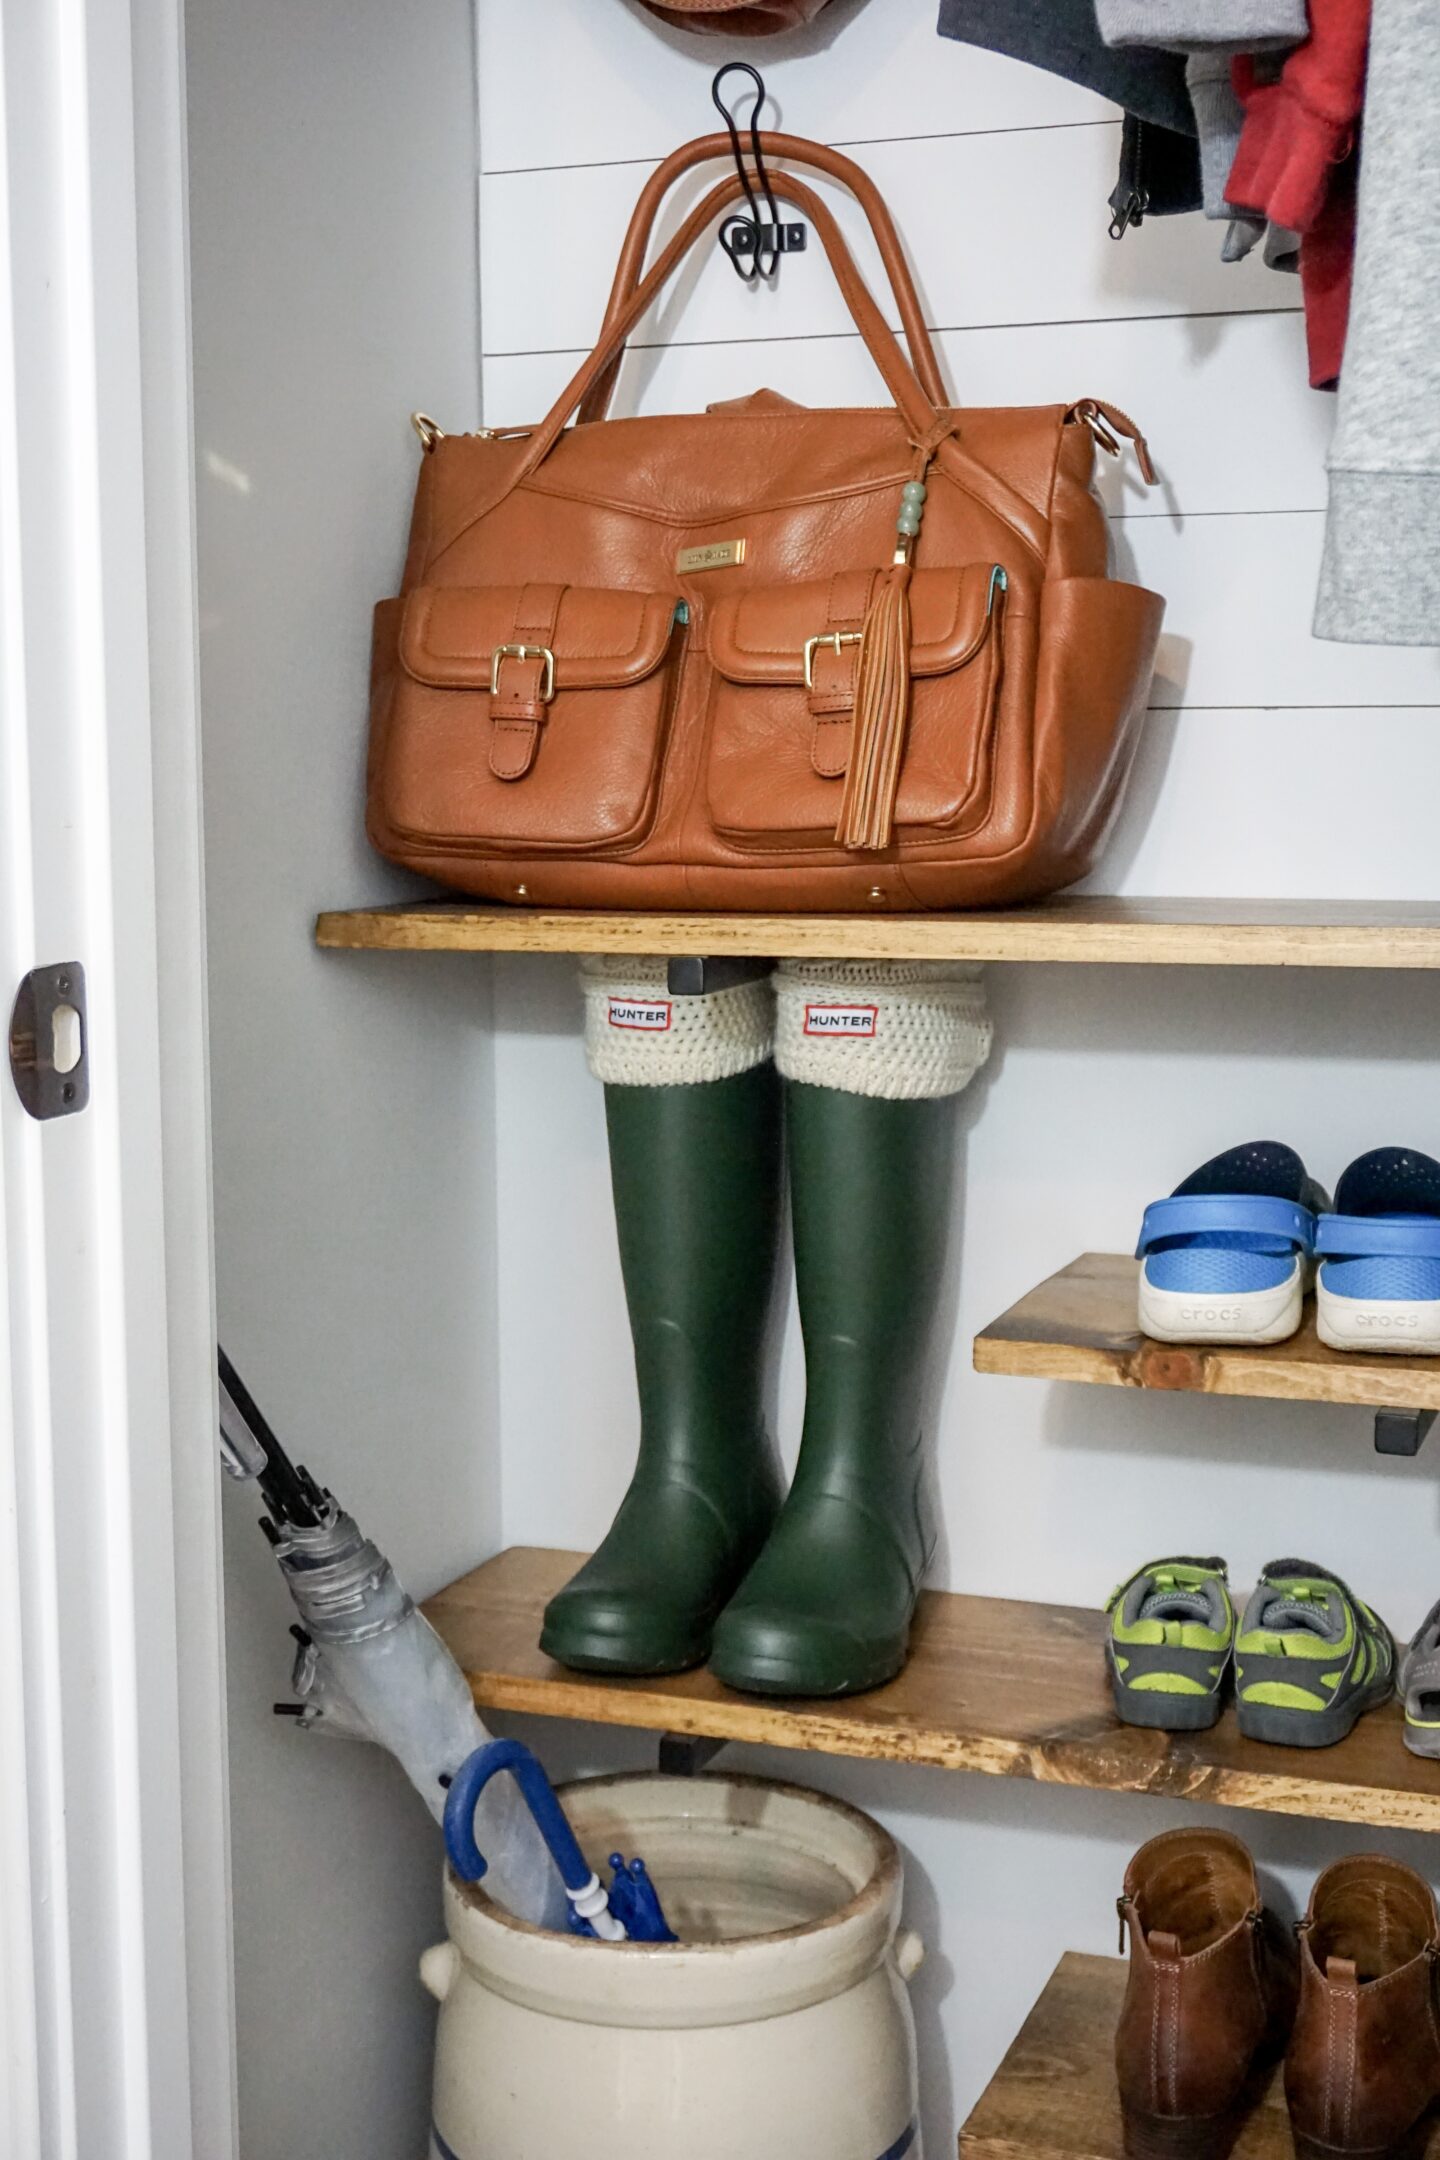
AHH! I am SO happy with the end result of this project! Not only is this space beautiful now, but it is also very well organized and super functional. Designing this space was so fun and rewarding! Now, each of my boys has their own space for shoes! I will no longer have to open the door to this closet and be instantly depressed by clutter lol!
Take a look below at how this project turned out and please COMMENT down below to let me know what you think. I hope you guys enjoyed my DIY Coat Closet Makeover Before & After! Thank you so much for stopping by and I’ll see ya next time!
Don’t forget to PIN on Pinterest! I love when you guys share with friends 🙂
For more fun DIY projects to inspire you, Click here to visit my DIY Tab!


That is so impressive Kate, I know your husband is proud of
That! You are such a blessing to your family Kate! ????
#GoArmy ??????
Author
Thanks so much, Ron! It was so much fun redoing this space! My hubby loves how it turned out and my kids love that they each have their own space 🙂
This turned out so amazing!
Author
Thanks, Stephanie!! It was so much fun to put together 🙂
Why did you not go ahead and do the whole closet in shiplap from top to bottom and on the sides? Much better look and selling point for the house.
Author
That was definitely an option when I was designing this space, but I decided to do it this way because you can’t really see the wall in those other spaces when you’re standing directly in front of it. I love how it turned out though! A year later and it is still one of the most functional spaces in my home.