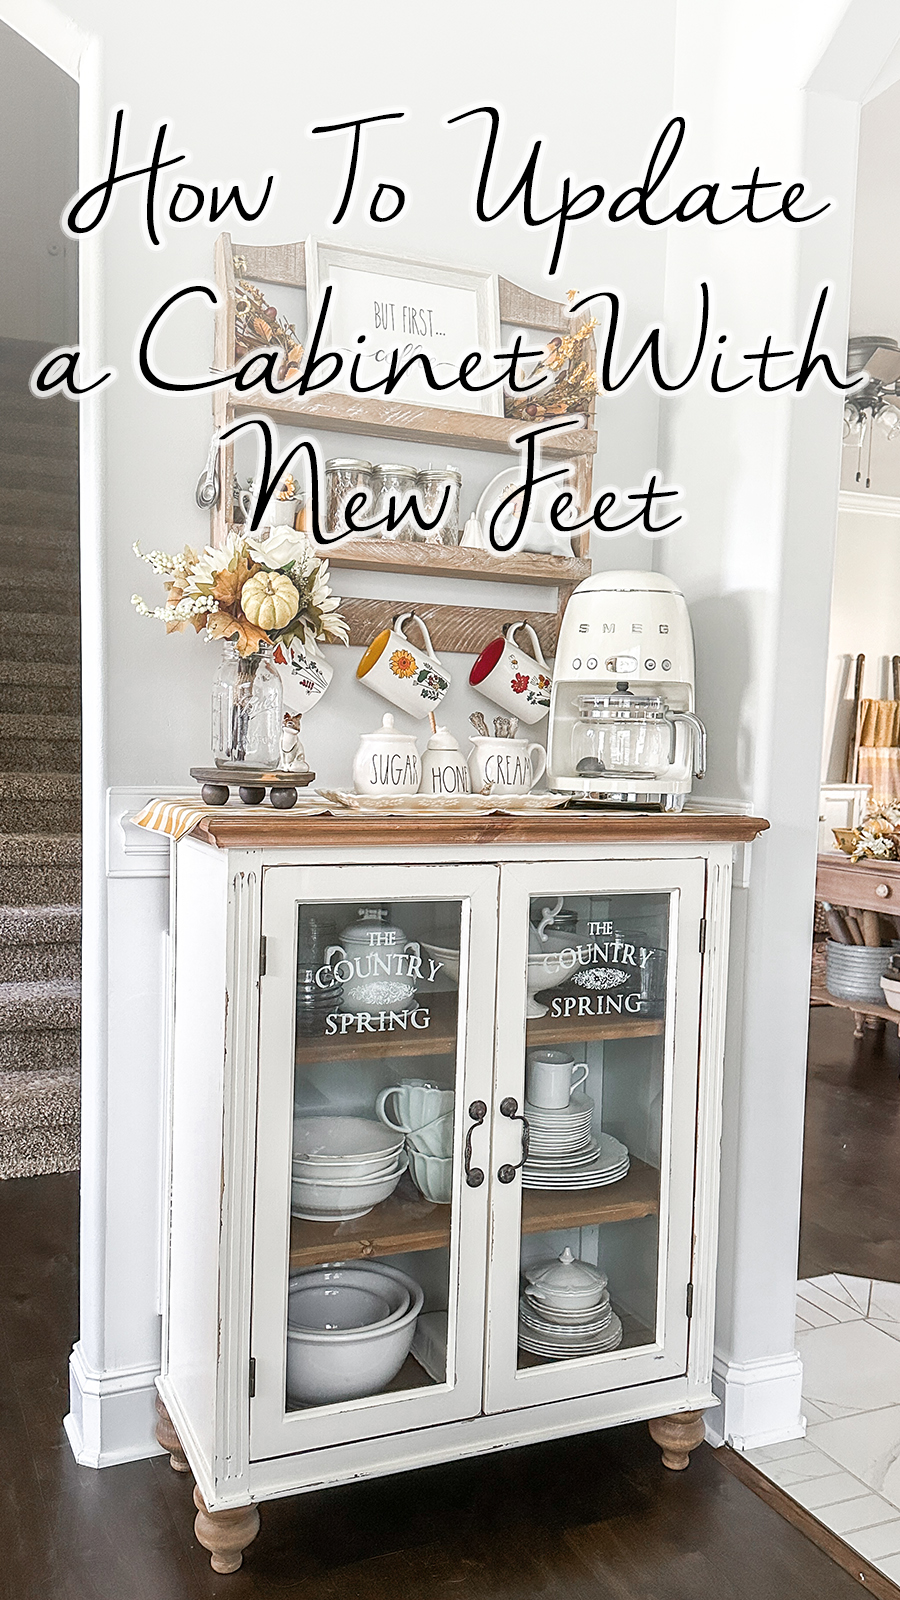
One of my favorite things to do when updating a piece of furniture is switching out the old feet for new ones! This is easily one of the quickest and cheapest ways to update furniture. Today, I am going to show you How To Update a Cabinet With New Feet!
The Cabinet
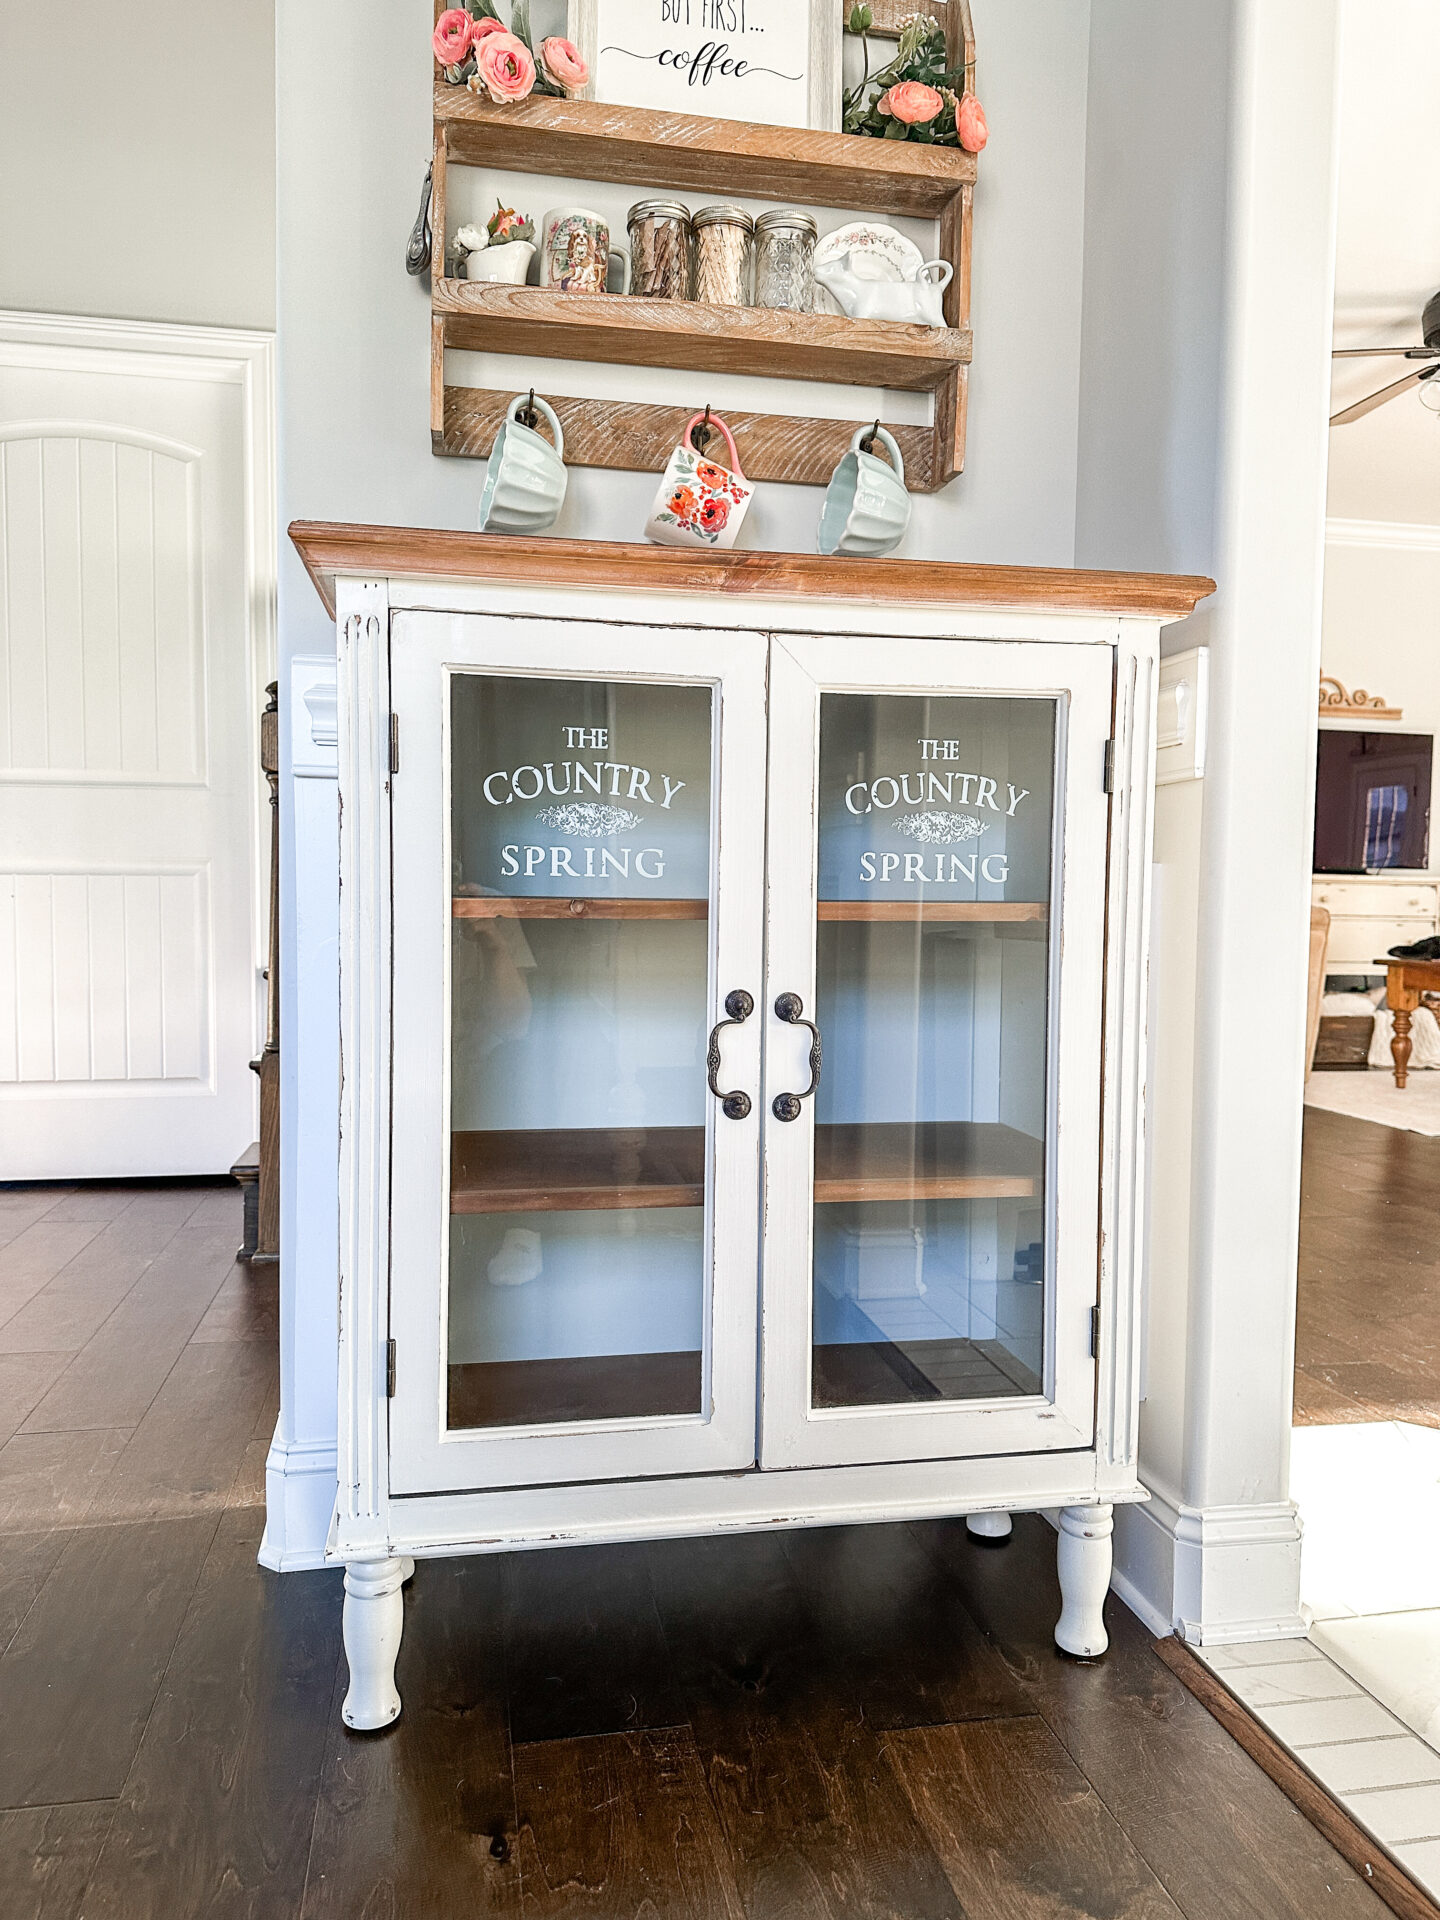
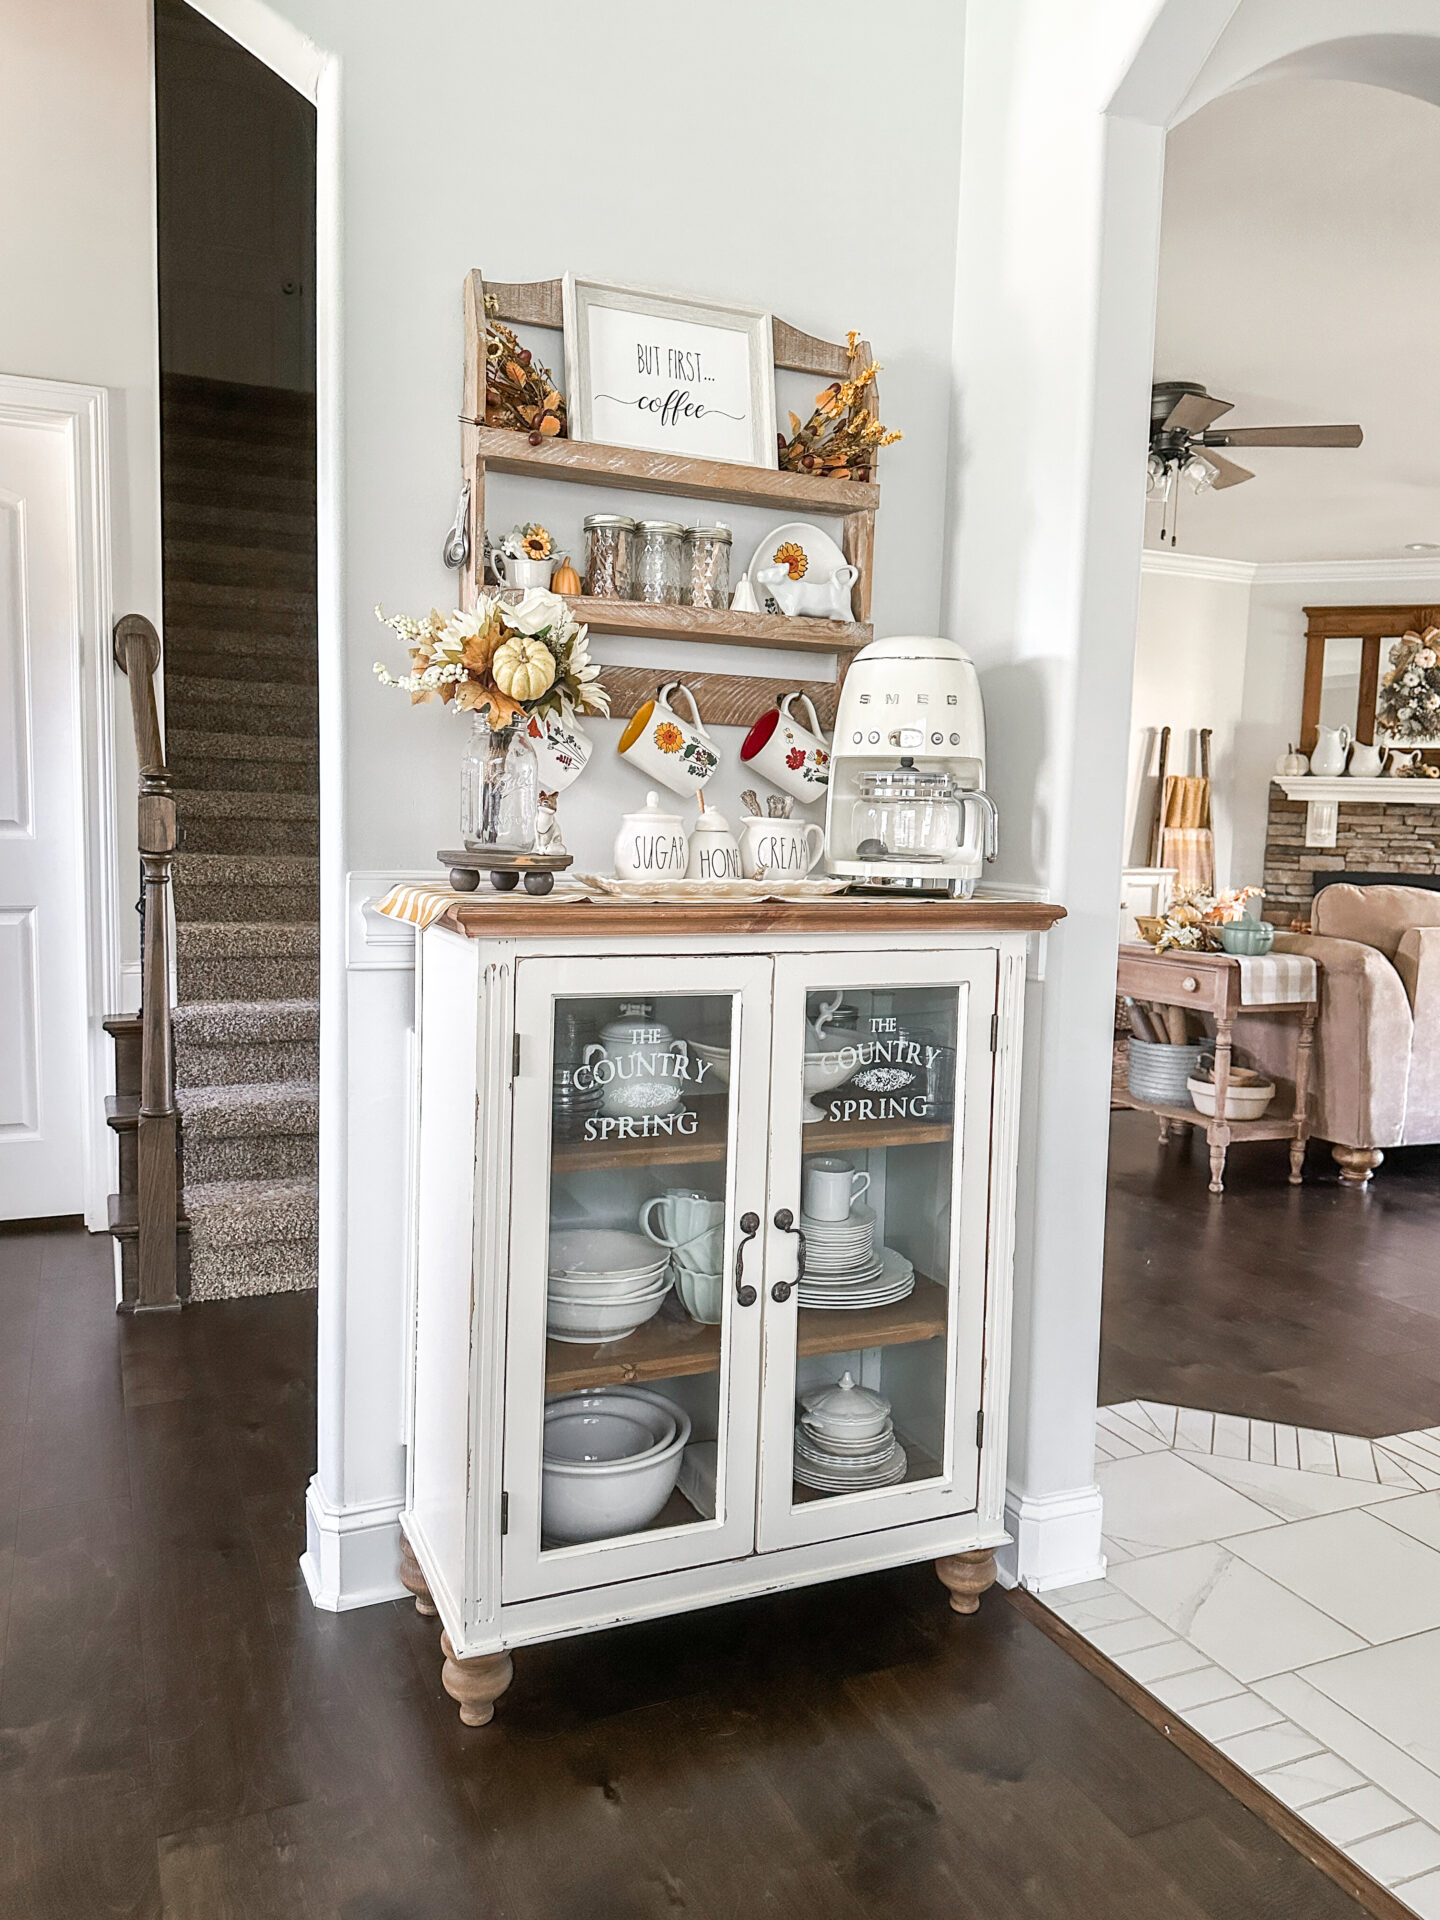
As you can see this cabinet has the original feet that came with it, however, they are a bit too tall for this particular space. I recently refinished this cabinet, so if you would like to see How I Refinished a Hobby Lobby Cabinet please visit this Post!
Materials Needed for This Project
Your Choice of Unfinished Furniture Legs/Feet – Here are the ones I chose!
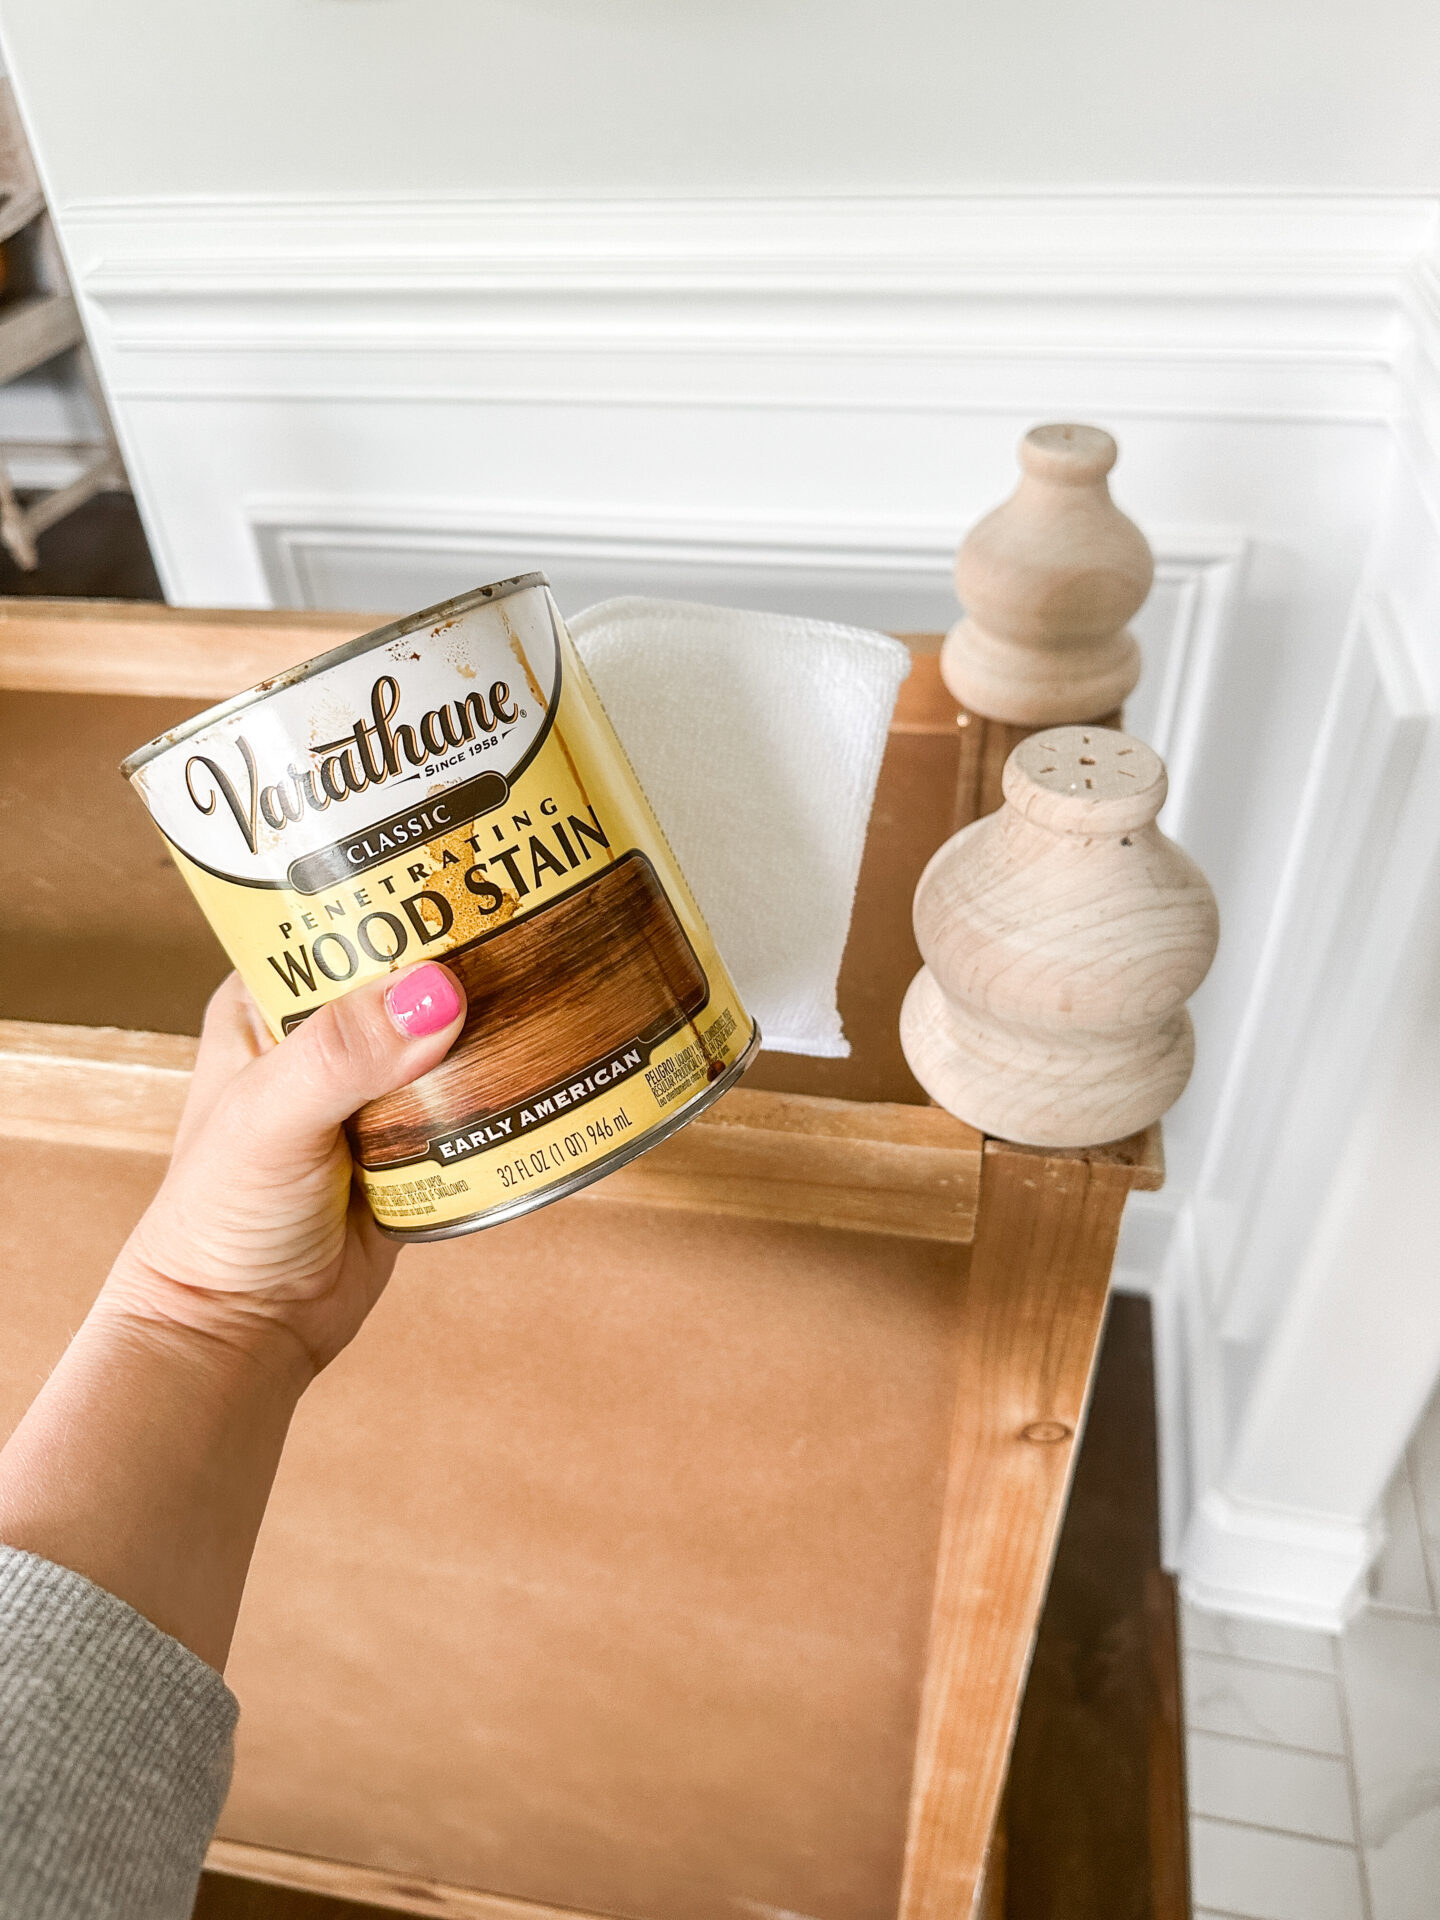
Your choice of Stain – Here’s mine!
That’s it! Super easy.
Shop This Post


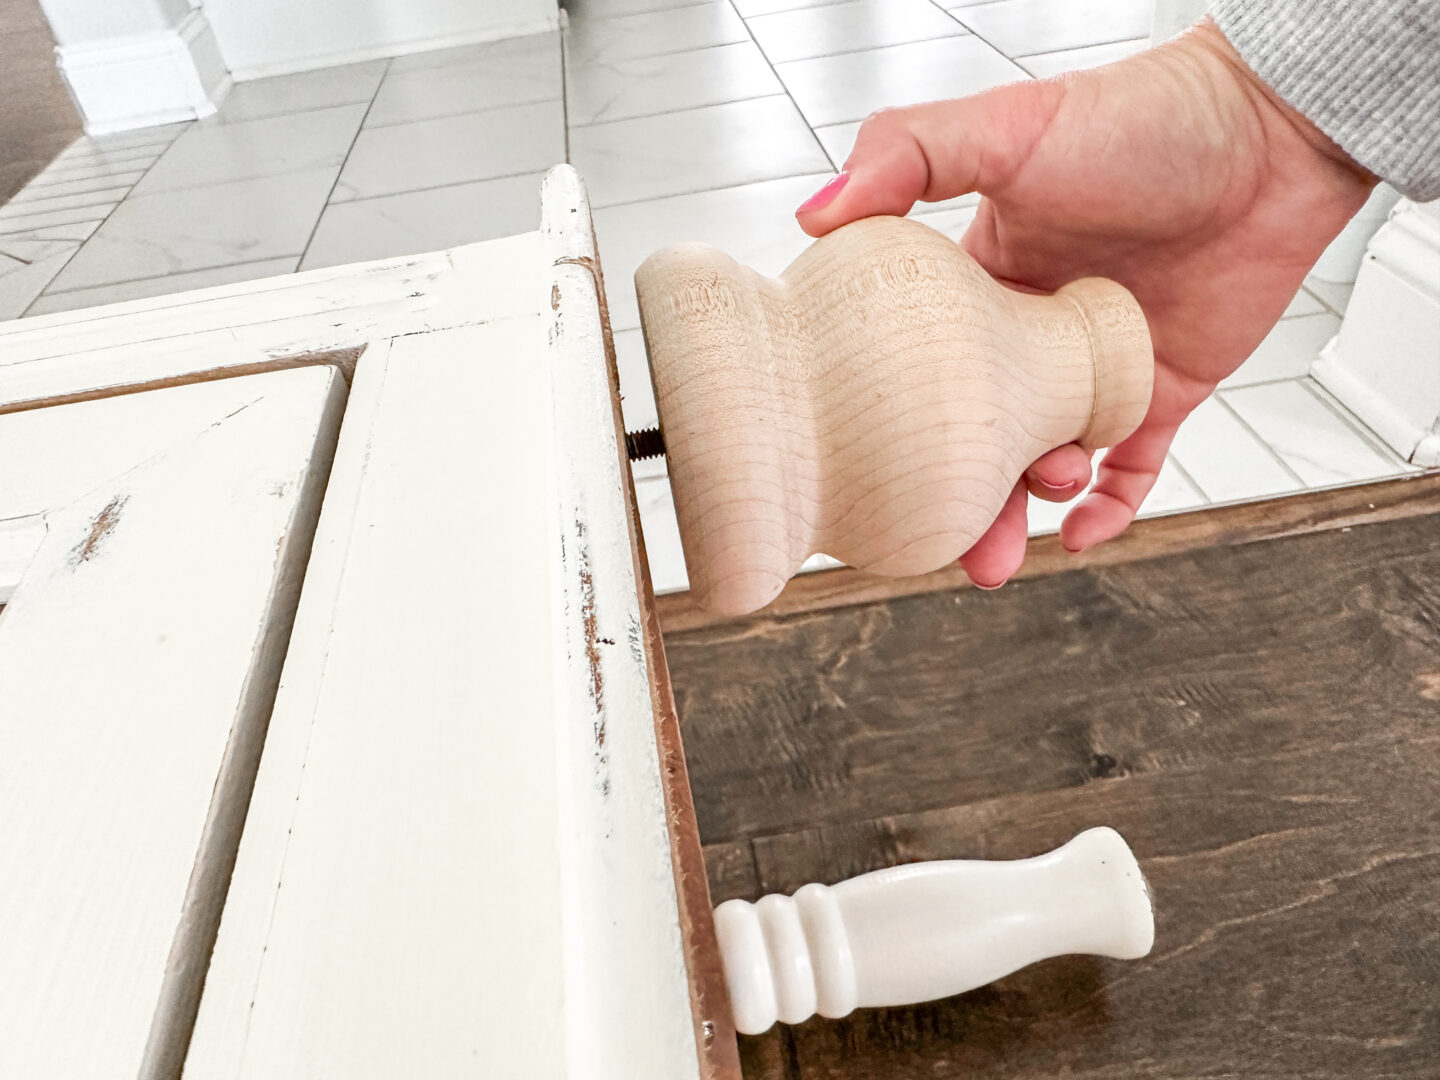
Step 1
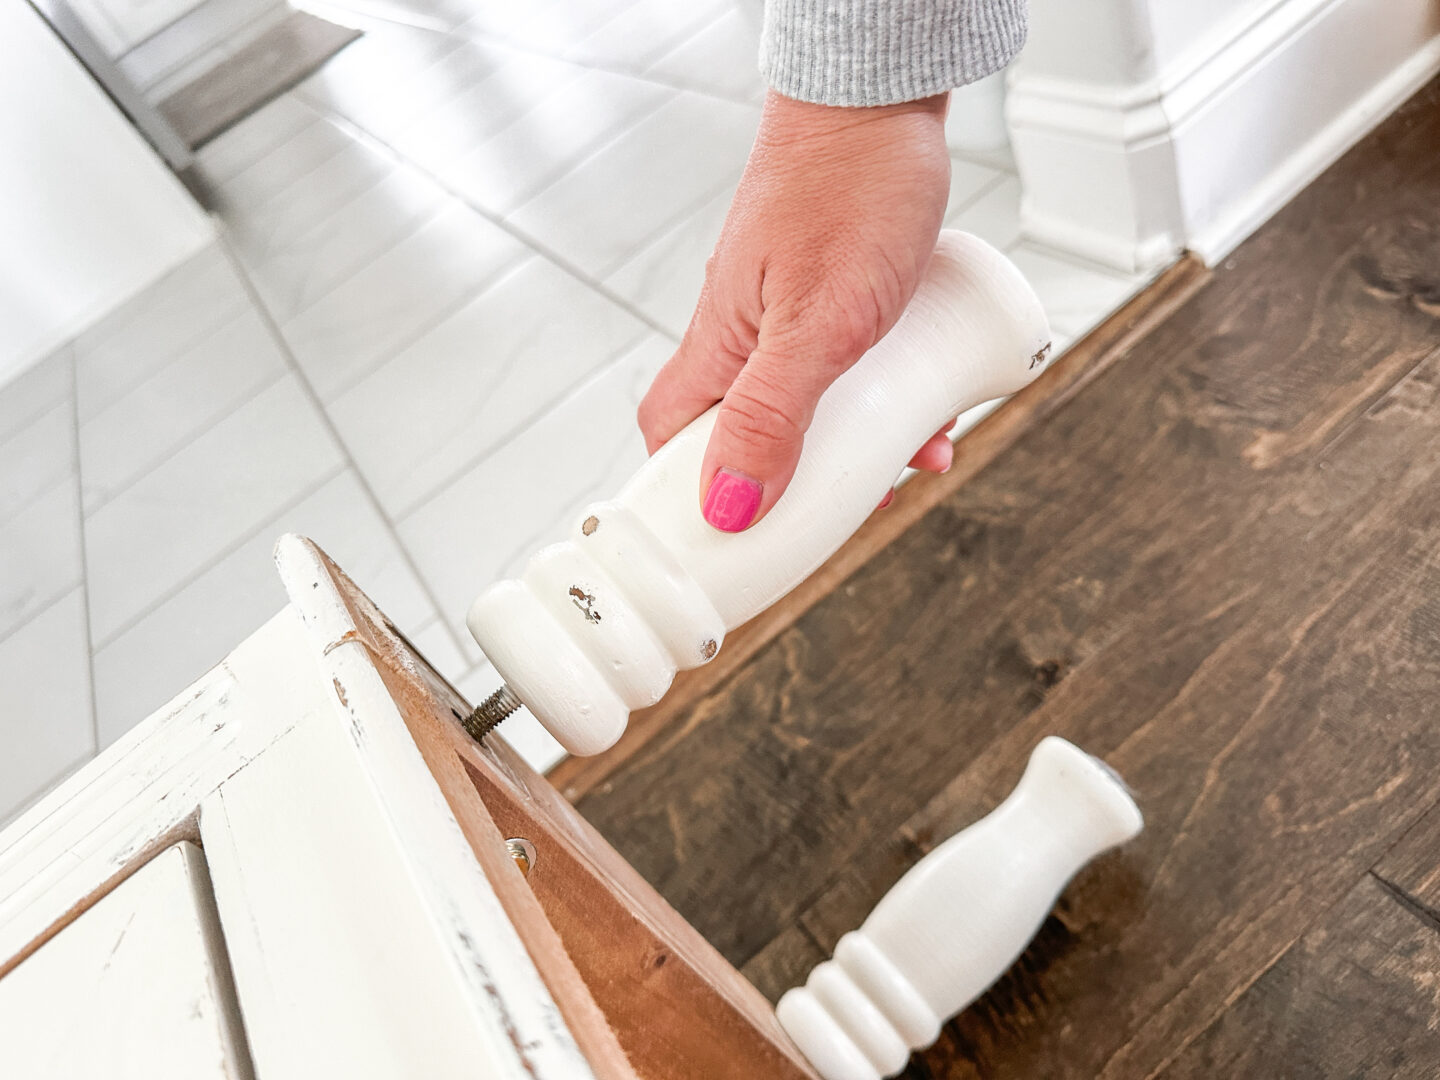
Remove the old legs/feet on your project piece. Most should come off by twisting counter-clockwise.
Step 2
Some people might do this part last, but not me lol! For me, attaching the new feet to the cabinet while working on them is the easiest way. So Step 2 is to flip your project and attach the new feet, making sure not to tighten them all the way. This way, while we stain and seal these, we don’t accidentally make a mess of the bottom!
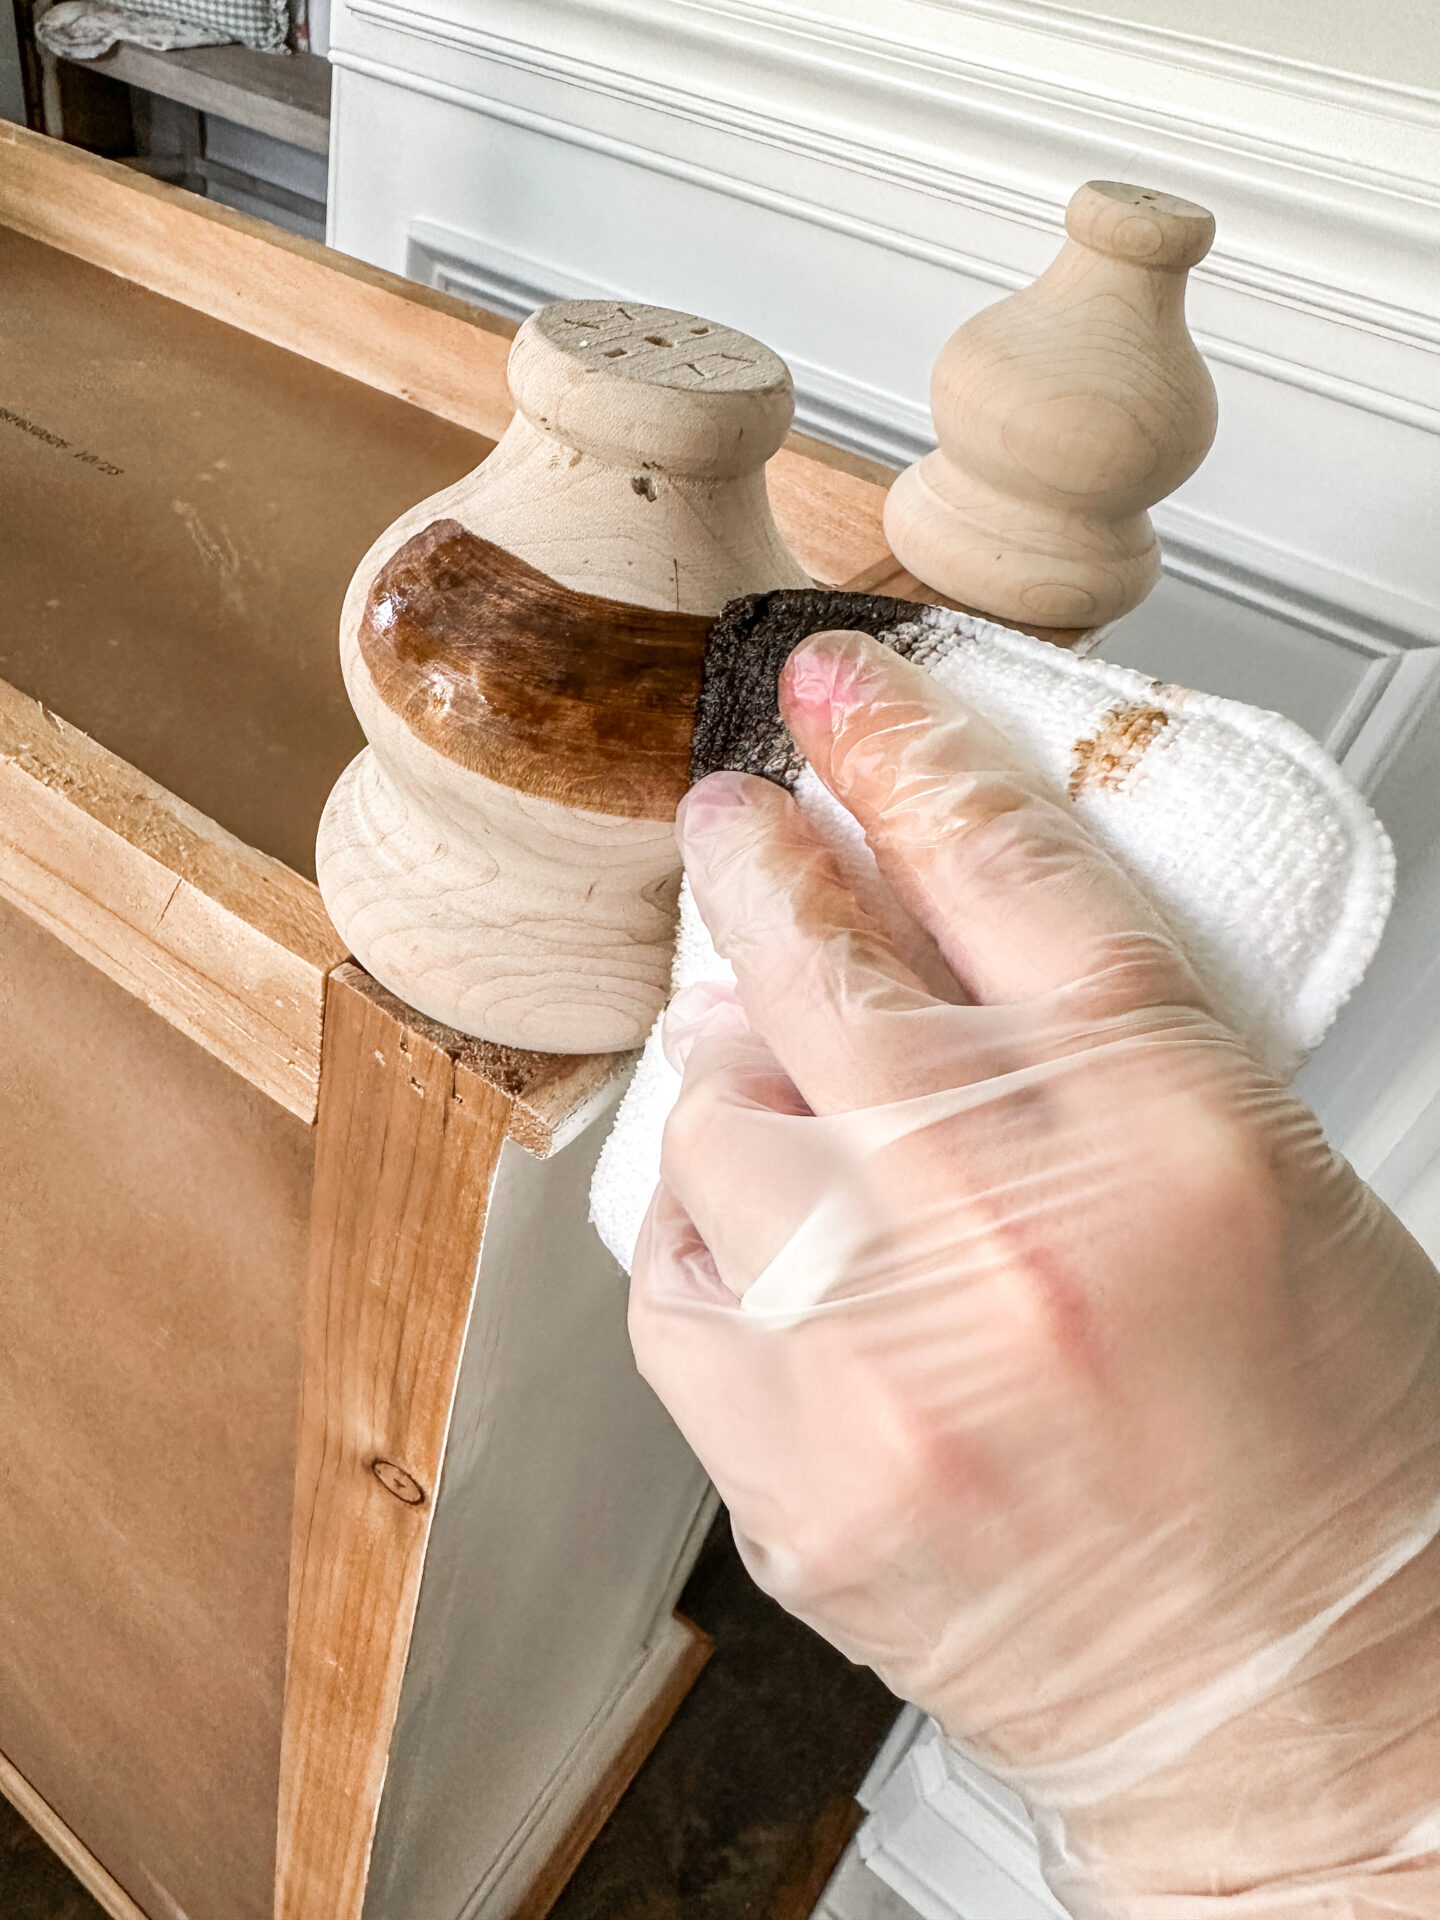
Step 3
Stain the new legs in your selected stain color. I like to apply stain with a Stain Pad. It helps prevent drips, and you can also remove excess stain with whichever side you are not using. Let your stain dry for the specified amount of time on your can. You can choose to stain a second time if you would like a darker color, however, I like to do just one coat usually.
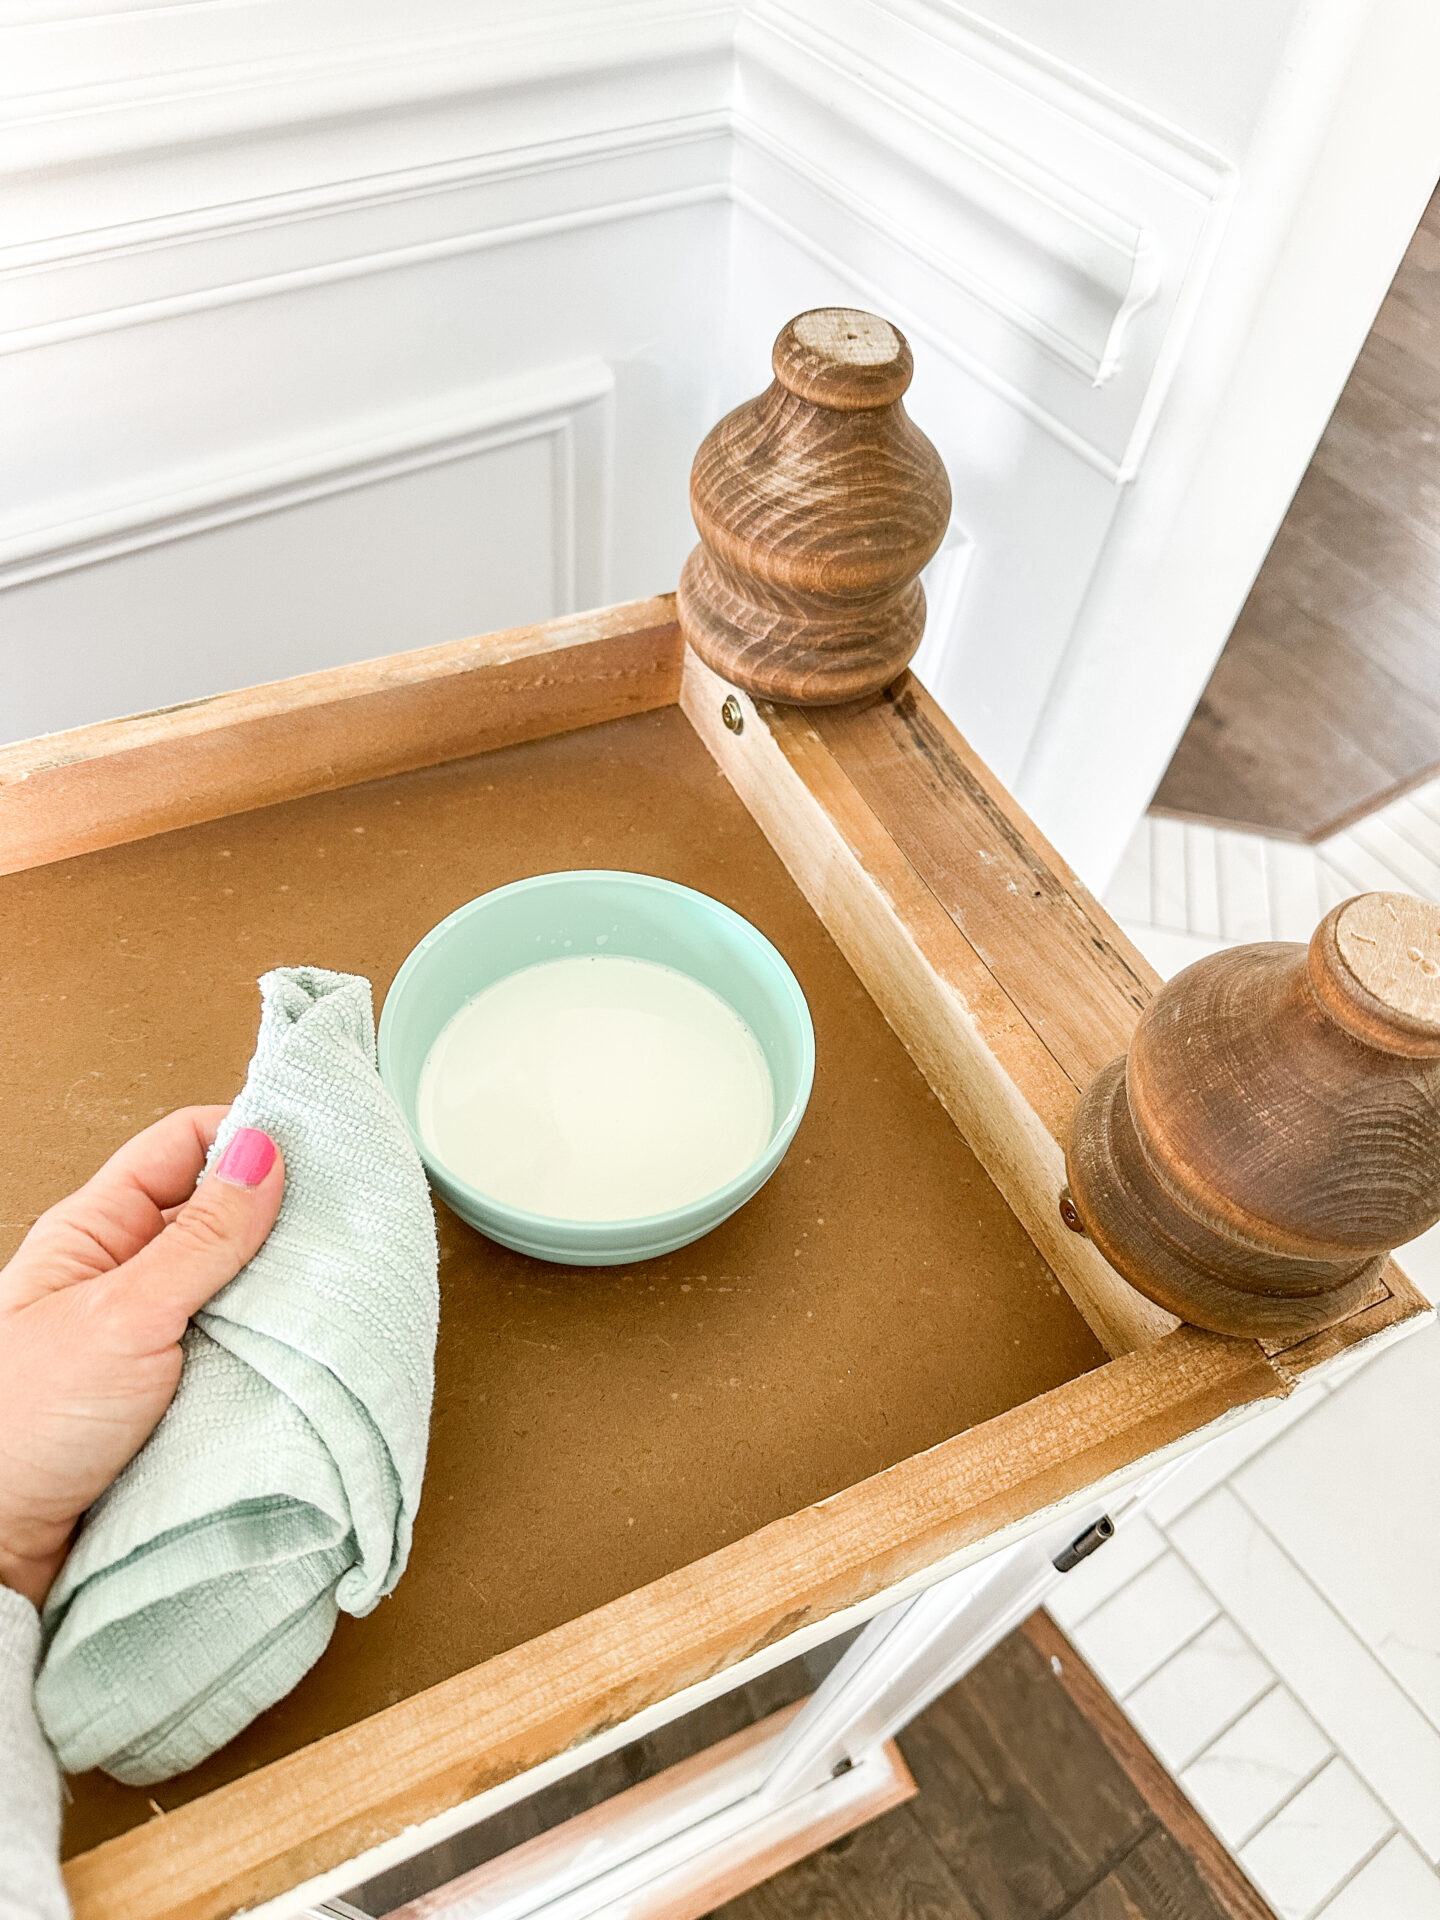
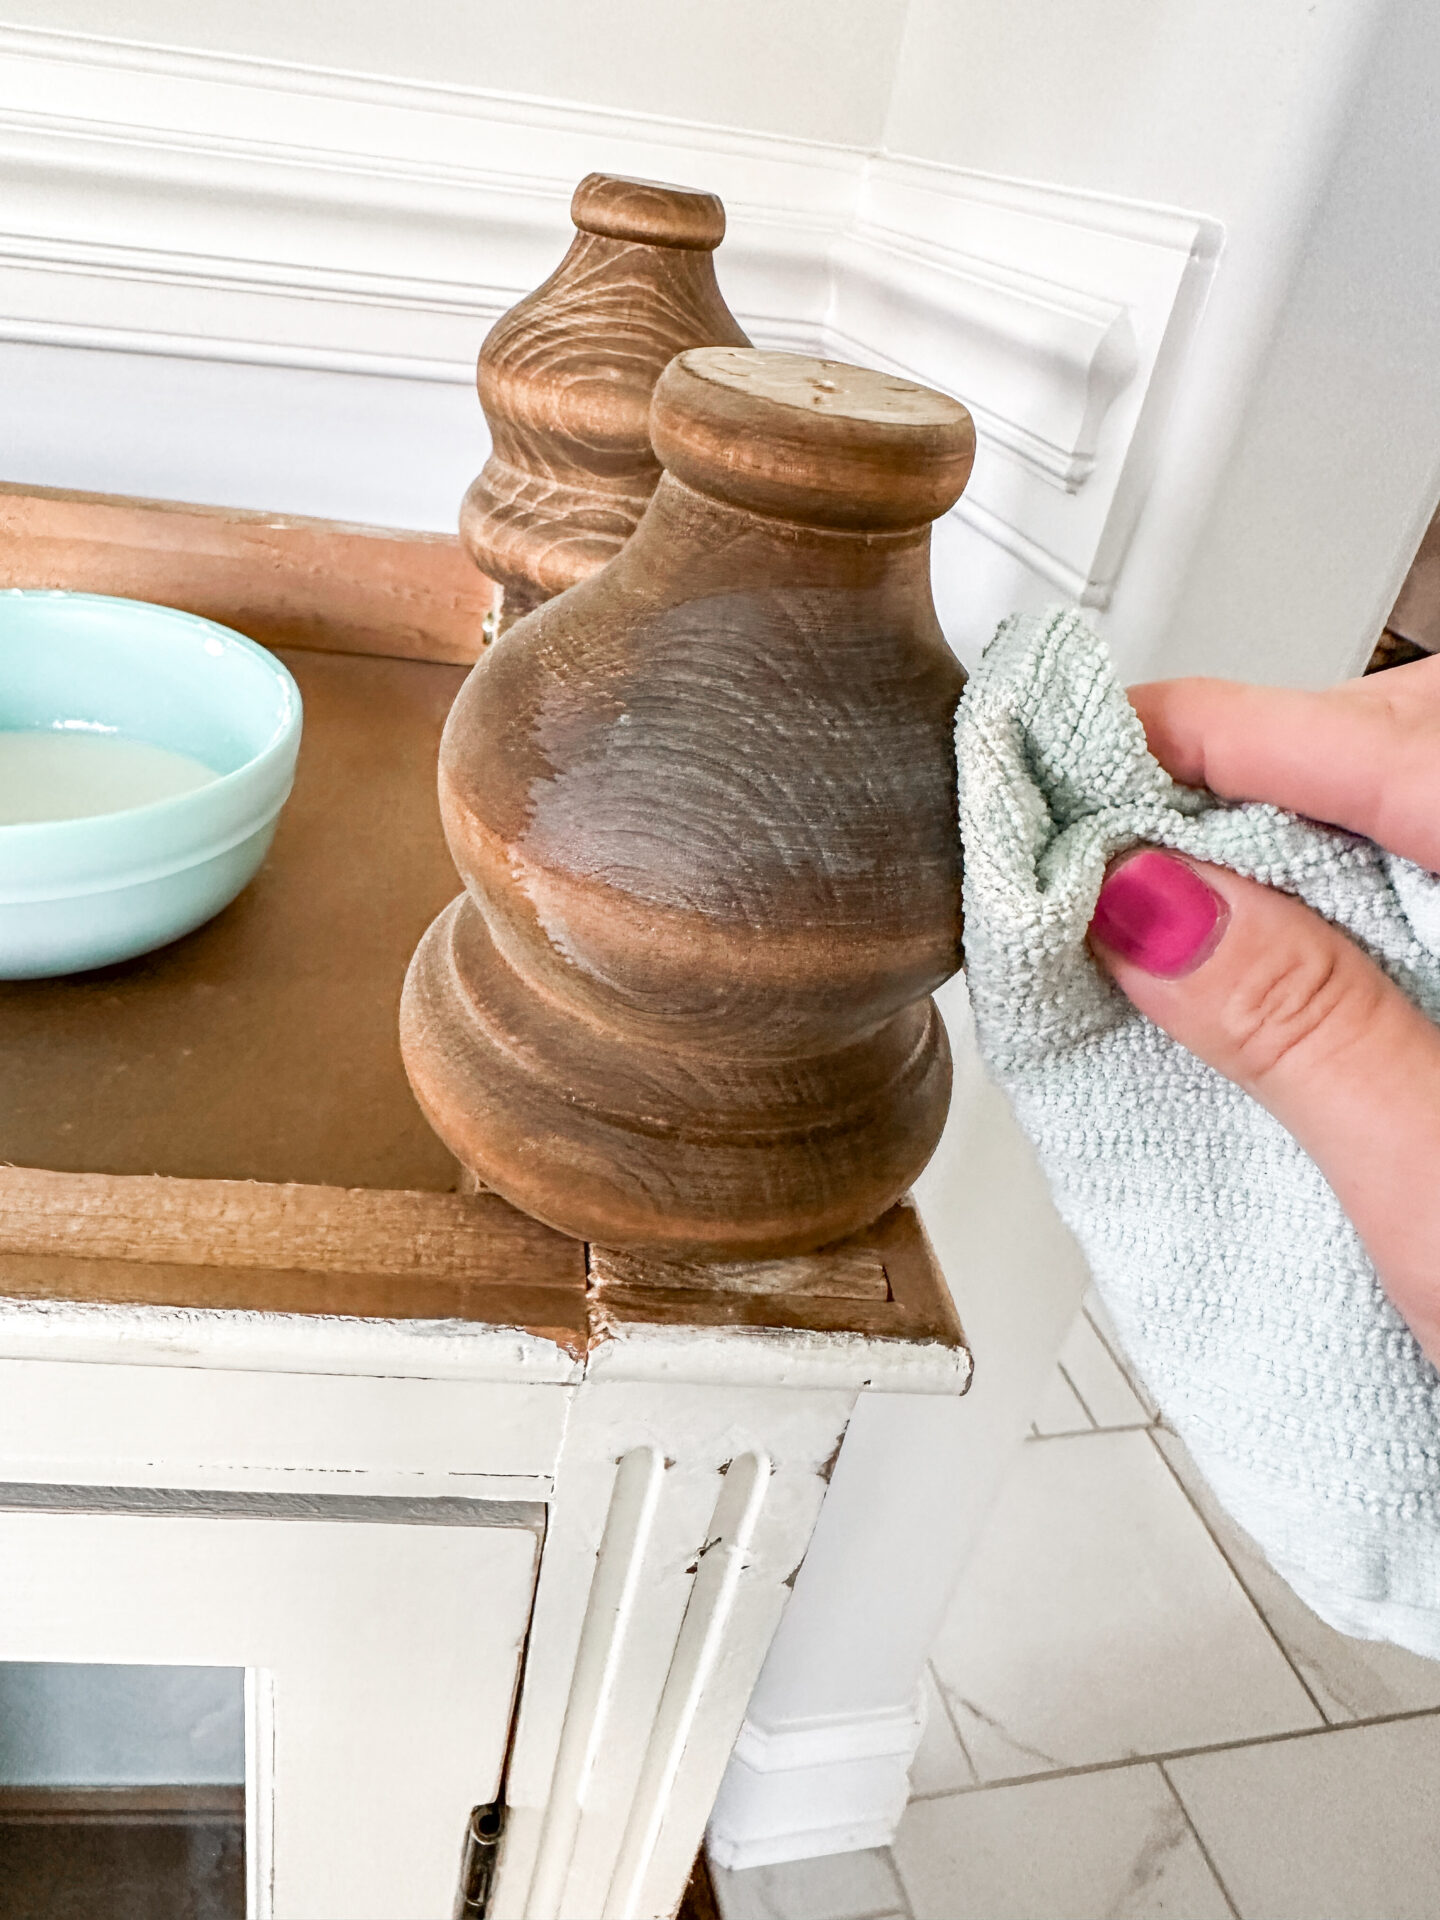
Step 3.5
This next step is *optional*. This particular cabinet has a wood top that has been whitewashed, so I wanted to get the same look for the feet for a perfect match. Whitewashing is super easy! I’ve found that chalk paint makes for the best option when whitewashing. HERE is a great one you can try out! Just add a teaspoon of paint to water and there you go! Grab a brush or a rag and apply lightly to the wood. Wipe off as you go along for the perfect whitewashed look.

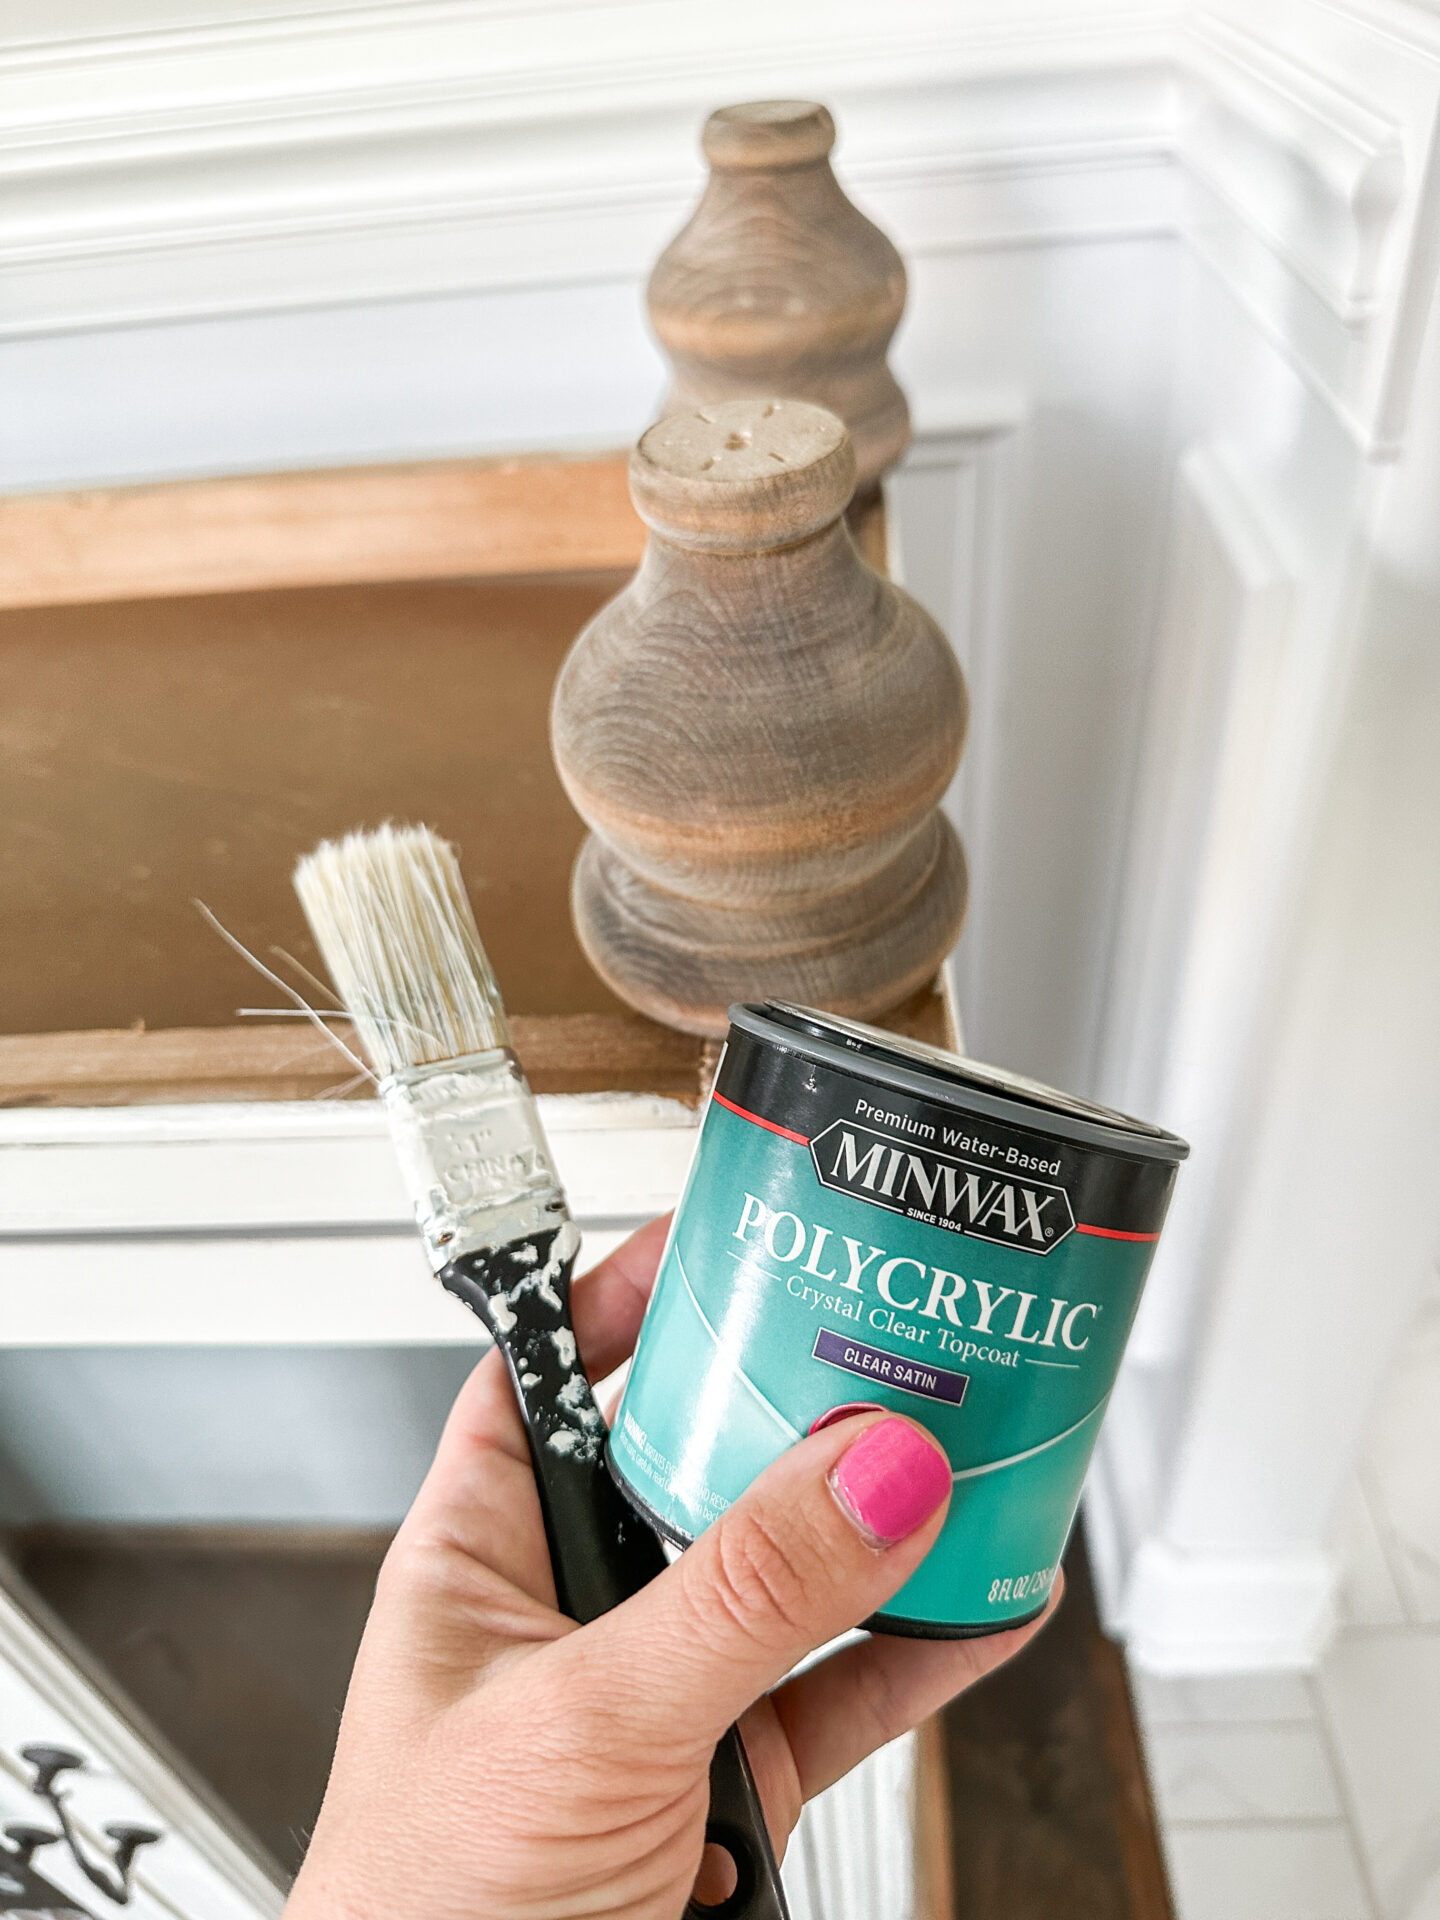
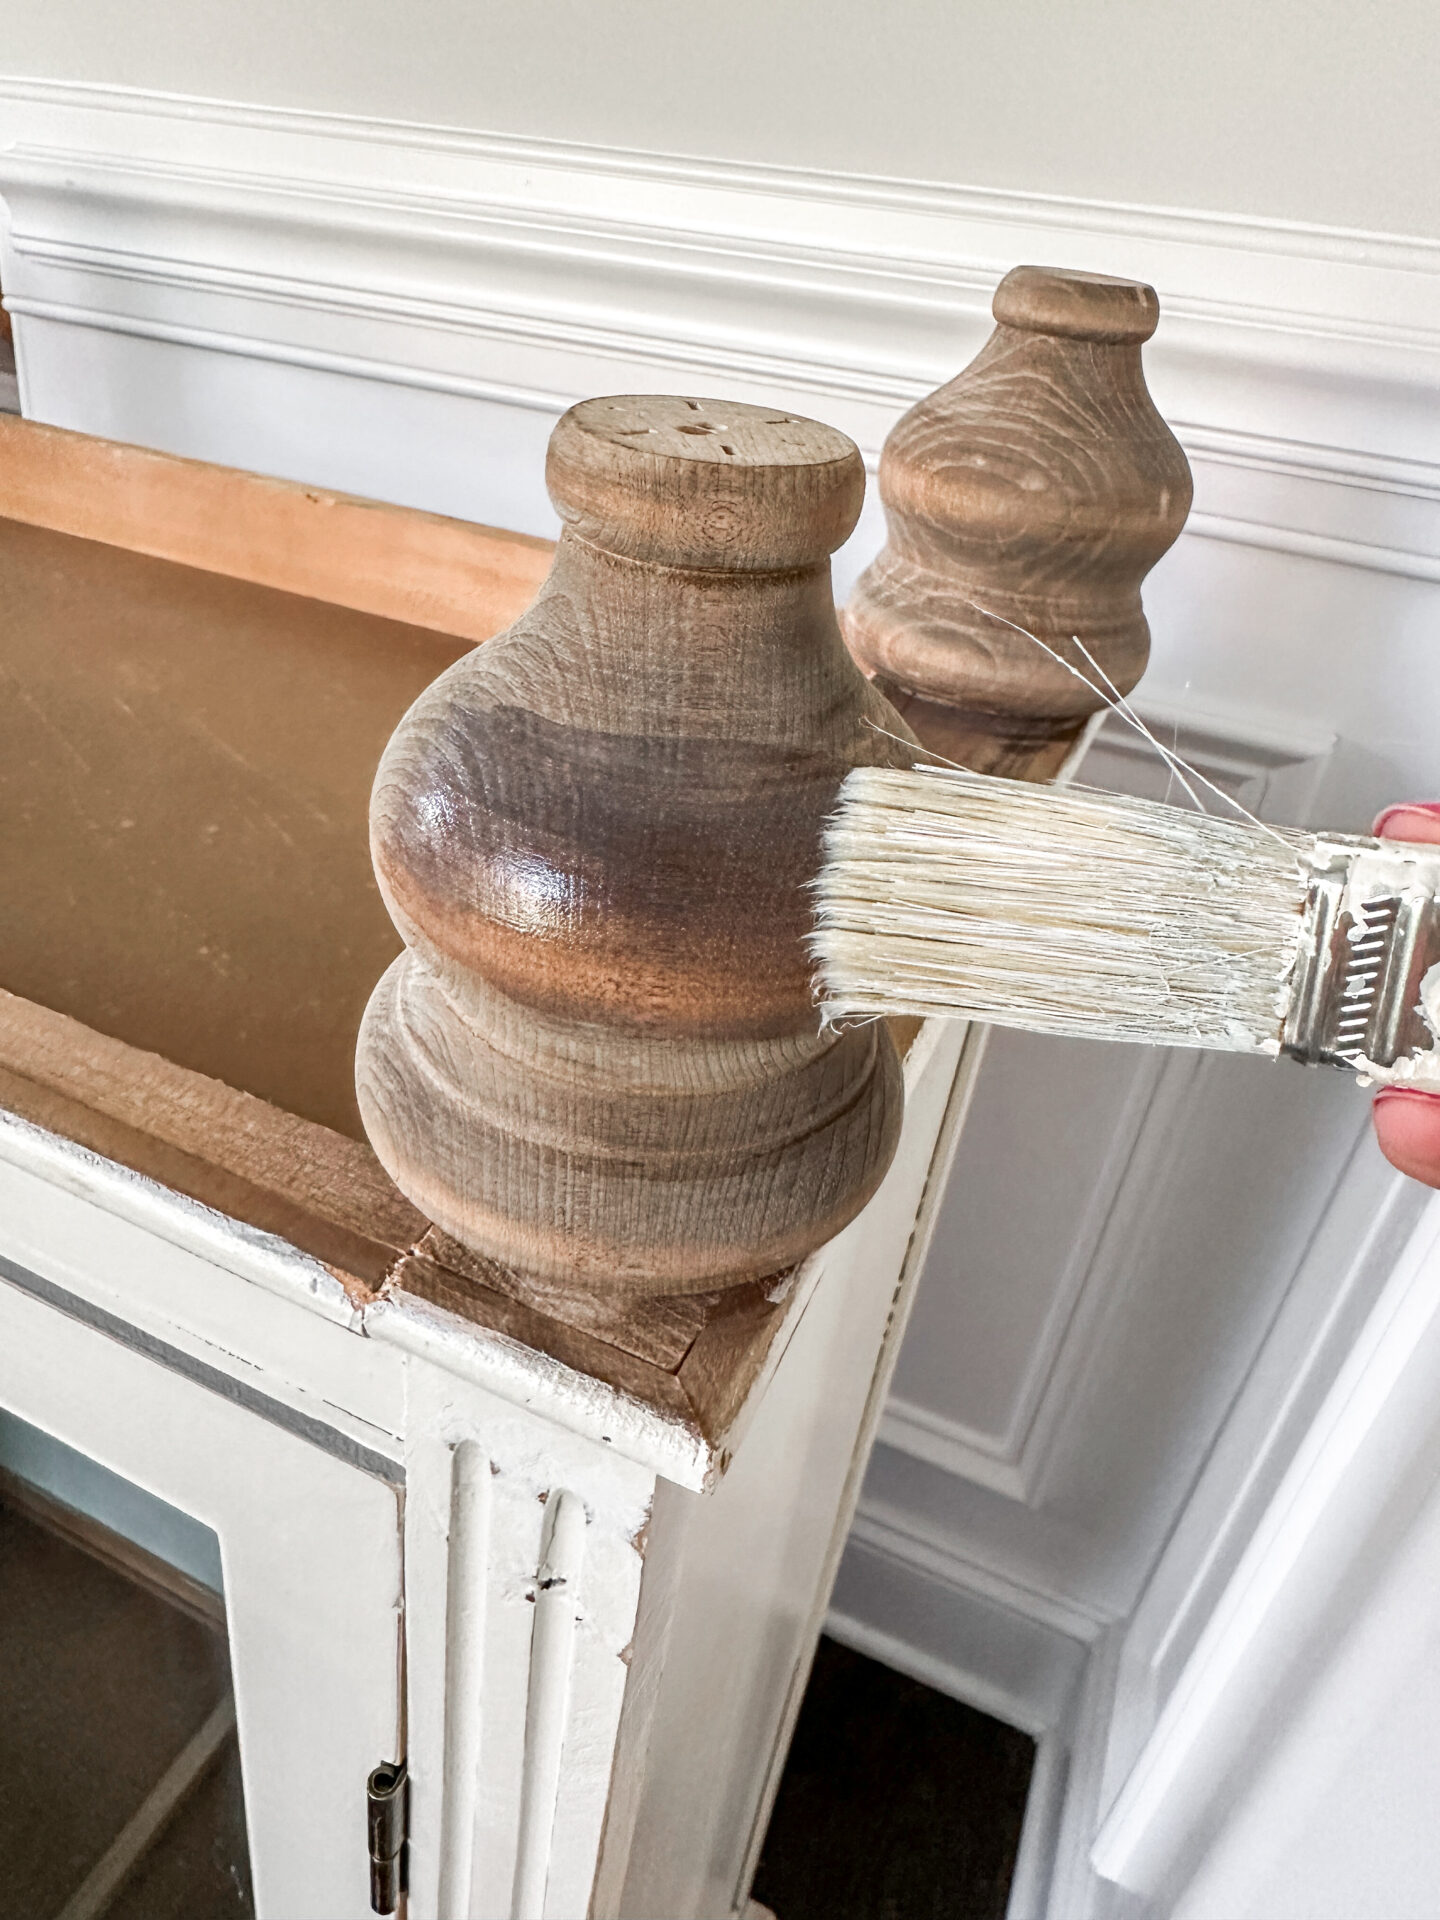
Step 4
You can use either a Polycrylic Spray or Liquid for this part! I like to use the brush-on kind because I can work indoors with it that way. Brush on your Polycrylic and let it dry for the time specified on your can. You can also do a second coat of Poly if you need extra protection; I only used one coat for this project. Let fully dry. You may also want to add on some gliders or grippers to the bottom of the feet to protect your floors.
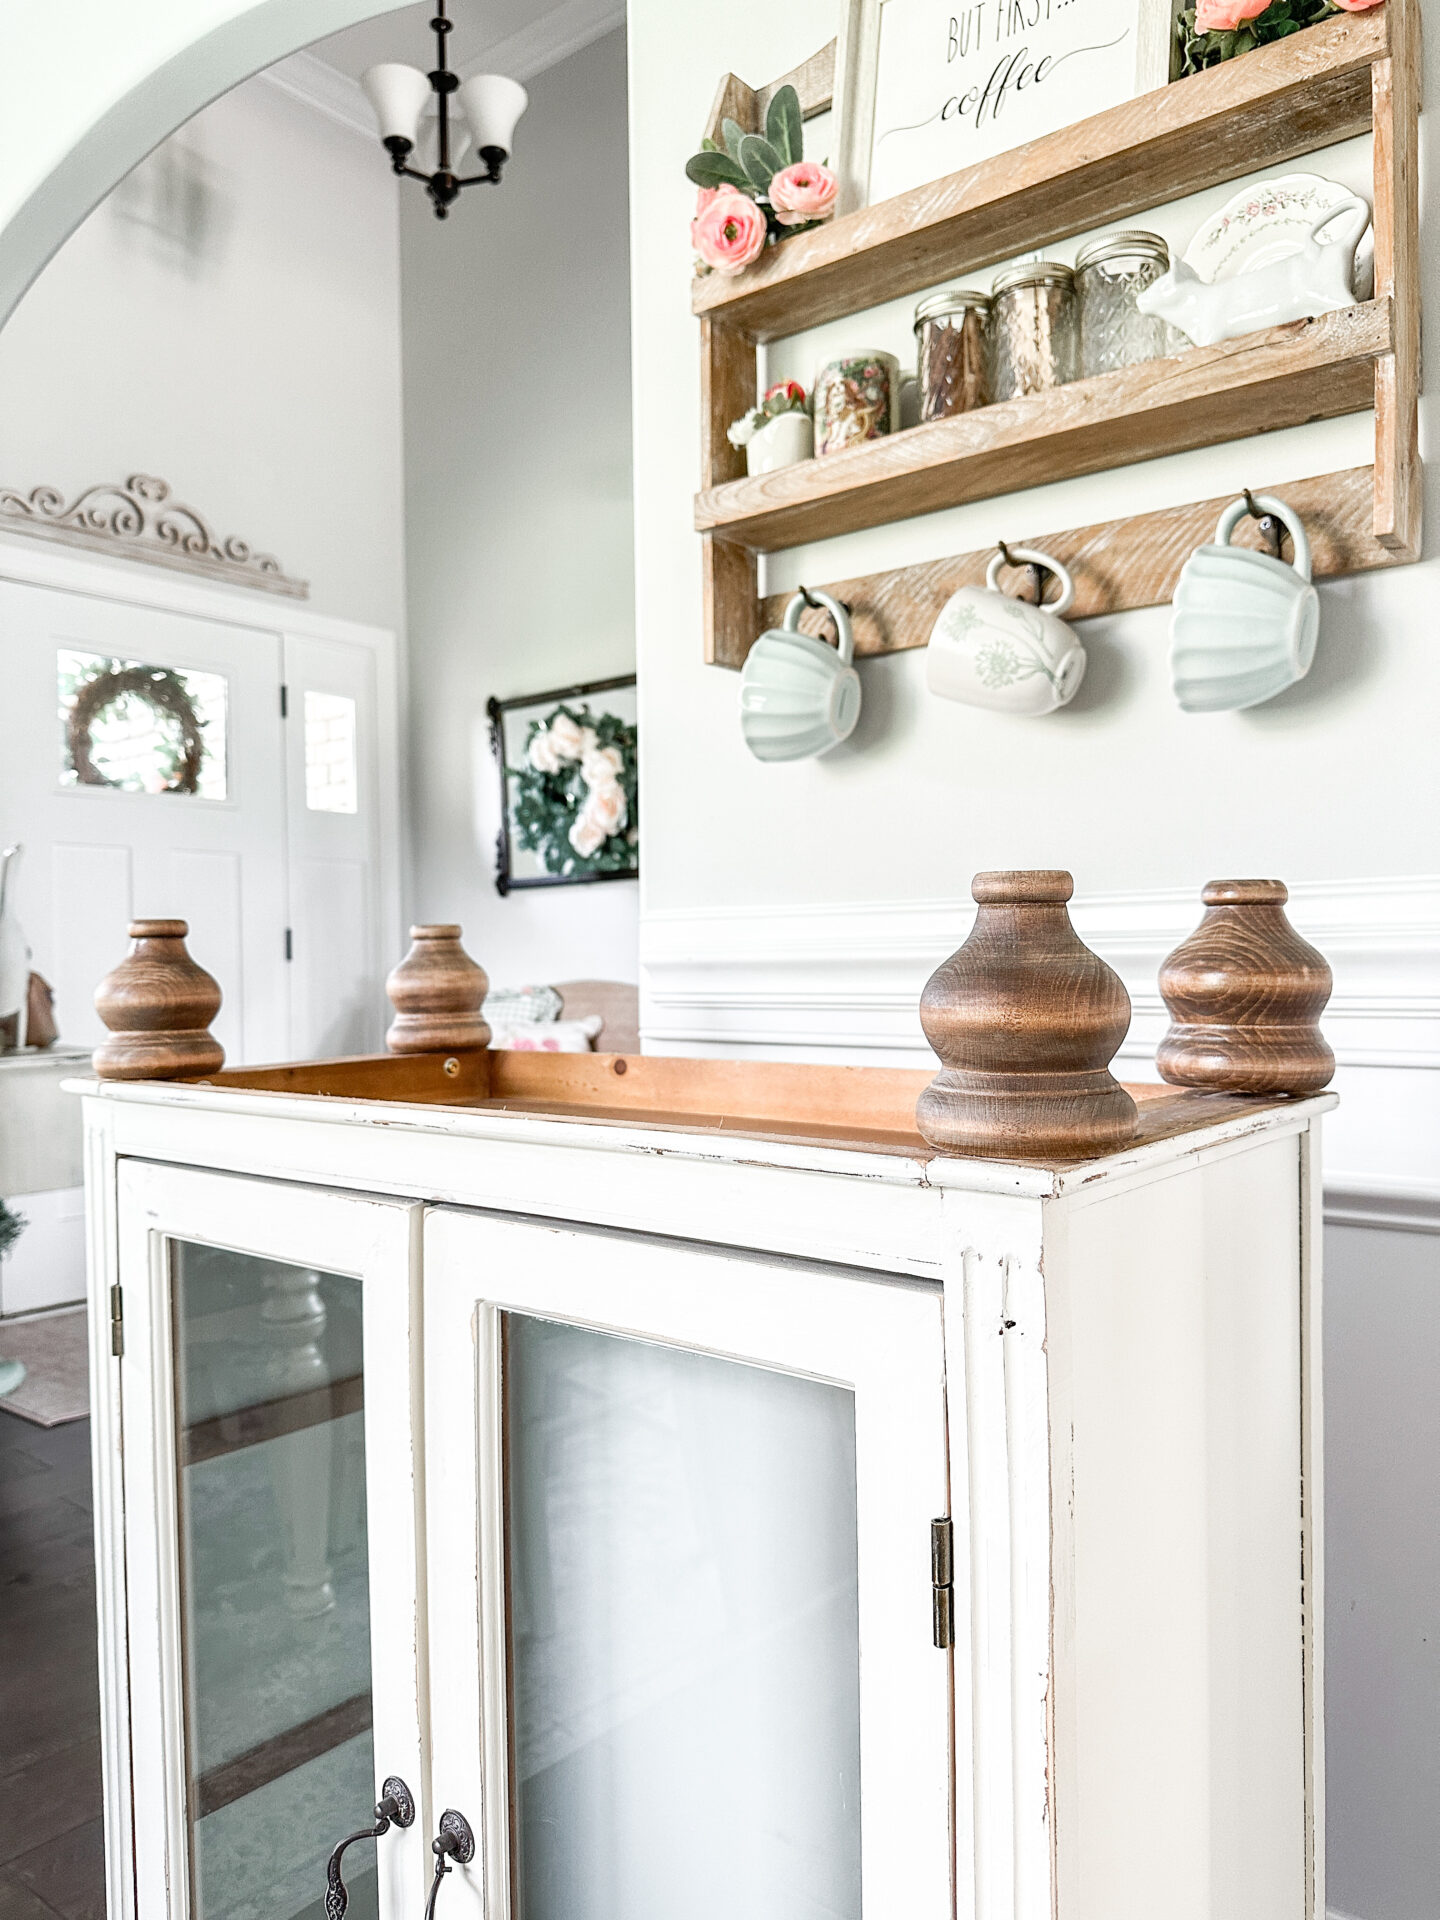
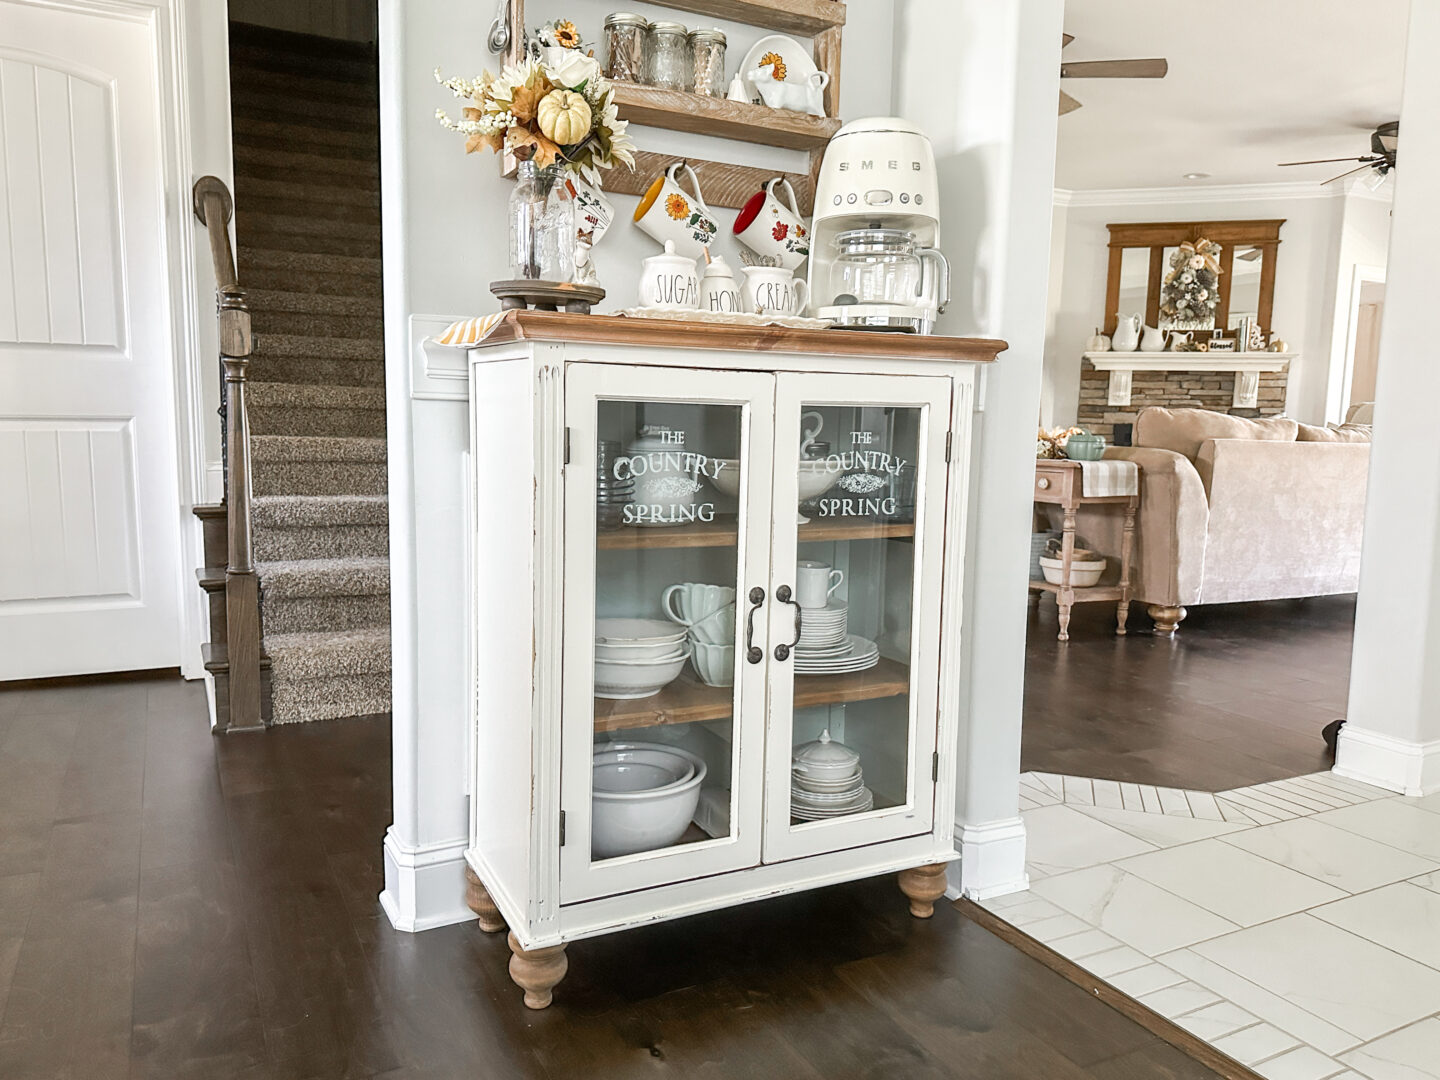
Voila – You’re all done! And doesn’t this look so much better? It’s not as tall, the feet match the rest of the room (and my home), and they bring a bit more warmth and personality to the cabinet. You can use this simple trick to update any of your current furniture with a new look! Check out how I Updated My Sofa With New Feet HERE!

Thank you for stopping by! I hope you enjoyed this Easy How-To for How To Update a Cabinet With New Feet! Pin the Image below to Pinterest to share with your friends.